

I'm Asonitez and I flood floors (Floodicus Floorus Maximus). - There I said it. My wife (Reefus Wifus Hotticus) has agreed to let me have a tank under some conditions.
RWH's Demands
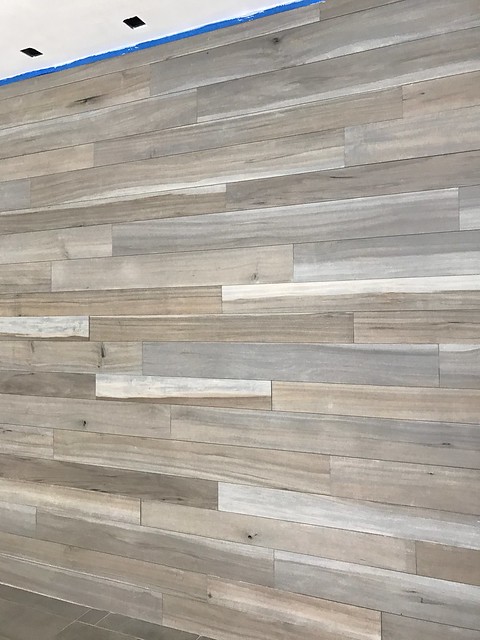
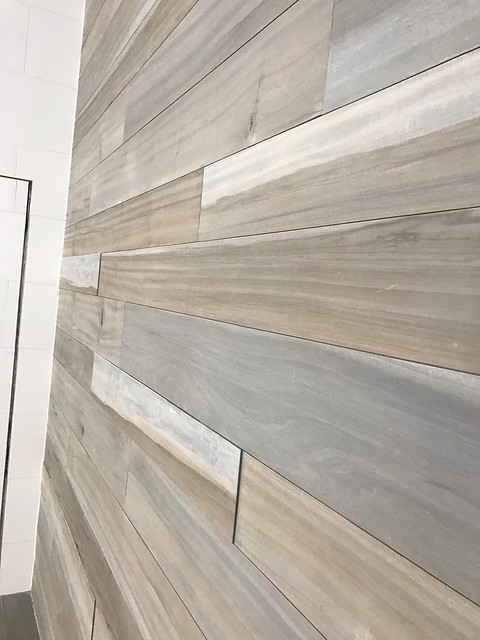
Floors From Brazil
I'm not allowed to employ any woodworking skills unless I become a licensed carpenter.
With the exception of Electronics everything must be in the stand.
I can store no hoses/socks in the same room as the tank.
It has to be quiet.
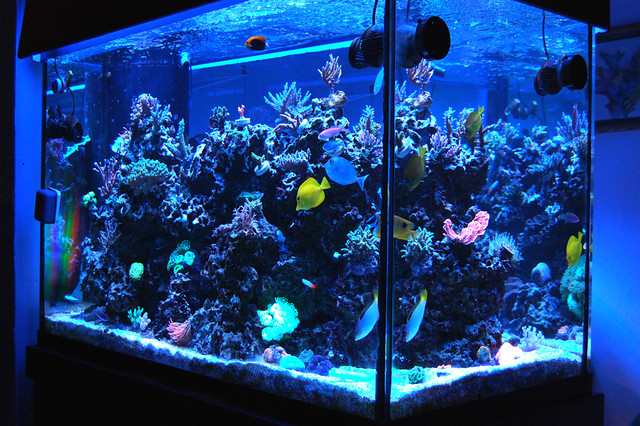
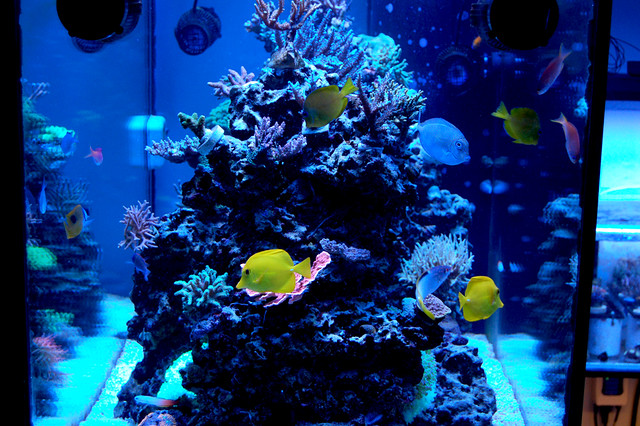
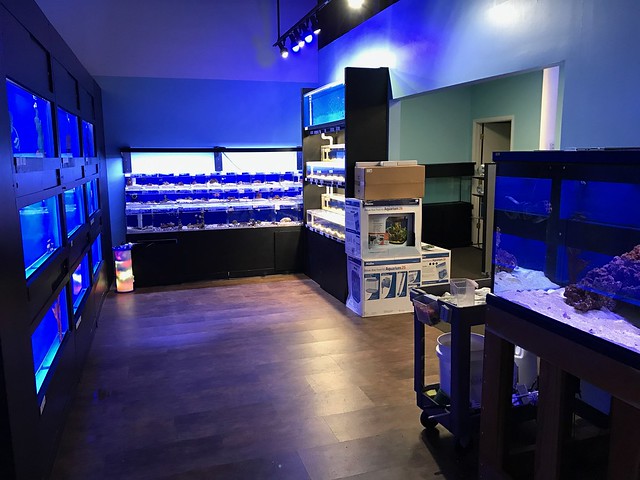
This was my first successful tank
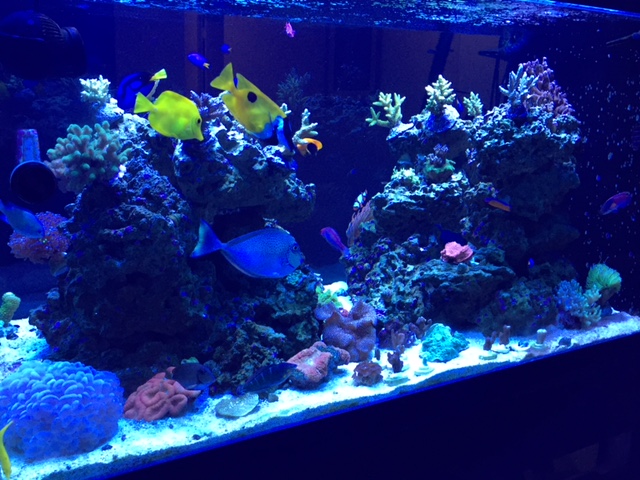
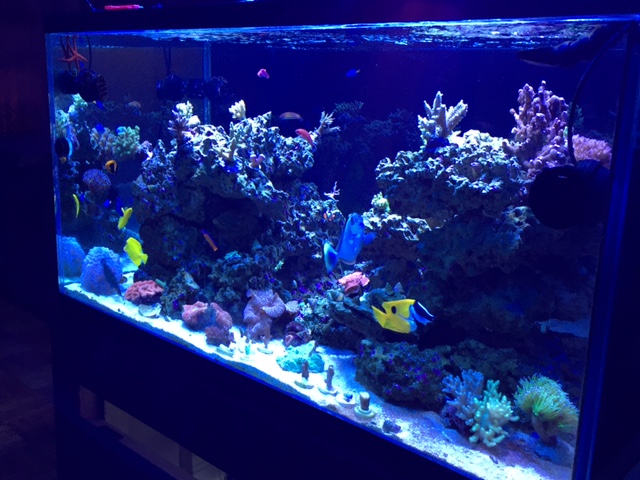
After 2 Years of growth I was forced to break down and move where I got a chance to setup my other dream tank!

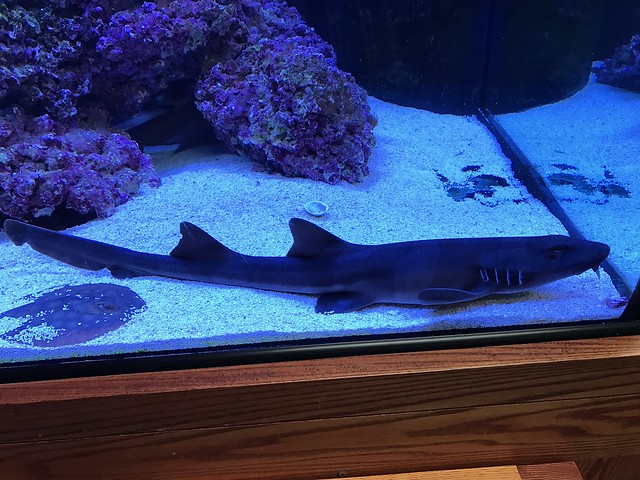
Then this guy was born and It was a BIG MOVE!

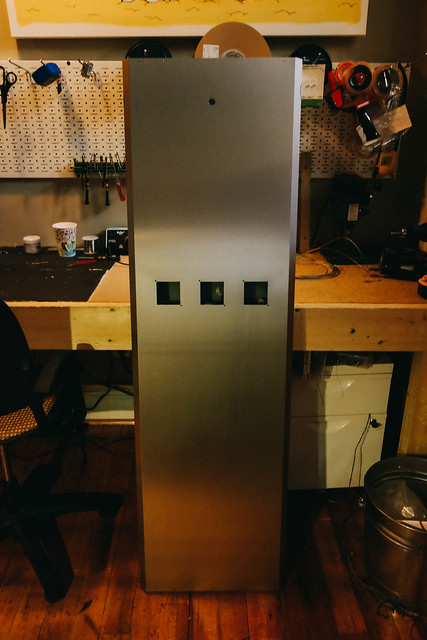
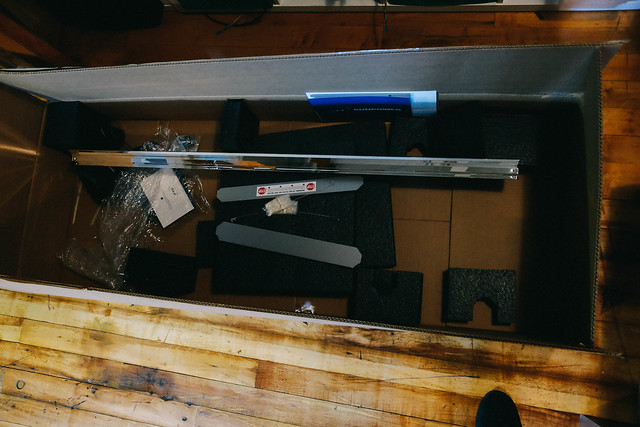
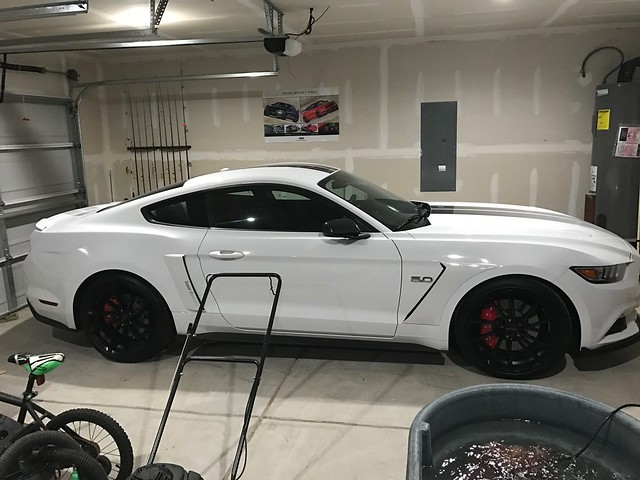
I have lived my entire life in an Apartment. I hated it. So after I worked the pole for a while, sold a liver, and traded my soul to the devil. I got one of these! They call them Tank Containment system's. I also moved 800 Miles South to NC.
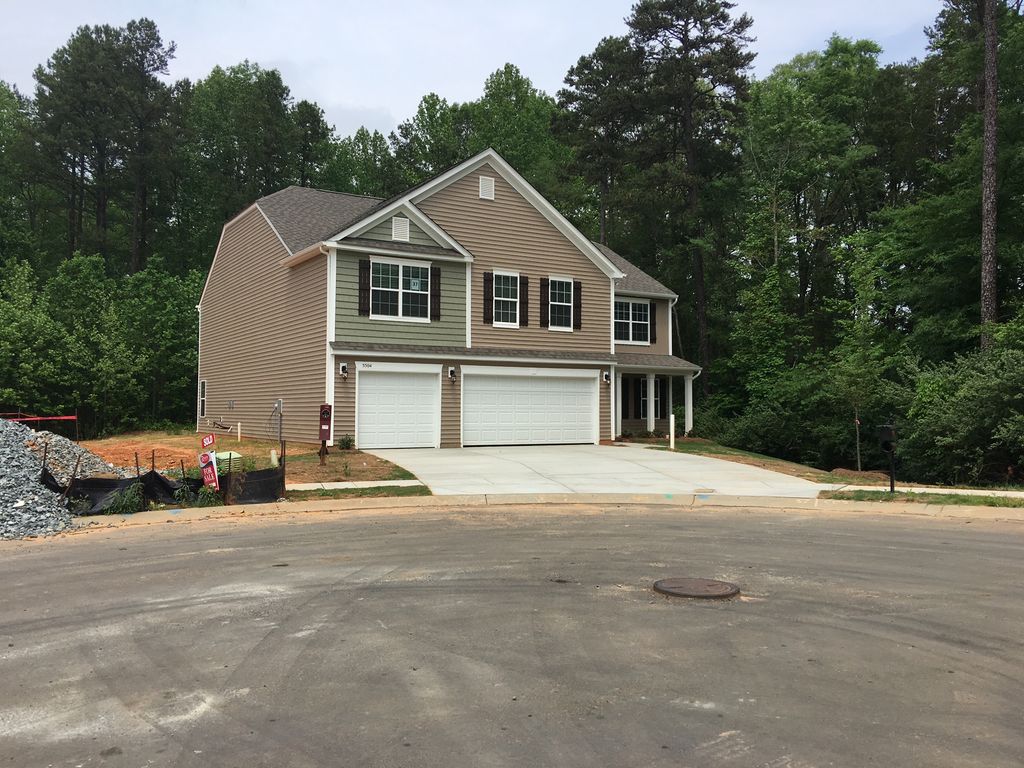
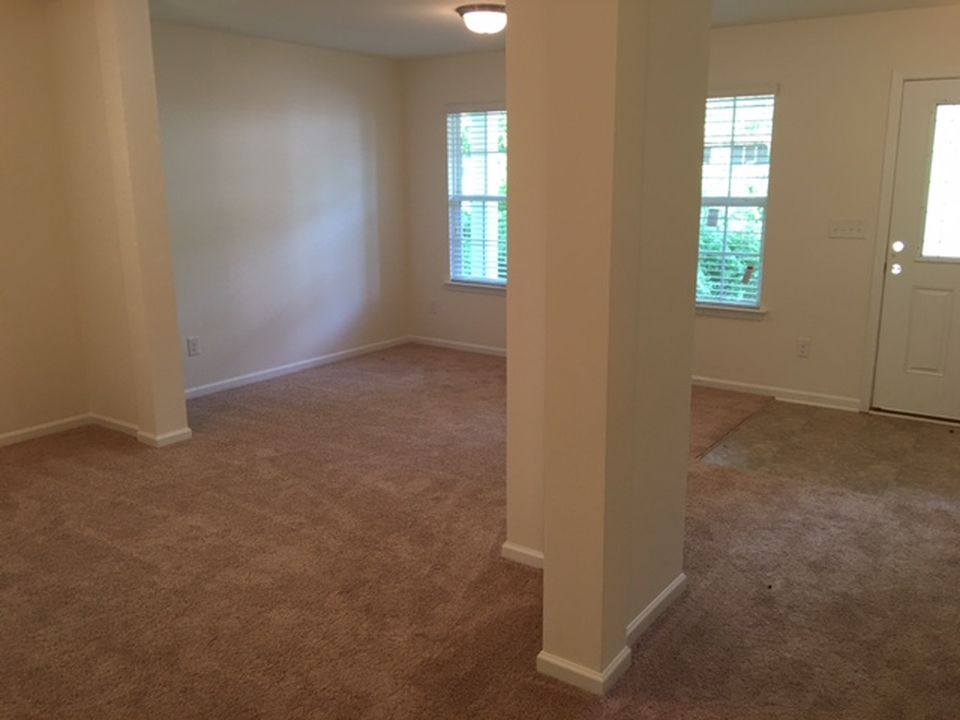
In the move I sold my Tank, Light , Skimmer, Sump, The majority of my corals. At one point I took a week off work as friends and Local Fish Shops visited my apartment to basically piece out my entire collection. Its been 3 years and now that we are settled in. Its TIME.
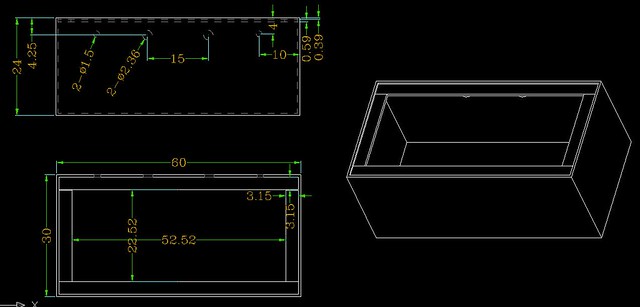
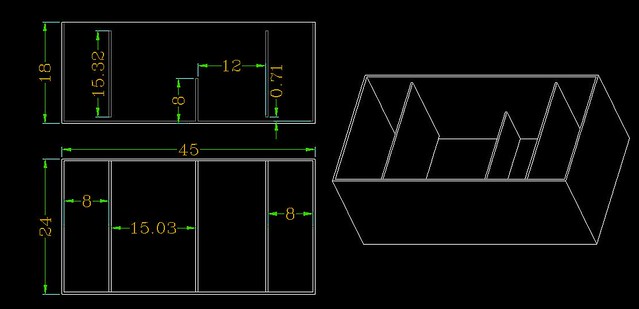
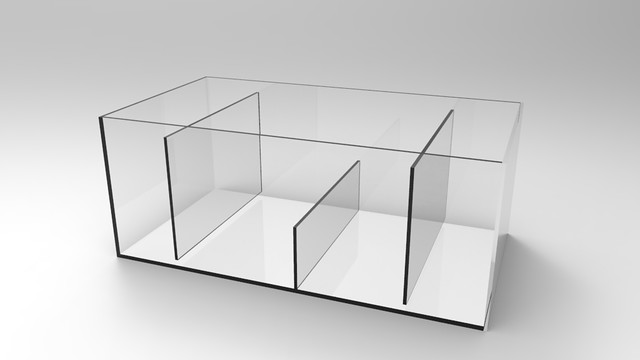
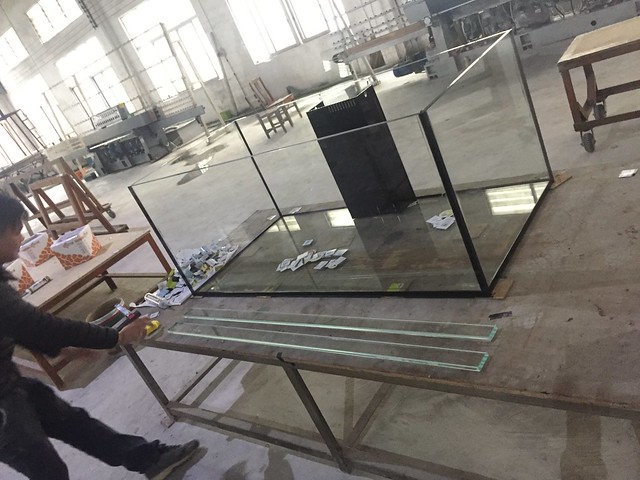
New Tank Specs
Built by SCAquariums
60 X 30 X 26
3 Sided Starphire Eurobraced with 1 Internal overflow centered.
36" High Stand w/ Matching Canopy made out of Brazilian Maple Wood - Painted White.
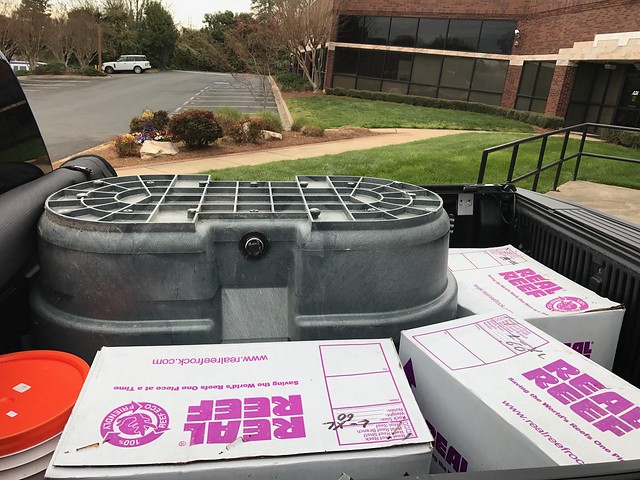
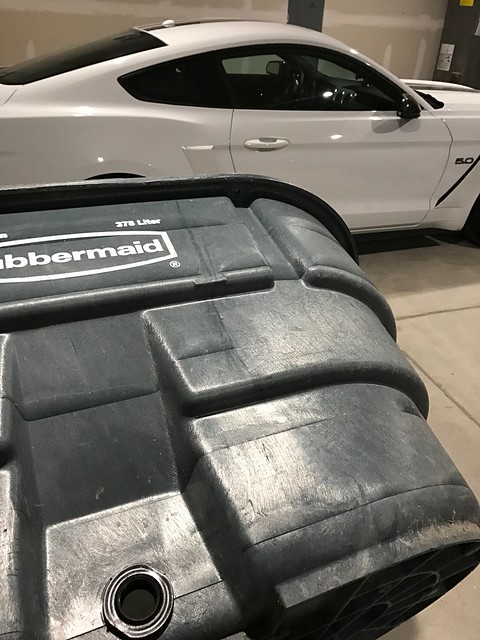
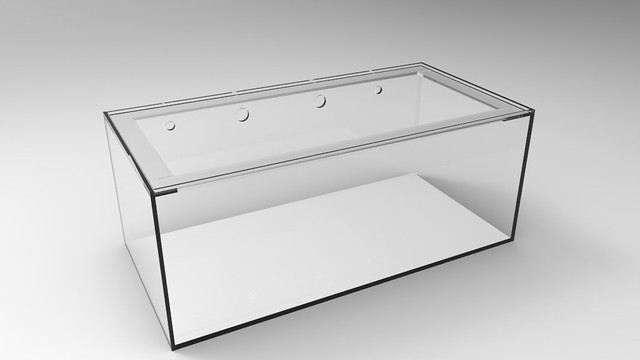
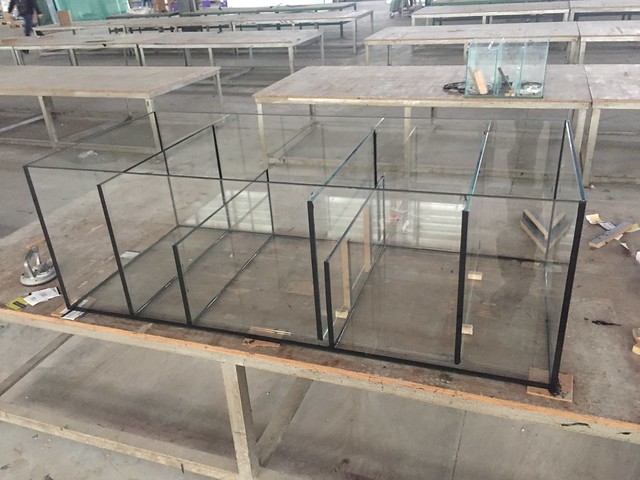
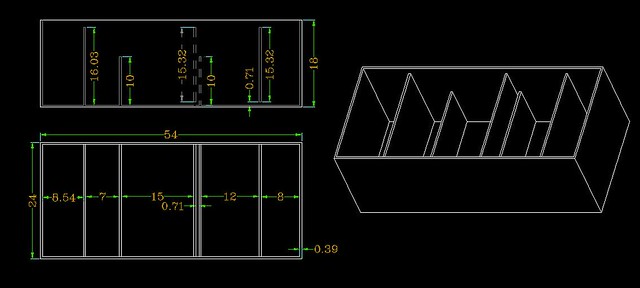
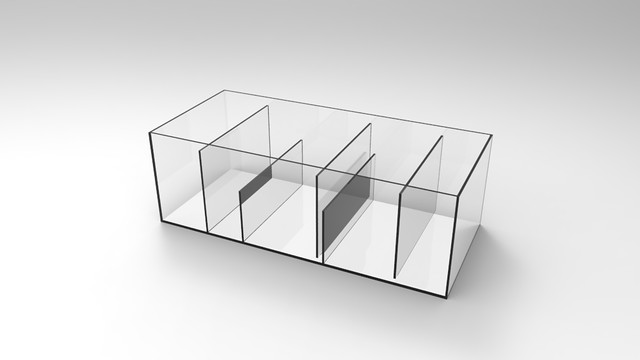
Sump
90 Gallon Glass custom with internal Frag Tank (24X24) where the "Refugium would be"
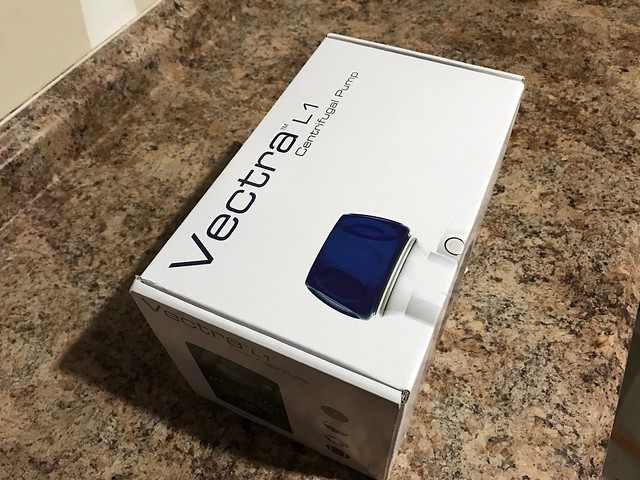
Skimmer
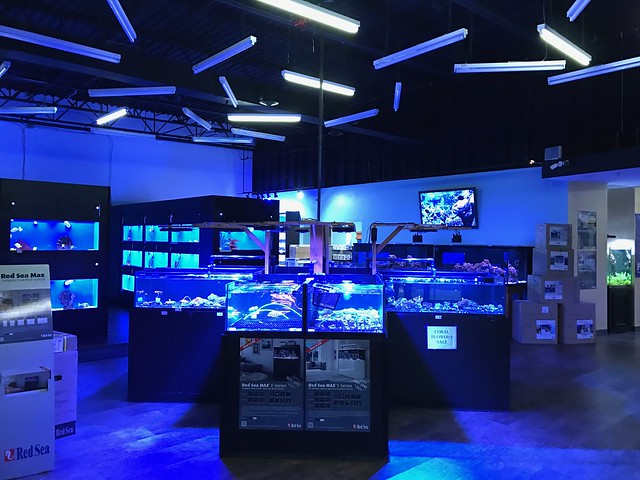
I'm trying to decide which size NYOS, ReefOctopus, Skimz would be best.
Water Movement
4x Tunze 6095 Wide Flow - Might sell and switch to WAV
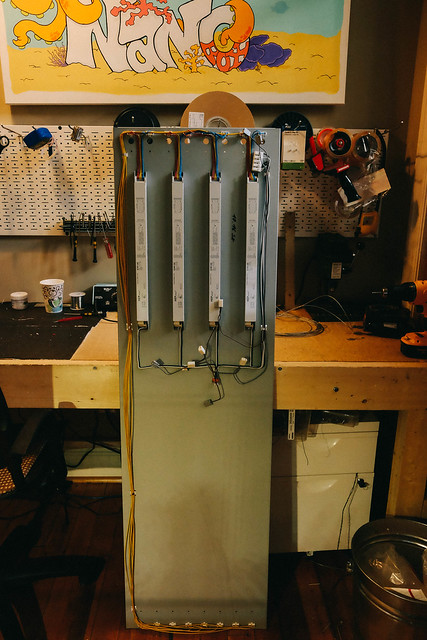
Lighting
Custom Painted ATI 8x 60" T5 with 2 bulbs removed and replaced with 8 NanoBox LED Clusters (5 Channel Controllable w/ all the features you can think of)
MISC
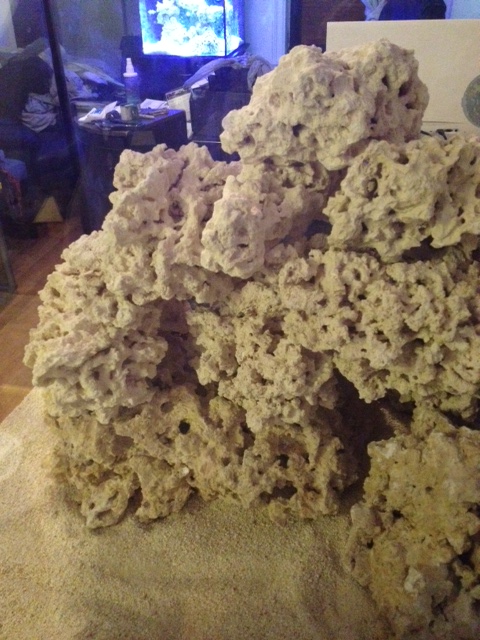
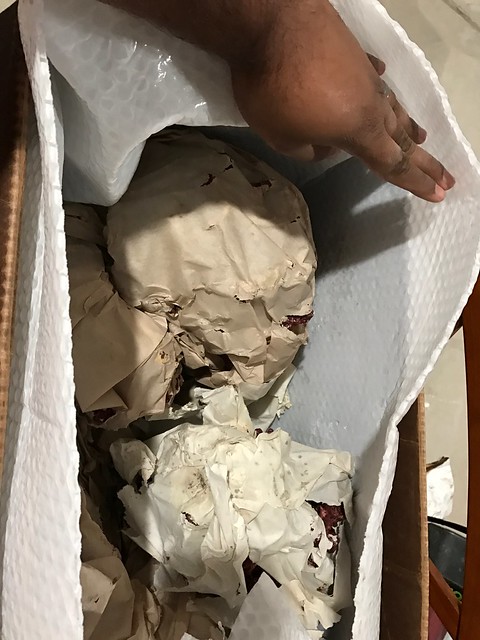
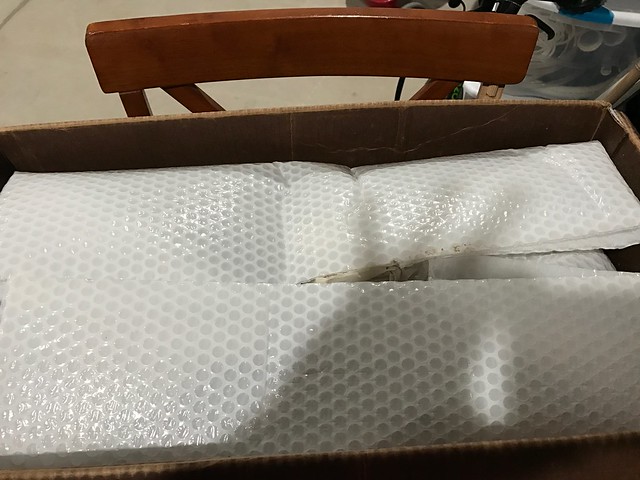
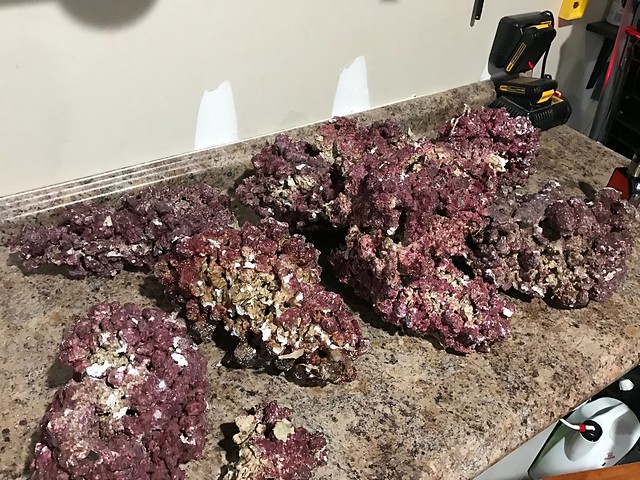
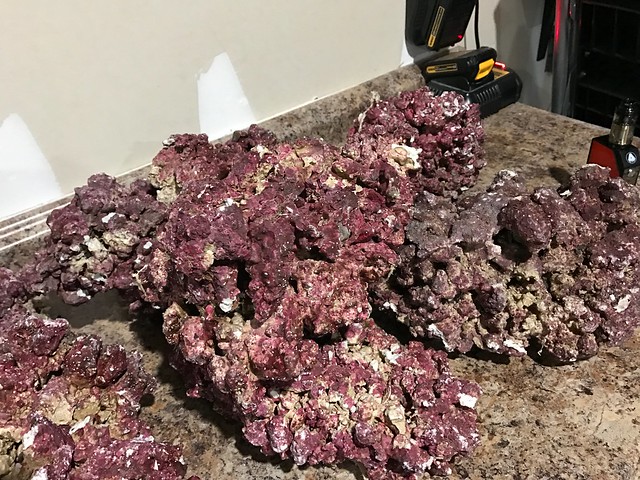
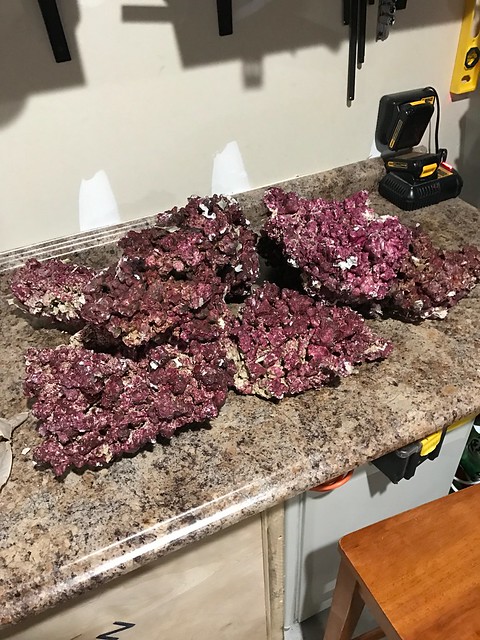
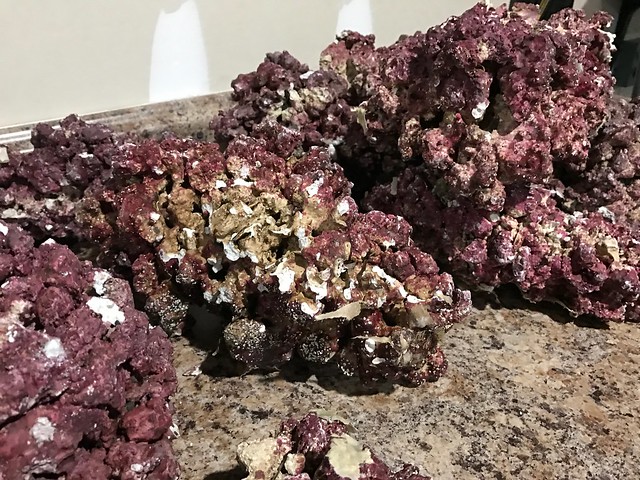
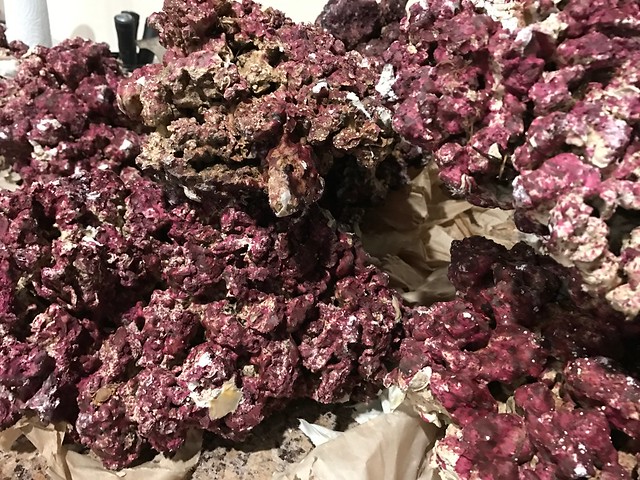
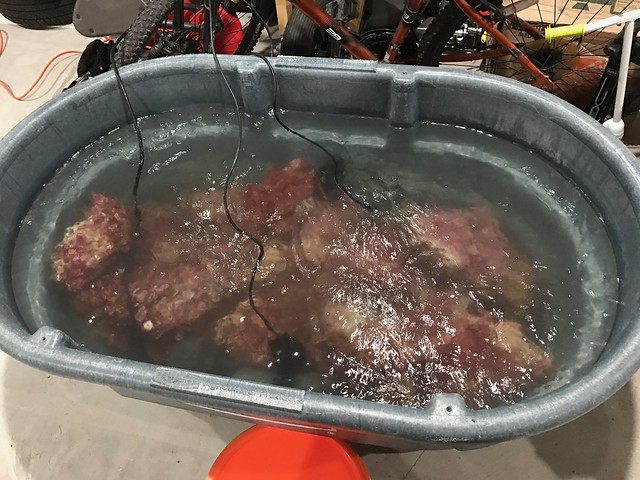
I'm trying to decide between MarcoRocks and BRS Pukani (100 Lbs)
Marine Pure Ceramic Blocks
80lbs of Tropic Eden Reeflakes
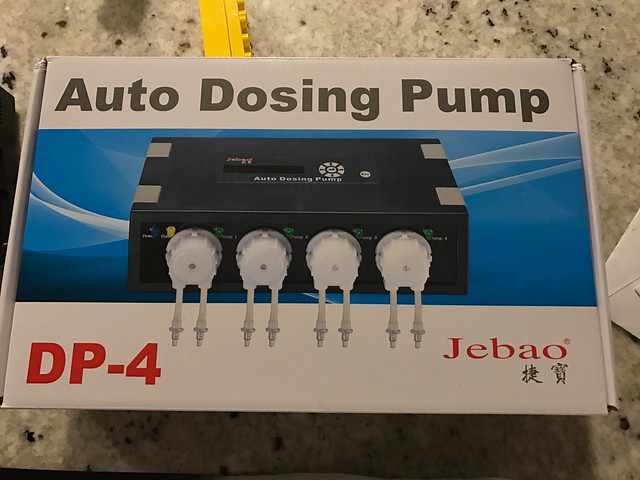
Controlled by Neptune Apex
RWH's Demands
Floors From Brazil
I'm not allowed to employ any woodworking skills unless I become a licensed carpenter.
With the exception of Electronics everything must be in the stand.
I can store no hoses/socks in the same room as the tank.
It has to be quiet.
This was my first successful tank
After 2 Years of growth I was forced to break down and move where I got a chance to setup my other dream tank!
Then this guy was born and It was a BIG MOVE!
I have lived my entire life in an Apartment. I hated it. So after I worked the pole for a while, sold a liver, and traded my soul to the devil. I got one of these! They call them Tank Containment system's. I also moved 800 Miles South to NC.
In the move I sold my Tank, Light , Skimmer, Sump, The majority of my corals. At one point I took a week off work as friends and Local Fish Shops visited my apartment to basically piece out my entire collection. Its been 3 years and now that we are settled in. Its TIME.
New Tank Specs
Built by SCAquariums
60 X 30 X 26
3 Sided Starphire Eurobraced with 1 Internal overflow centered.
36" High Stand w/ Matching Canopy made out of Brazilian Maple Wood - Painted White.
Sump
90 Gallon Glass custom with internal Frag Tank (24X24) where the "Refugium would be"
Skimmer
I'm trying to decide which size NYOS, ReefOctopus, Skimz would be best.
Water Movement
4x Tunze 6095 Wide Flow - Might sell and switch to WAV
Lighting
Custom Painted ATI 8x 60" T5 with 2 bulbs removed and replaced with 8 NanoBox LED Clusters (5 Channel Controllable w/ all the features you can think of)
MISC
I'm trying to decide between MarcoRocks and BRS Pukani (100 Lbs)
Marine Pure Ceramic Blocks
80lbs of Tropic Eden Reeflakes
Controlled by Neptune Apex
Last edited:


")