

Rich, I’m also all black and I look at it this way; The plain black woodworking doesn’t distract from the main focal point….the fish tank. You don’t want adornments that distract from looking in the tank. Here’s an example….What are you looking at?….most likely not the tank.

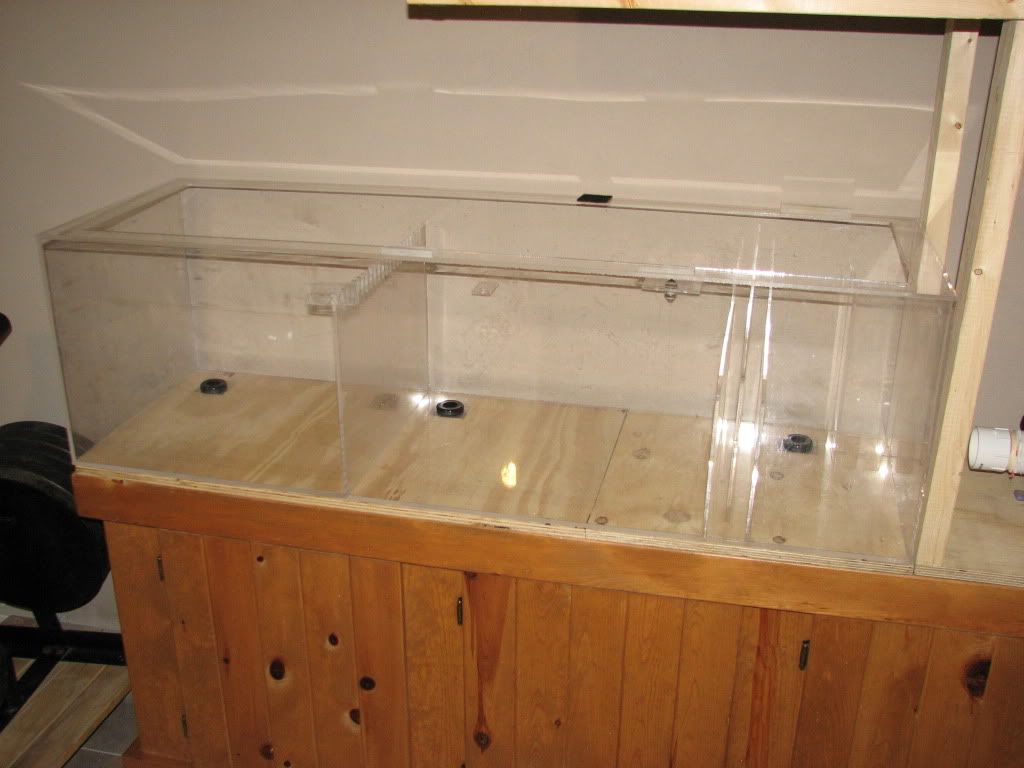
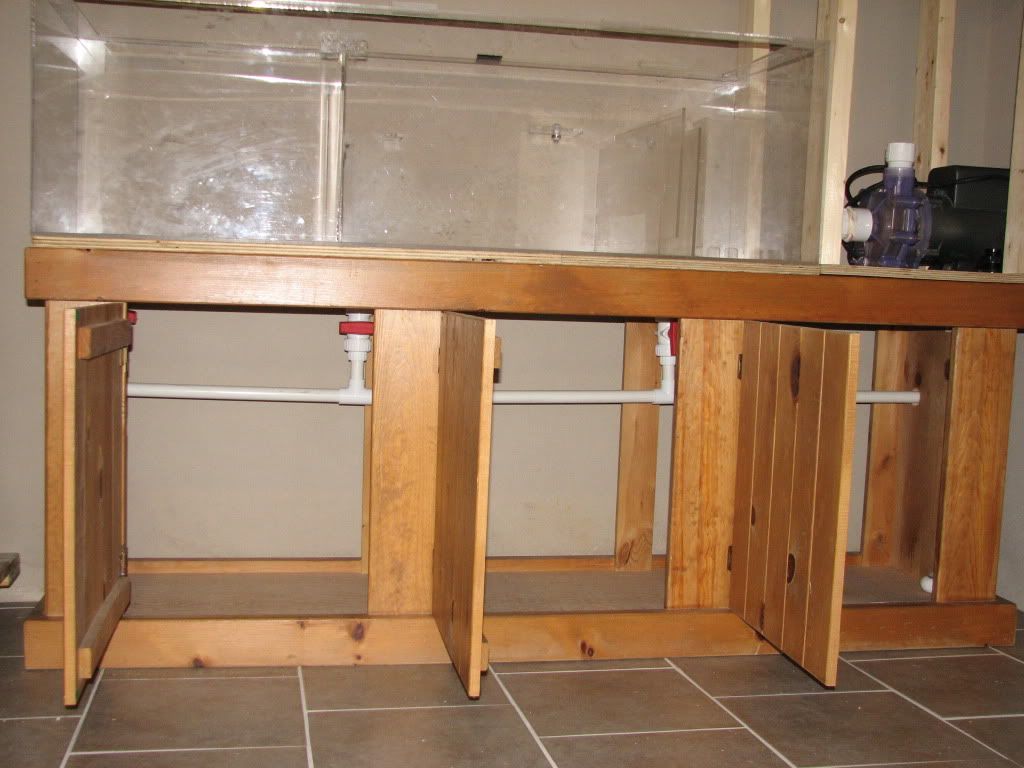
I know it’s going to look great!
I know it’s going to look great!


")