fatoldsun
NJRC Member
Like so many others, I lost everything I had documented thus far with the website event - I'm calling the "Big Site Shaft" (BSS - could't come up with an "A" for "ASS") I guess everything now will be AHA (After Host Abandonment) –but hey, make lemonaide from lemons so I guess this is a good opportunity to clean it up a bit. Since a picture’s worth 1000 words I went with mostly pics and left the rest to your imagination. I also decided the old name was a poor choice – it was “90g build on a budget” but as I am reminded by my wife, any budget went out the window the day the tank was carried in from the uHaul. I figured better not to type-cast myself this go-round and instead to focus on what sets this experiment apart from some of the others I’ve read. The tank is in an all glass ‘sunroom’ meaning 3 walls and the ceiling/roof are entirely glass
I used Malulu’s google trick and recovered my first post. After that it didn’t seem worth it to try and go through the 200 or so posts that were there, so here is the kick-off….recovered (and edited)
The plan is to get started with a core package that I picked up from craigslist (sold due to a job relocation)
I hope to grow into a reef. A few beginner corals and some additional fish (I have 2 and a brittle star to start)
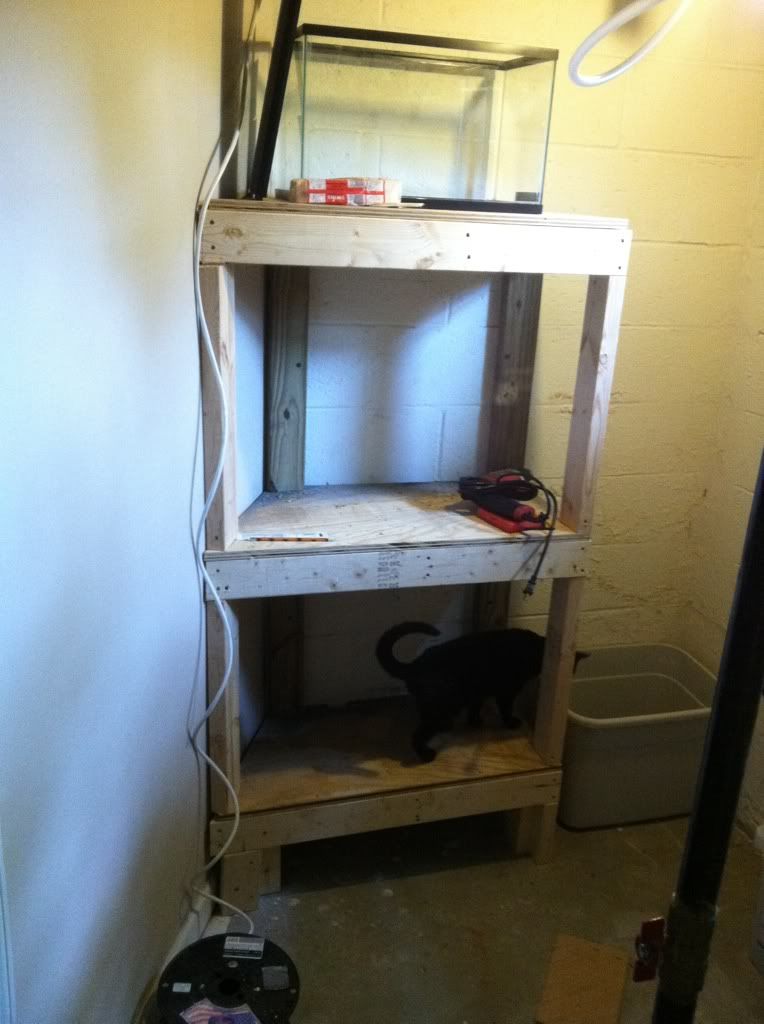
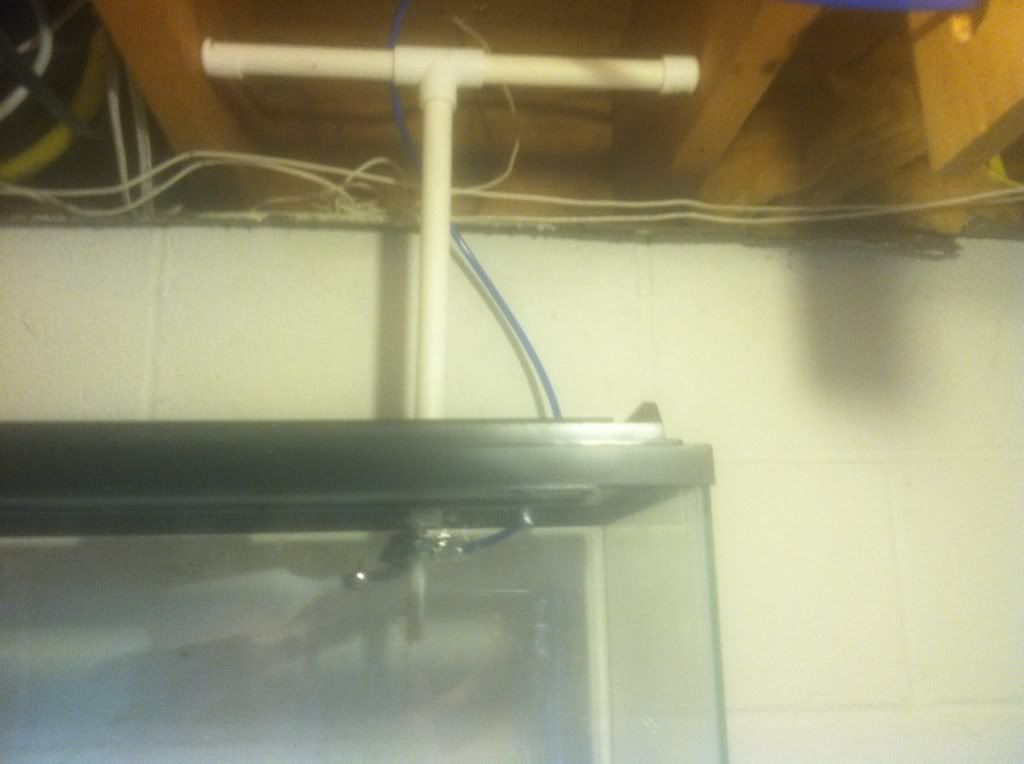
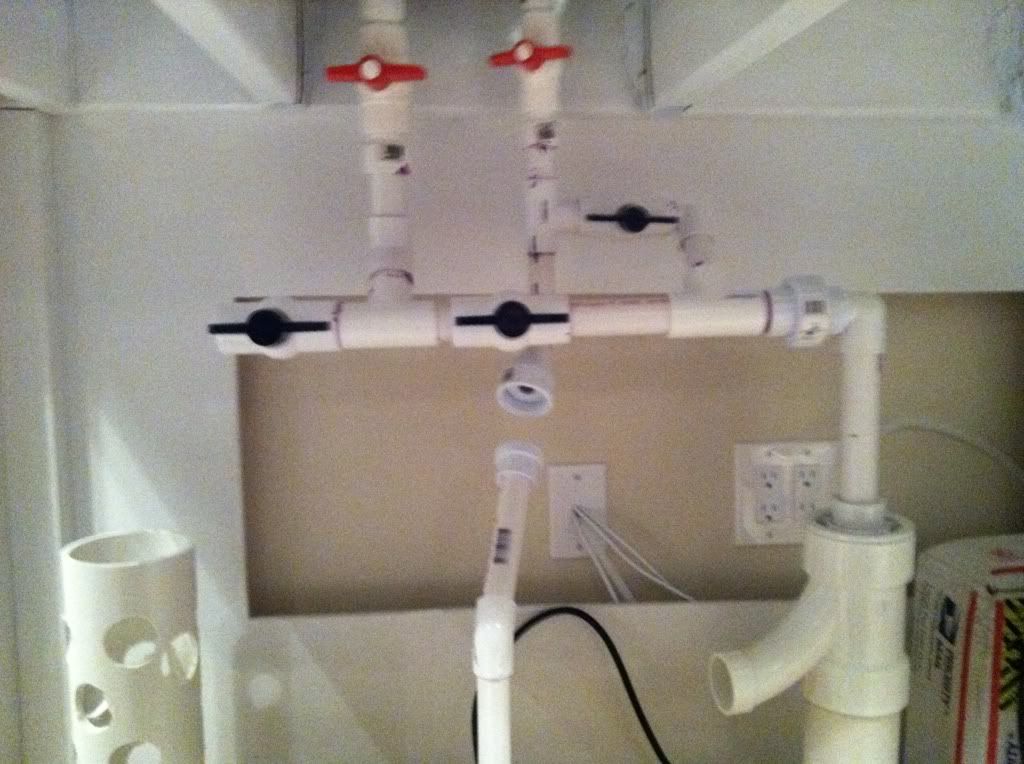
The limitations at this point are that I’m setting this up in an all glass sunroom so the idea of hiding from natural light isn’t possible. Hopefully this acts like a solar tube and I can control any extra algae. The room is otherwise a new addition that I just finished. I ran 2 dedicated 15A circuits with GFCIs in the basement so I’m not trying to get behind the tank if anything trips. I also ran 3/8” tubes for ATO (and possibly changes). I couldn’t put a sump or any other equipment in the basement.
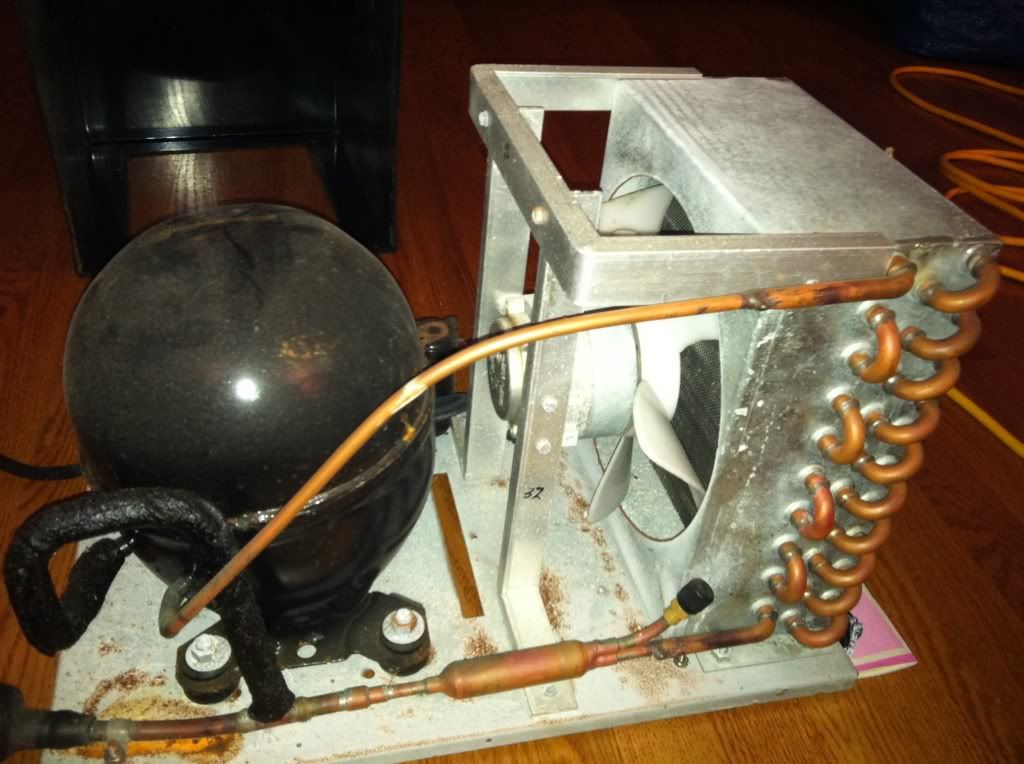
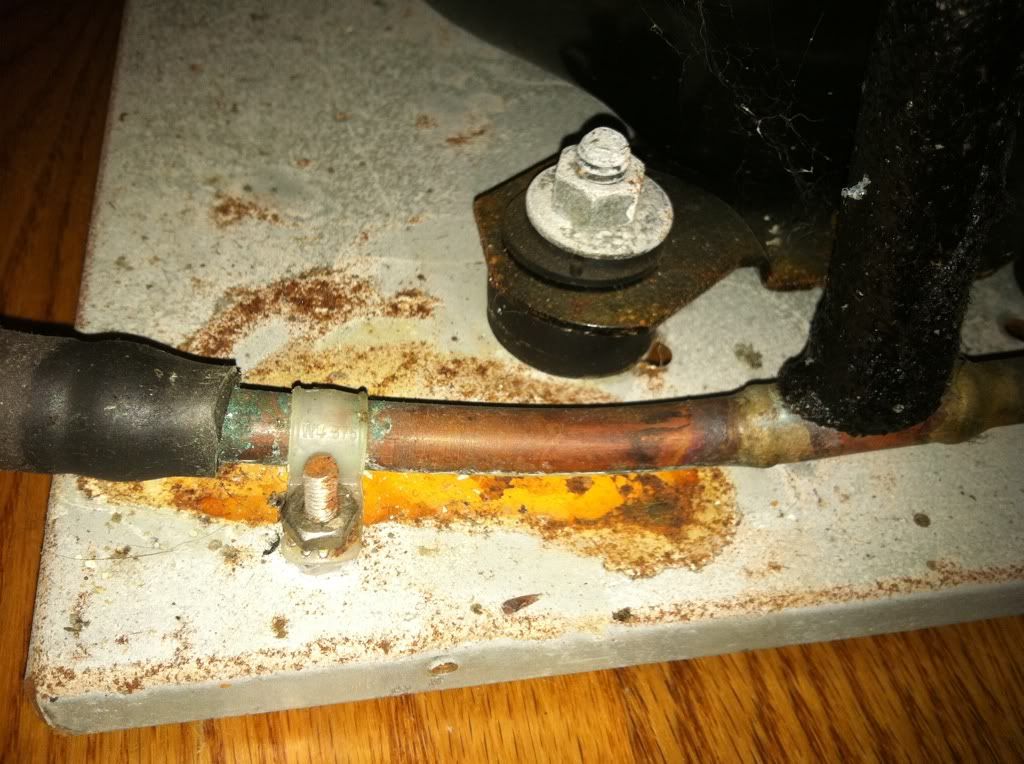
here’s the first lot of stuff from the initial craigslist deal
Stuff I think I’ll keep:
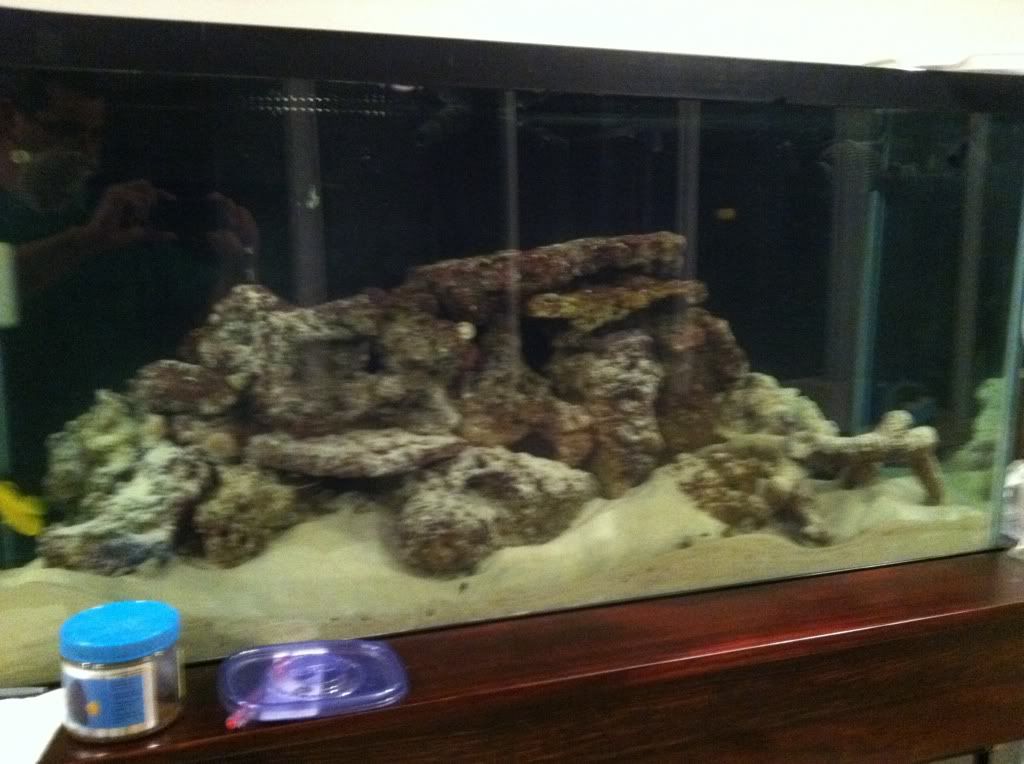
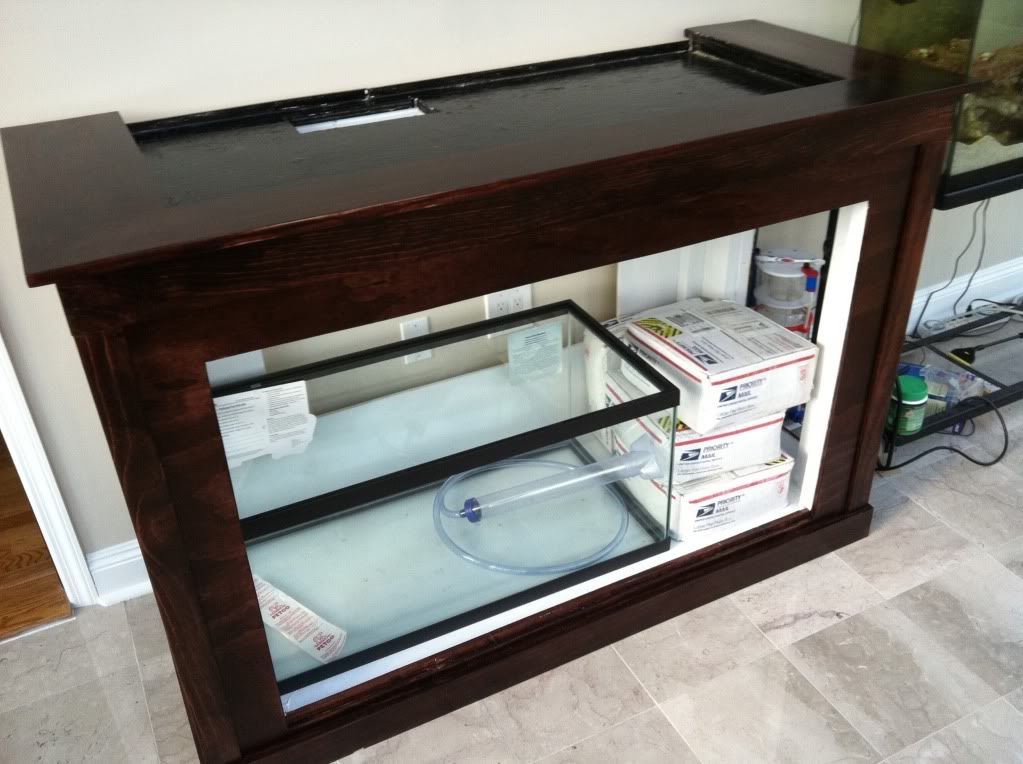
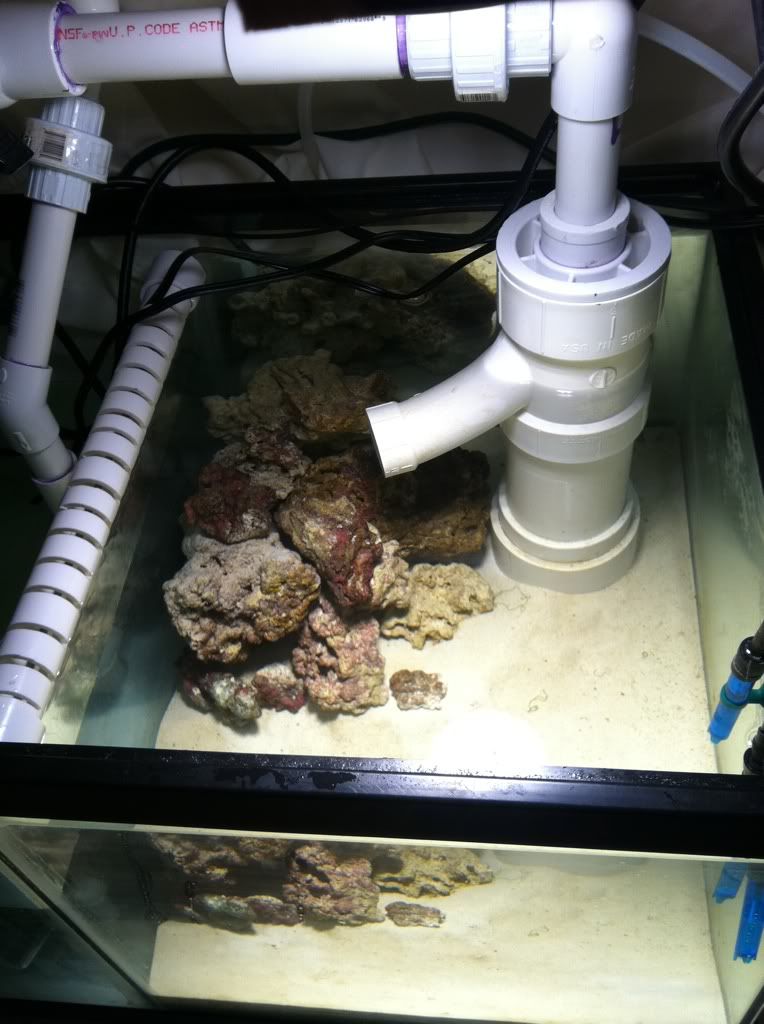
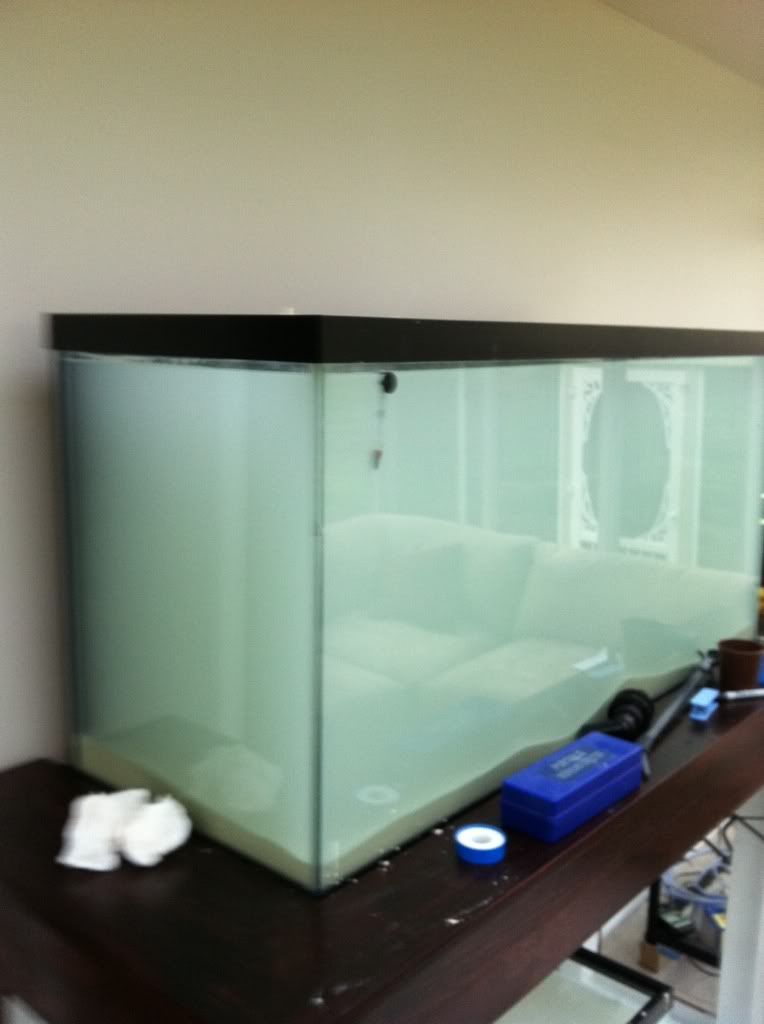
90 AGA display
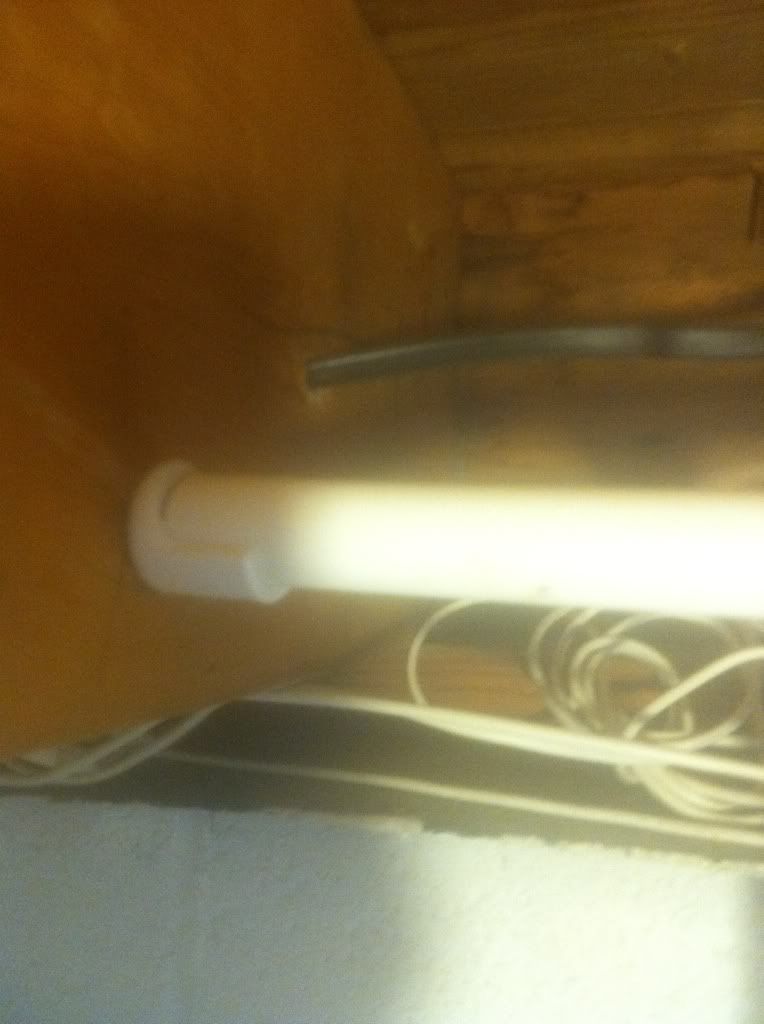
48” Coralife Aqualight Pro w/ 2 150W HQI + 2 96W Actinic 03 Blue (square-pin) & 4 1W LED moons
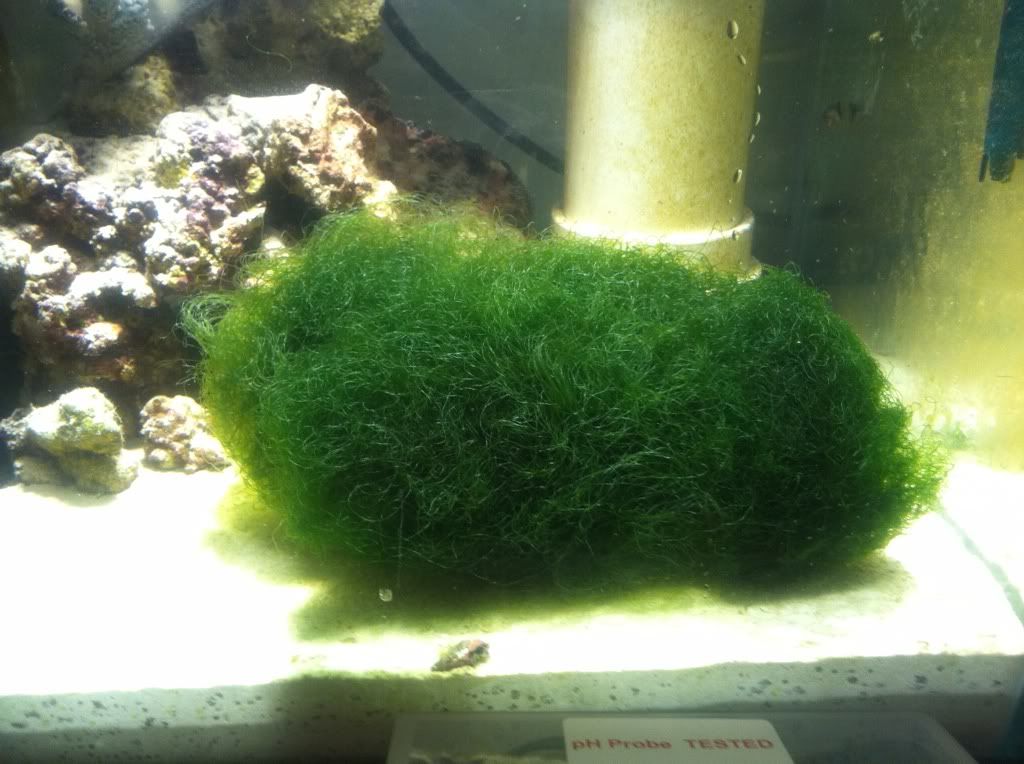
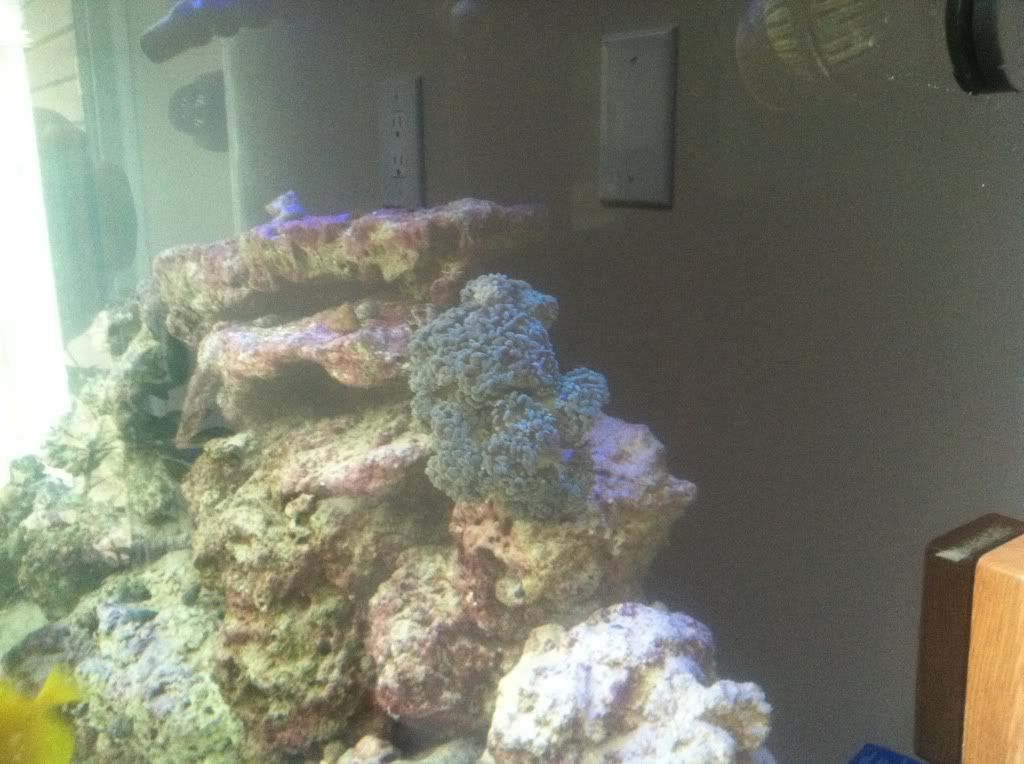
~250lbs of live rock
A Kent Marine RO/DI
6 large plastic drums(I think 5 are about 15-20g, + 1 @ 25g)
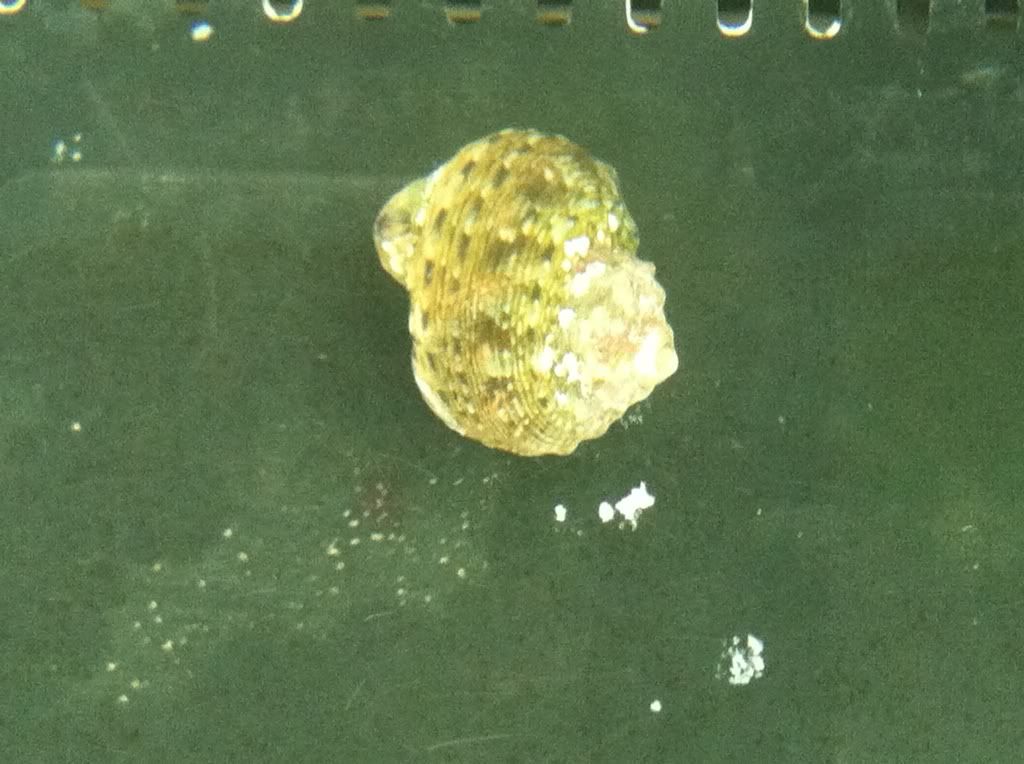
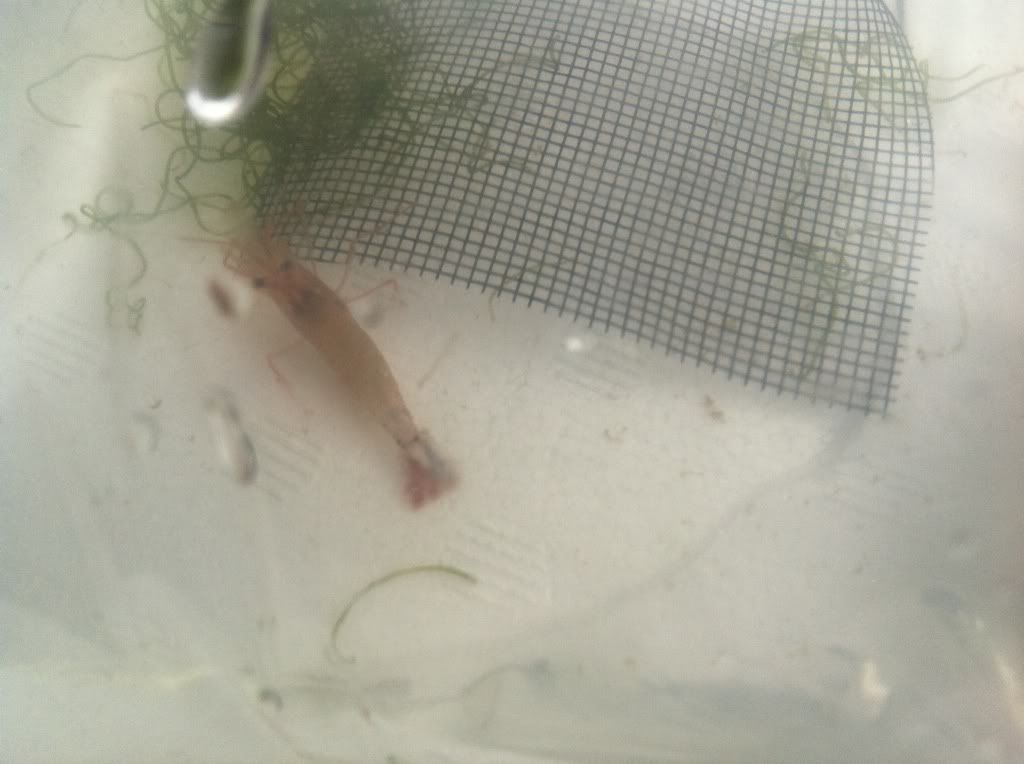
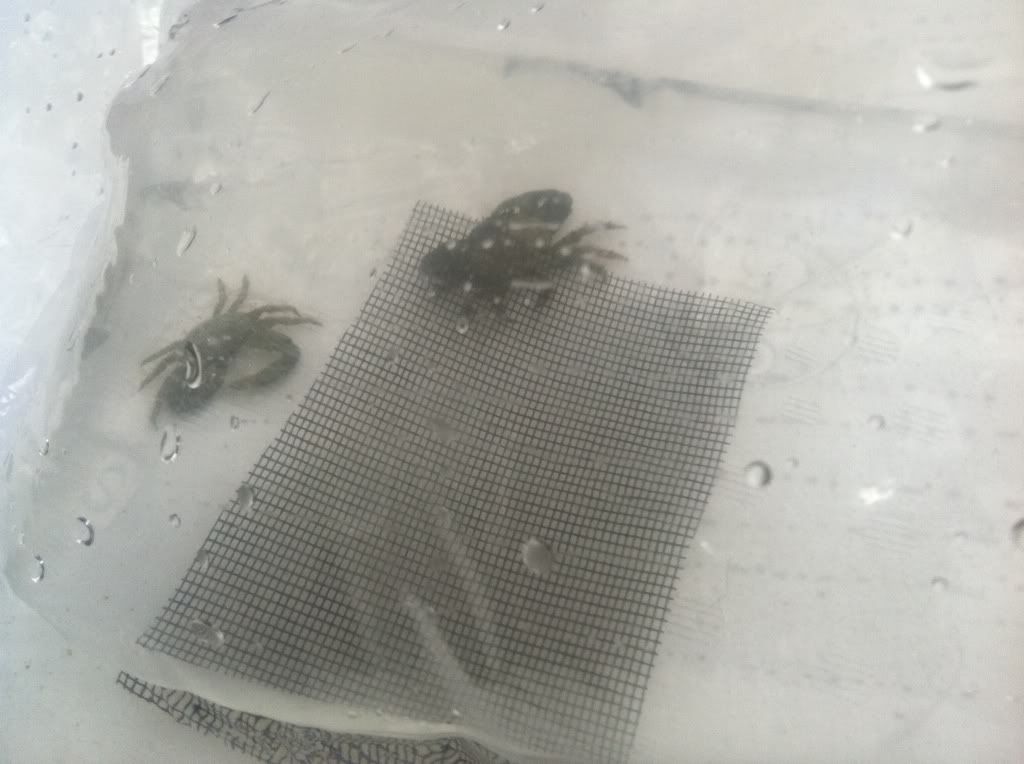
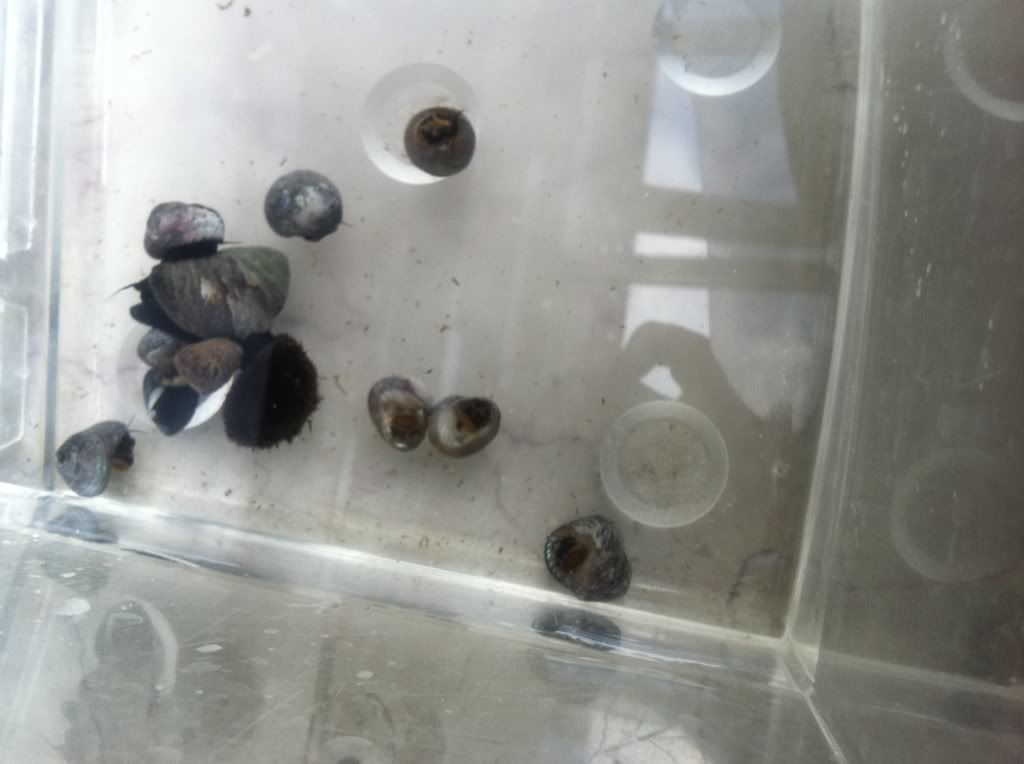
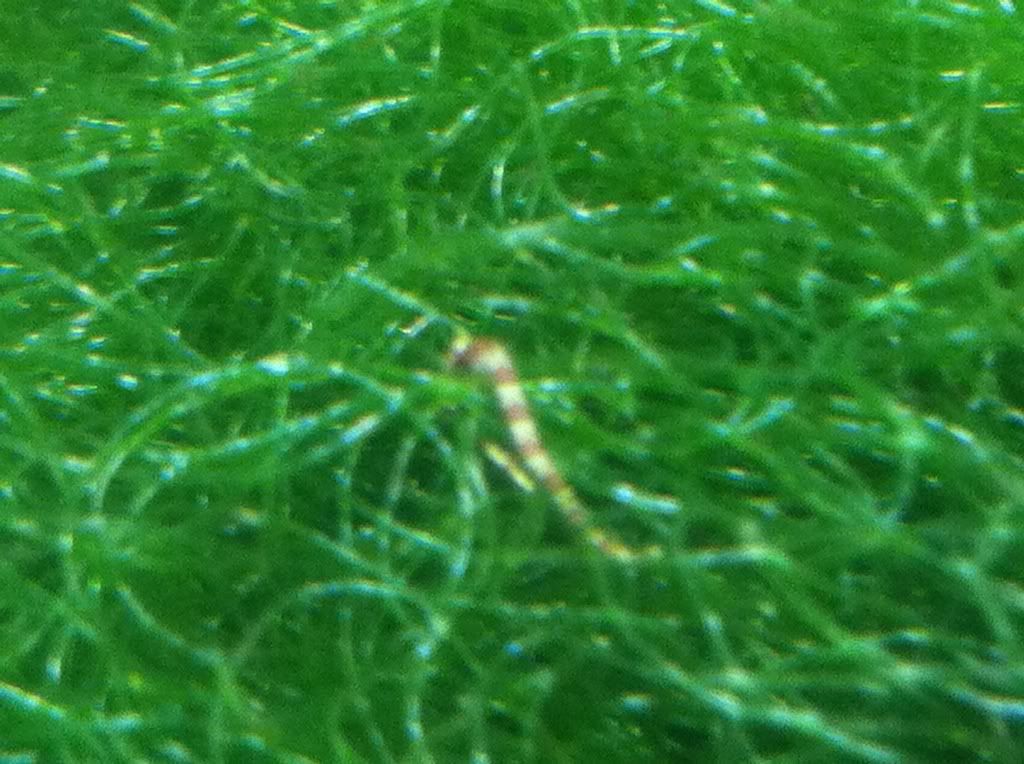
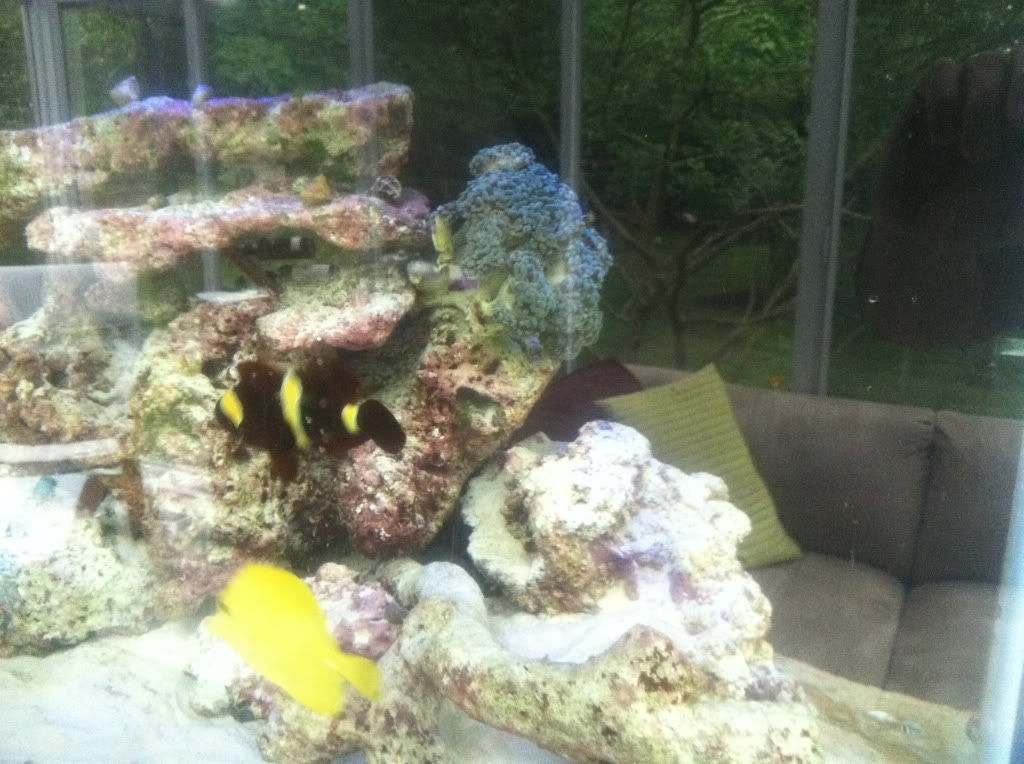
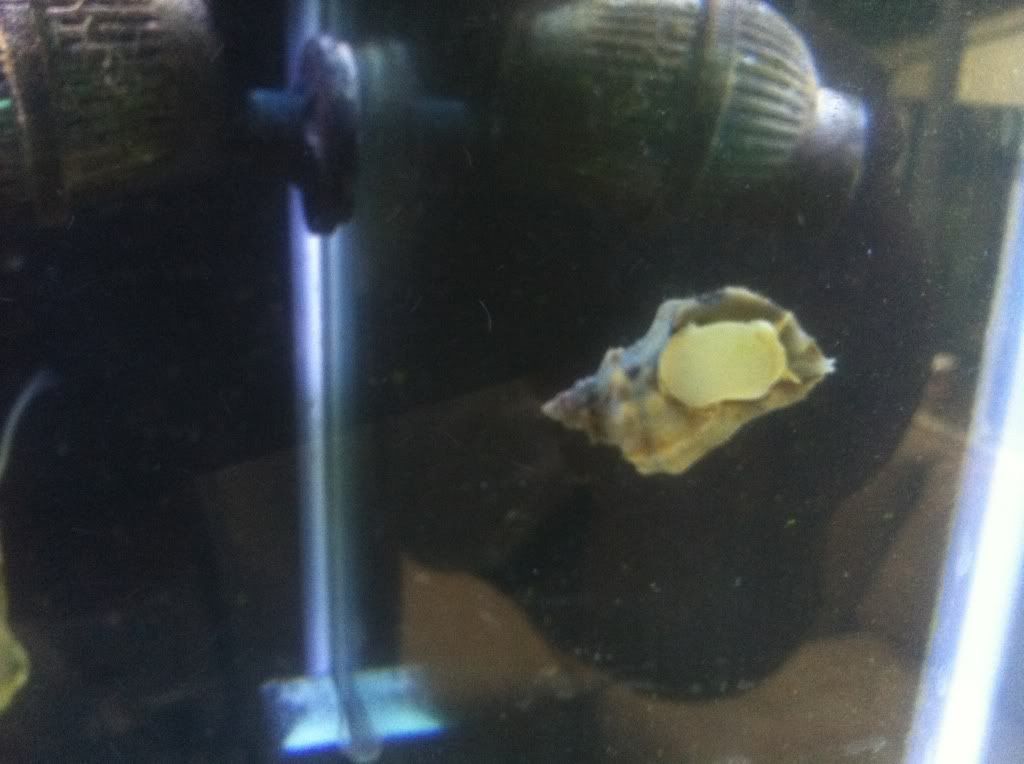
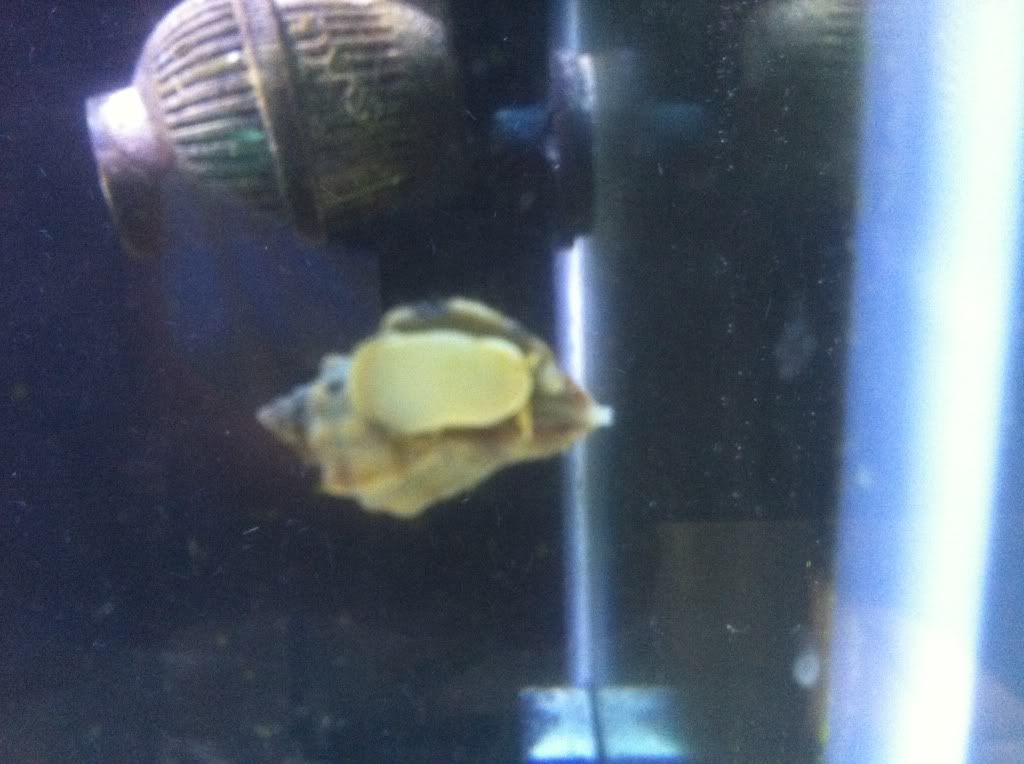
There was also a maroon & gold clown, a yellow tang, a brittle star and a couple fire hermits and 1 Astraea snail
2 10 gallon tanks (1 Iíll keep for quarantine)
A mag 9.5
temporary setup
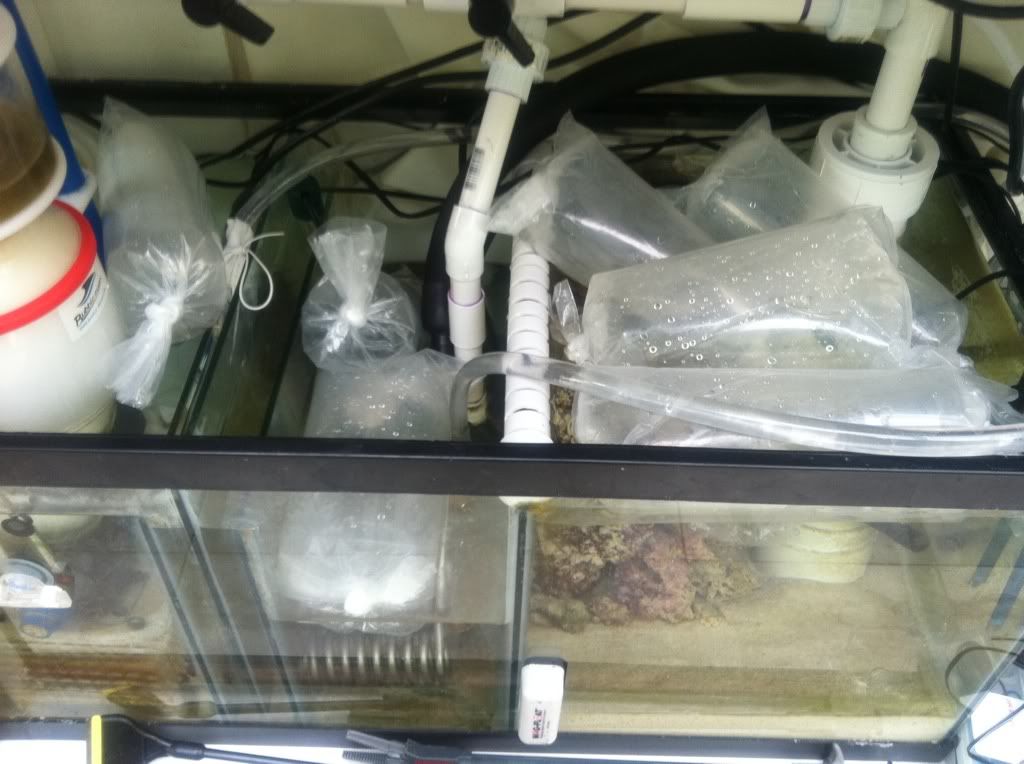
There was a 55g with a separate HOB filter, heater, etc. I have about half the LR and the 2 fish and star holding over in there until I get the 90 up and cycled. I will keep it up for my initial QT and by the summer I hope to take it down. I will use one of the 10s for a QT after that
This stuff also tagged along – likely try and sell some of it:
A ProClear Aquatic Systems wet/dry w/ bio balls
A coralife 125 Super Skimmer
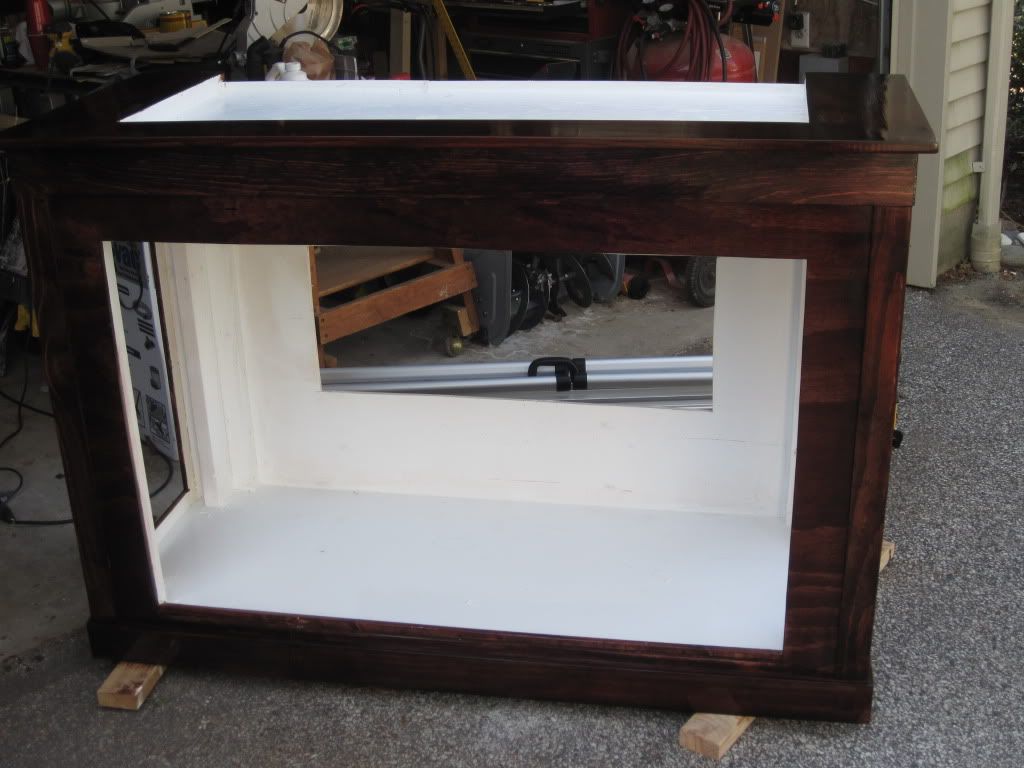
AGA plywood stand and hood
A couple throw-away hydrometers
I’ve acquired a few items (most from craigslist and the local forums) to add to my arsenal
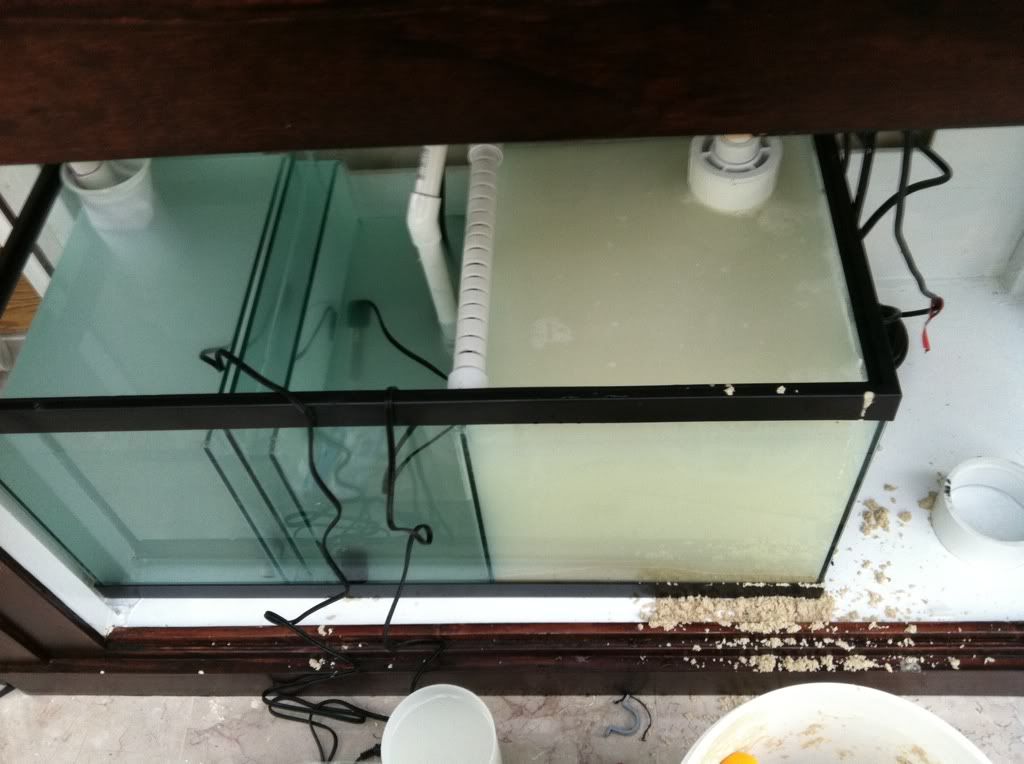
40gLong which I plan to use for a sump/refugium adding my own baffles
Bubble Magnus NAC6
TLF Phosbanreactor with minijet 606 pump
Refracometer
Pinpoint pH monitor
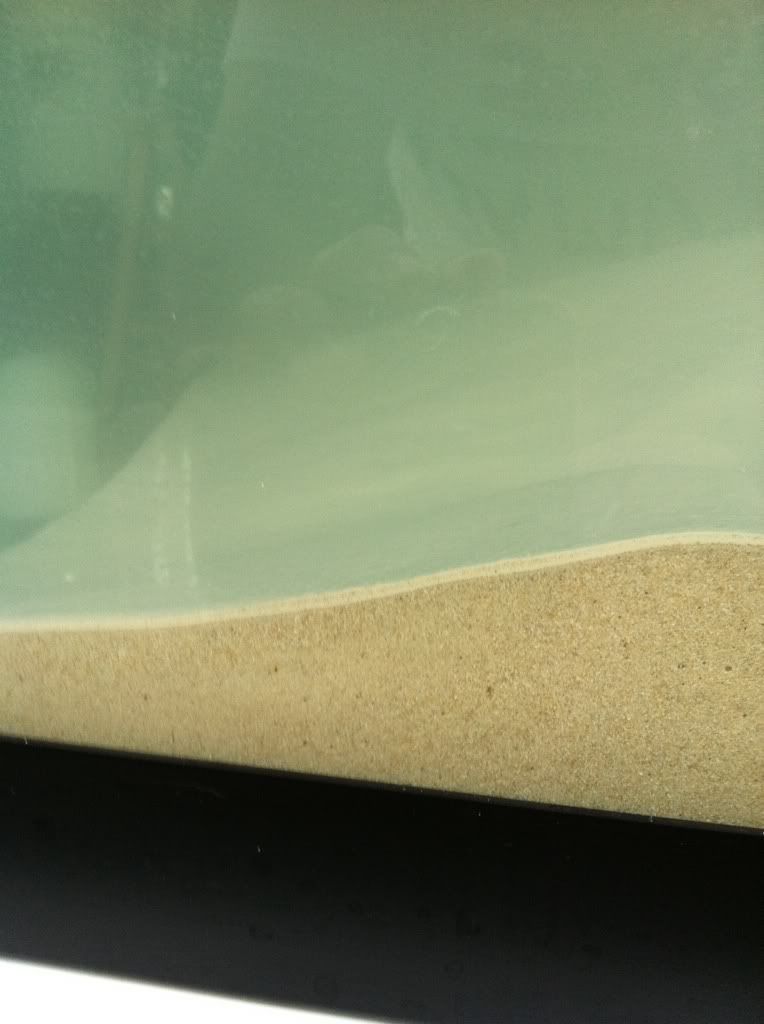
160 lbs of aragonite sand from Marco Rocks
-I edited some of this but I didn’t really add the equipment to date so from memory, here goes:
DJ strip
ReefKeeper II (needs screen repair)
Tunze osmolator
PinPoint Salinity monitor
2 300W SERA heaters
2 Sunsun “wavemaker” vibration pumps - -eBay purchase to carry me until I can afford something more appropriate – claim that they are 1200 gph -
Room:
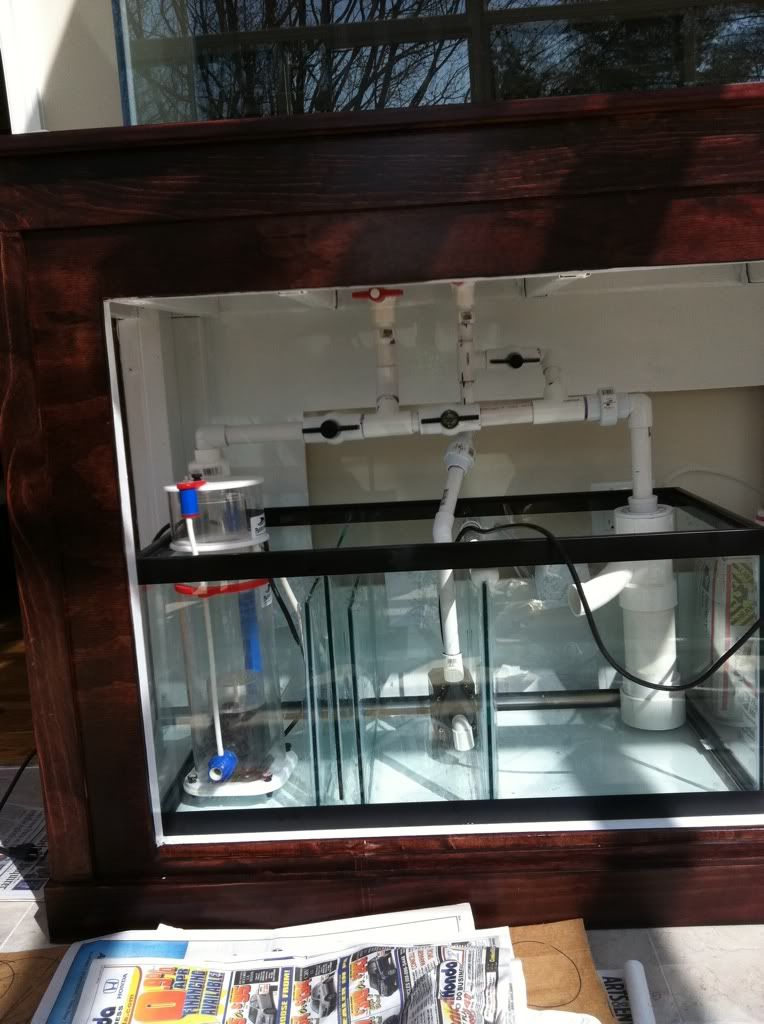
Here is the mostly finished room that made all of this possible. This was an eyesore when we moved in here – there was a room in place with several leaks and generally all but 2-3 glass panels had failed at their seals. I convinced my wife that if I did everything (except the metal framing and glass installation which was left to the pros so it didn’t leak) I would save $1000s and I could use some of that to start a tank. She agreed as long as I pulled permits for the electrical (4 new circuits - 2 for the tank, 1 for radiant floor heating and 1 for the room – ceiling fans, lighting and outlets) so after demo (and removal of a dead hot tub, a couple bouts with self leveling concrete and more than a few visits from the unfortunate inspector assigned to my permits I was finally able to lay the floor and finish the drywall, trim, etc. Presto, new room
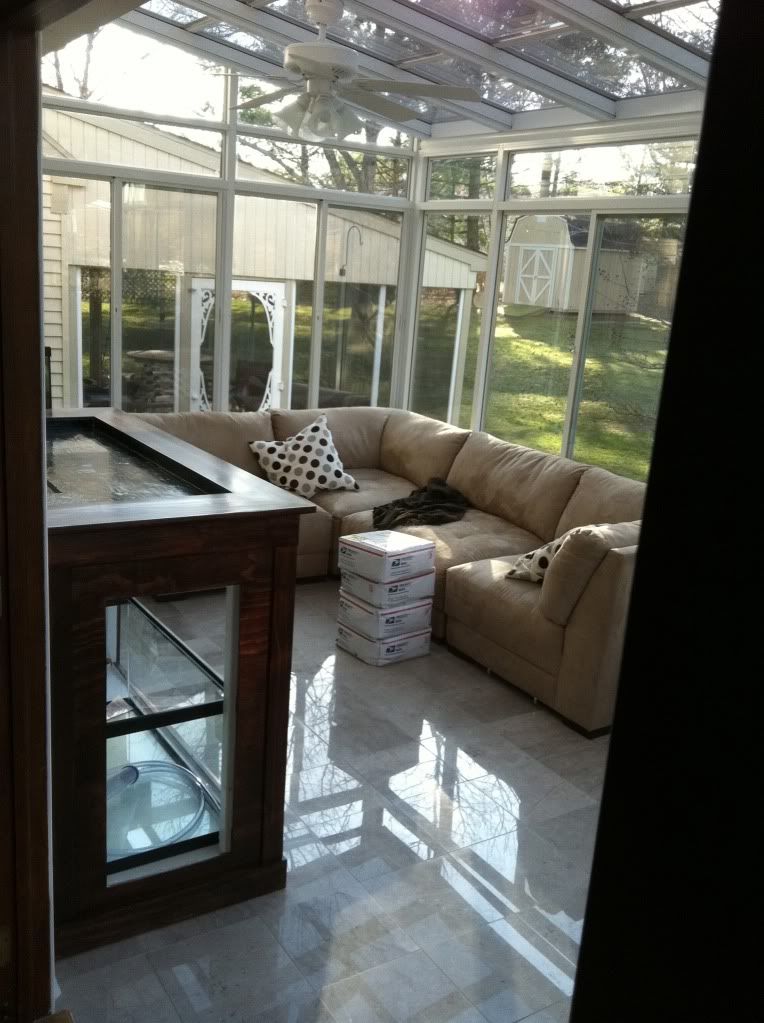
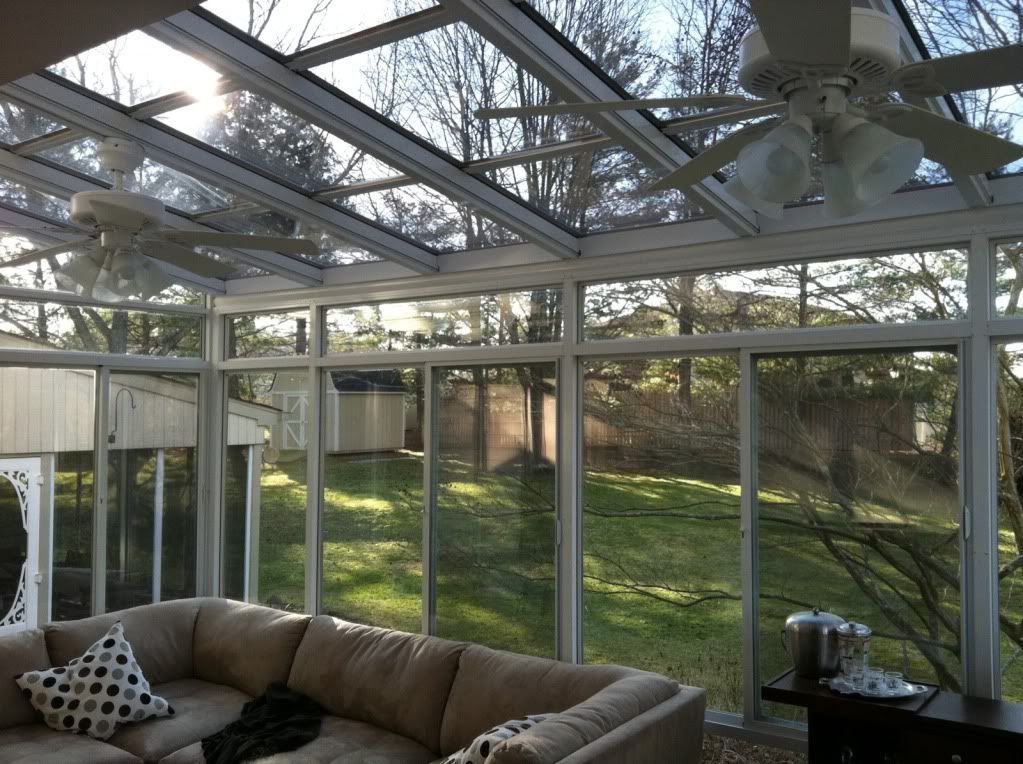
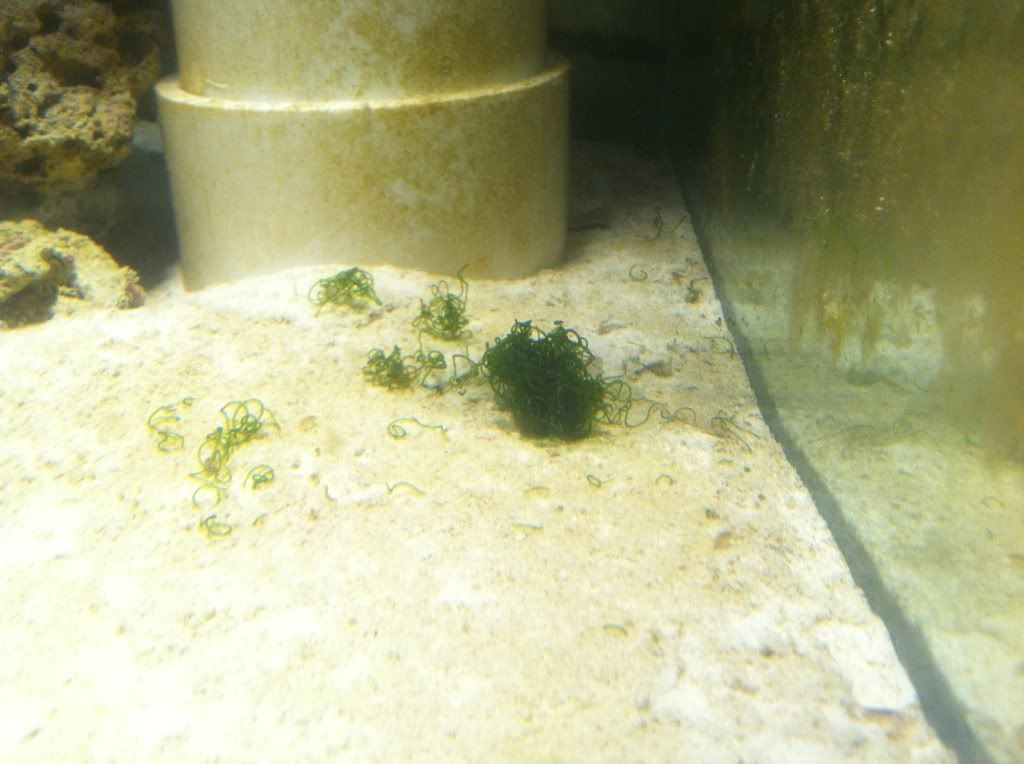
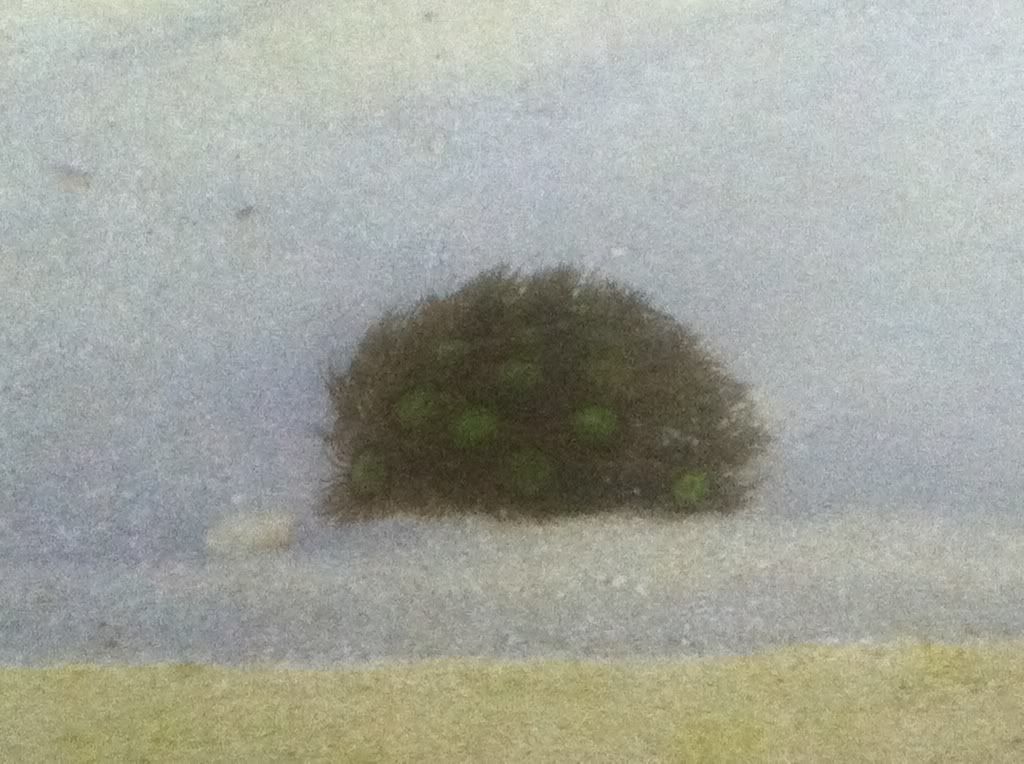
The only downside was that the room had a LOT of natural light exposure which meant that I would likely deal with heat issues as well as algae issues. More on that later
I used Malulu’s google trick and recovered my first post. After that it didn’t seem worth it to try and go through the 200 or so posts that were there, so here is the kick-off….recovered (and edited)
The plan is to get started with a core package that I picked up from craigslist (sold due to a job relocation)
I hope to grow into a reef. A few beginner corals and some additional fish (I have 2 and a brittle star to start)
The limitations at this point are that I’m setting this up in an all glass sunroom so the idea of hiding from natural light isn’t possible. Hopefully this acts like a solar tube and I can control any extra algae. The room is otherwise a new addition that I just finished. I ran 2 dedicated 15A circuits with GFCIs in the basement so I’m not trying to get behind the tank if anything trips. I also ran 3/8” tubes for ATO (and possibly changes). I couldn’t put a sump or any other equipment in the basement.
here’s the first lot of stuff from the initial craigslist deal
Stuff I think I’ll keep:
90 AGA display
48” Coralife Aqualight Pro w/ 2 150W HQI + 2 96W Actinic 03 Blue (square-pin) & 4 1W LED moons
~250lbs of live rock
A Kent Marine RO/DI
6 large plastic drums(I think 5 are about 15-20g, + 1 @ 25g)
There was also a maroon & gold clown, a yellow tang, a brittle star and a couple fire hermits and 1 Astraea snail
2 10 gallon tanks (1 Iíll keep for quarantine)
A mag 9.5
temporary setup
There was a 55g with a separate HOB filter, heater, etc. I have about half the LR and the 2 fish and star holding over in there until I get the 90 up and cycled. I will keep it up for my initial QT and by the summer I hope to take it down. I will use one of the 10s for a QT after that
This stuff also tagged along – likely try and sell some of it:
A ProClear Aquatic Systems wet/dry w/ bio balls
A coralife 125 Super Skimmer
AGA plywood stand and hood
A couple throw-away hydrometers
I’ve acquired a few items (most from craigslist and the local forums) to add to my arsenal
40gLong which I plan to use for a sump/refugium adding my own baffles
Bubble Magnus NAC6
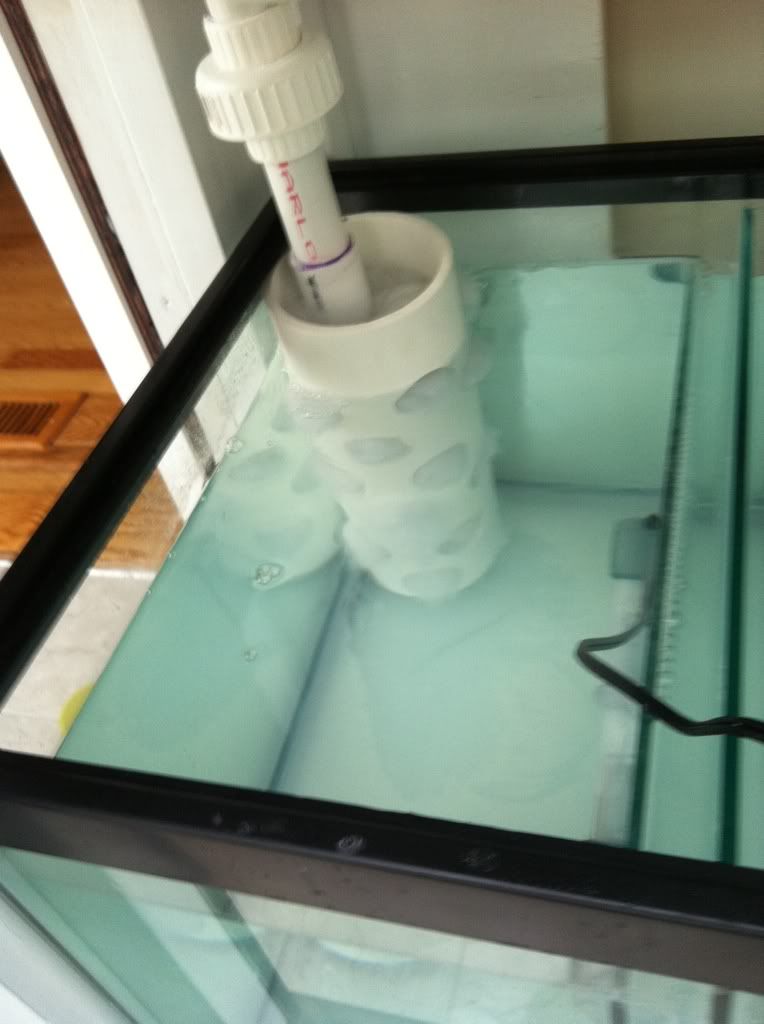
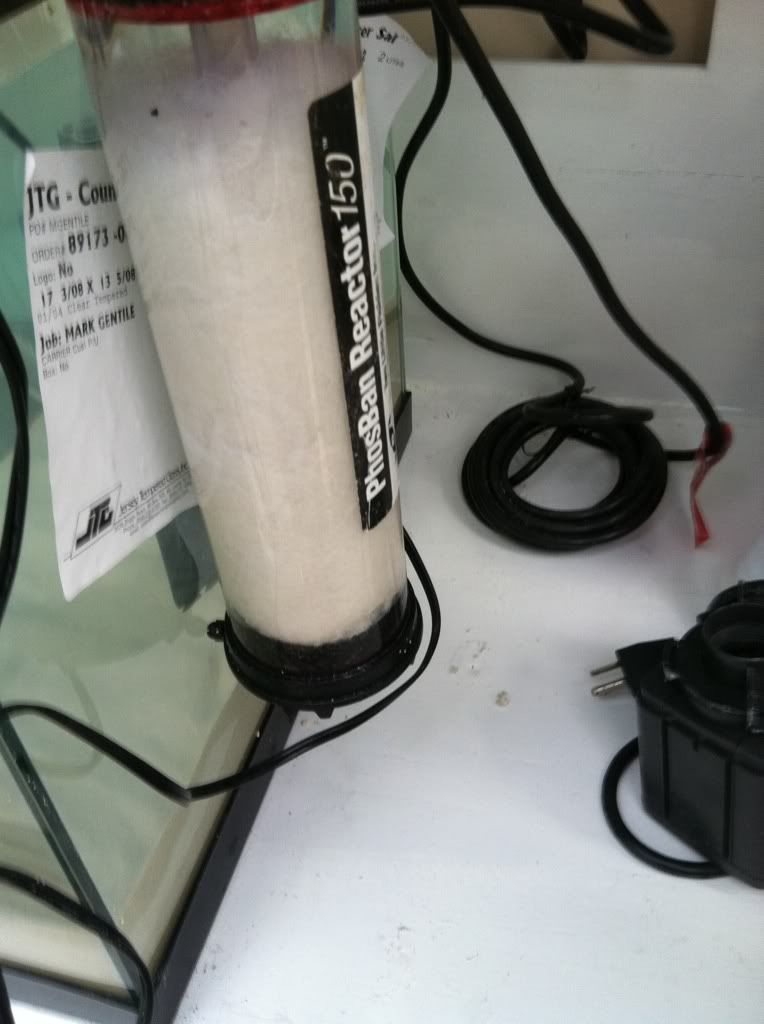
TLF Phosbanreactor with minijet 606 pump
Refracometer
Pinpoint pH monitor
160 lbs of aragonite sand from Marco Rocks
-I edited some of this but I didn’t really add the equipment to date so from memory, here goes:
DJ strip
ReefKeeper II (needs screen repair)
Tunze osmolator
PinPoint Salinity monitor
2 300W SERA heaters
2 Sunsun “wavemaker” vibration pumps - -eBay purchase to carry me until I can afford something more appropriate – claim that they are 1200 gph -
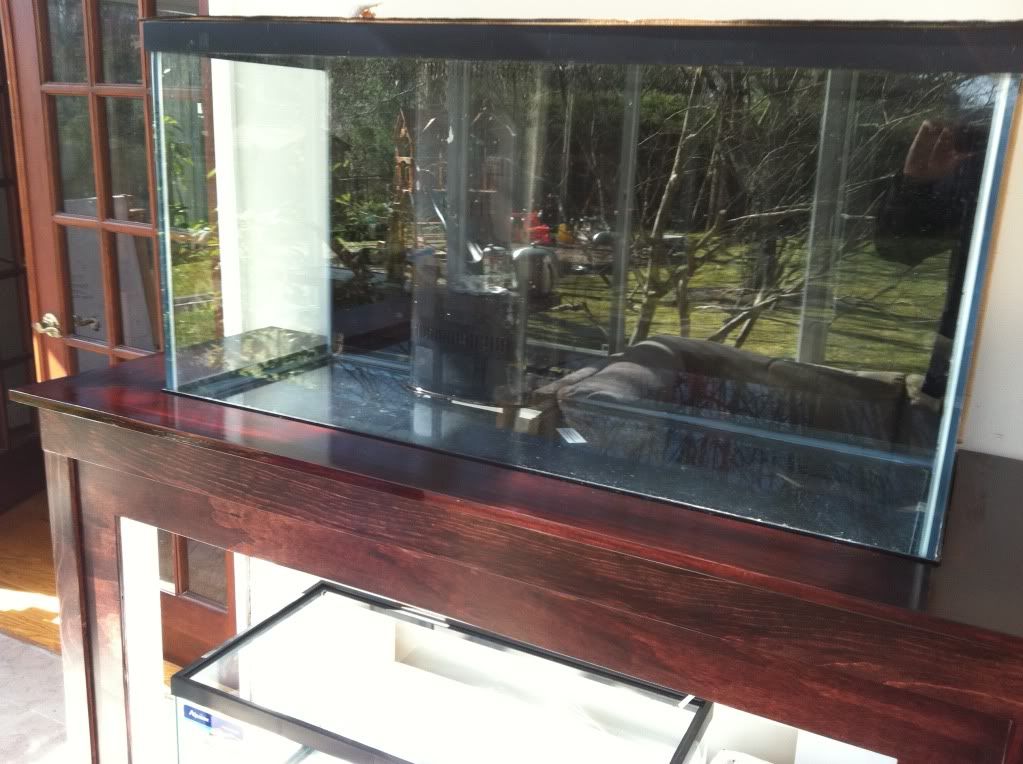
Room:
Here is the mostly finished room that made all of this possible. This was an eyesore when we moved in here – there was a room in place with several leaks and generally all but 2-3 glass panels had failed at their seals. I convinced my wife that if I did everything (except the metal framing and glass installation which was left to the pros so it didn’t leak) I would save $1000s and I could use some of that to start a tank. She agreed as long as I pulled permits for the electrical (4 new circuits - 2 for the tank, 1 for radiant floor heating and 1 for the room – ceiling fans, lighting and outlets) so after demo (and removal of a dead hot tub, a couple bouts with self leveling concrete and more than a few visits from the unfortunate inspector assigned to my permits I was finally able to lay the floor and finish the drywall, trim, etc. Presto, new room
The only downside was that the room had a LOT of natural light exposure which meant that I would likely deal with heat issues as well as algae issues. More on that later

")