• Folks, if you've recently upgraded or renewed your annual club membership but it's still not active, please reach out to the BOD or a moderator. The PayPal system has a slight bug which it doesn't allow it to activate the account on it's own.

DIY Nano Cube Canopy

redfishbluefish

Officer Emeritus
Officer Emeritus
This DIY will be a work-in-progress. I don’t know if this build will work, so it could be a documented failure. I am starting this on January 7, 2013, and will update as I am permitted to spend a little free time in the shop without the boss screaming.


I am going to attempt to build a canopy for a nano cube. In particular a JBJ 28. However, this could be done with any nano cube by adjusting the dimensions. I’m actually not going to give dimensions, because I fit every piece and mark with a pencil.


The reason I’m doing this is twofold. The primary reason is that I would like to switch to LEDs, and I find the JBJ hood and any retro kits to be too costly, so I’m considering one of those dimmable Chinese jobs for around $170. The second reason is that I snapped one of the hinge pieces, and in attempting to change it by unscrewing those miniature screws, both of those screws, which were well rusted, snapped off.


The main use of materials will be inexpensive fir strips (ca 2 ½” x 5/8”) for the carcass and ¼ plywood for the skin.


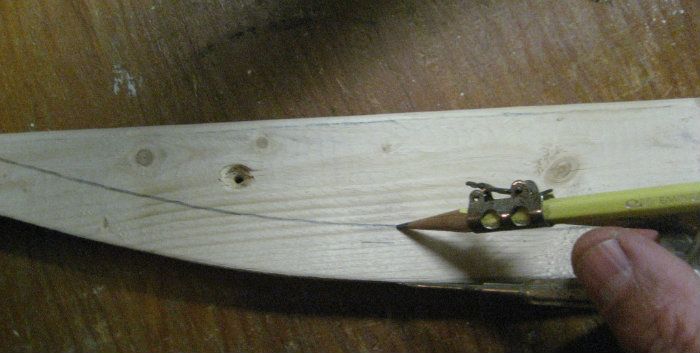
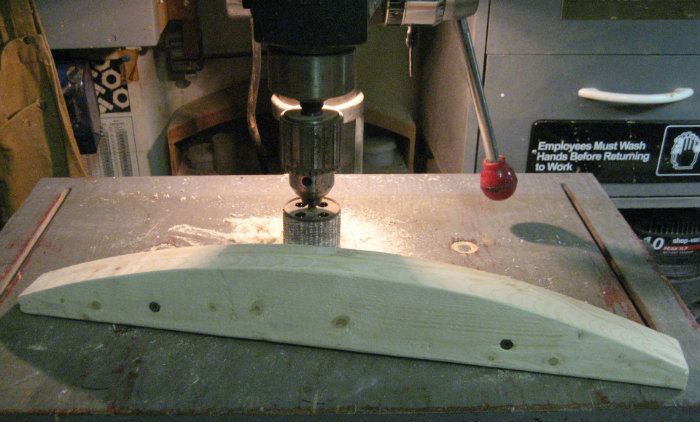
The first thing I did was to trace the front arch of the tank on a piece of fir strip, screwed this to a second piece, and cut that out on the band saw. I know not everyone has a band saw, so a saber saw or coping saw could be used. I cut the line “fat” and then used a power rasp to bring it to the line (Hand rasping or a belt sander would work as well):
CanopyArch.jpg


One of these pieces will be the top front brace and the other the lower front brace of the carcass.


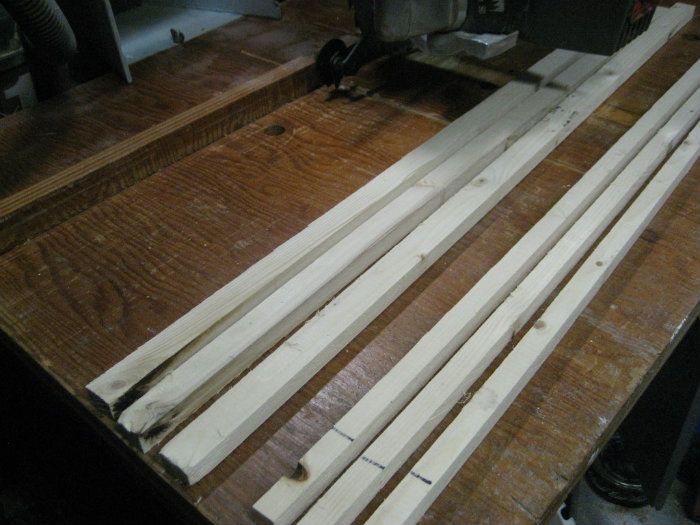
Next were the side and back brace pieces. The lower pieces I ripped at 5/8” wide while the upper pieces were ripped at 1 inch wide. The 5/8 pieces will nicely fit on the frame of the nano, while I wanted a little more meat on the upper pieces…..I tend to over-build.

CanopyCarcassSideandBack.jpg


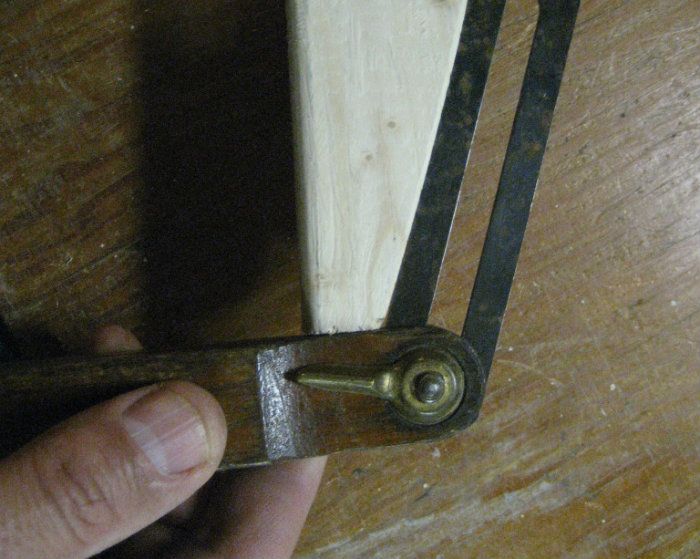
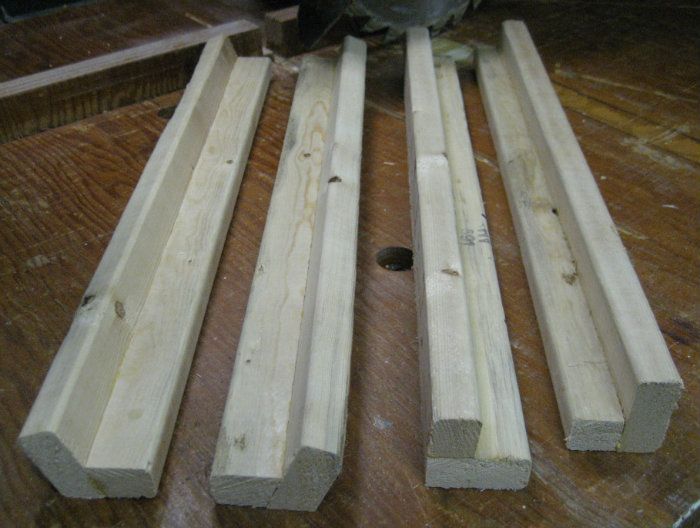
For the upright supports, I made L-brackets by ripping the fir stripping. With the front uprights, I first determined the angle at the corners so that I could adjust the angle of the saw:

AngleofCornerArch.jpg


The boards were ripped, glued (waterproof glue), and nailed. The 90[SUP]o[/SUP] L brackets will be for the two back uprights, while the angled ones go up front. I will throw this one number at you…..I’m looking to make this canopy about 16-17 inches high, so these L-brackets are 16 inches right now.

CanopyUprights.jpg


More to come…..
 

TanksNStuff

Officer Emeritus
Officer Emeritus
Following along here Paul. I have a 24g Nano Cube Deluxe (which Tony and Terri are borrowing) and a 14g BioCube (Oceanic) that could both use one of these.

The hood on the 24g has working lights but non-working fans but even still, the lights are only PC's... so I was thinking about getting LED's for it anyway. The 14g was bought used and didn't come with a hood anyway... so LED's and a canopy would be great for this one too!

Paul, have you drawn this out on paper as a rough design or are you just winging this? I'd like to see a visual of what it's supposed to look like when done. ;)
 

redfishbluefish

Officer Emeritus
Officer Emeritus
Thanks Zippy…..I’m only a novice woodworker, and still learning.


George, I don’t have anything on paper…..so it your words, I’m winging it. :grin:


Here’s what the drawing looks like in my mind:

A.) Upper and lower frames attached by L-braces in the four corners…about 16-17 inches high.
B.) Plywood skin will extend past the lower frame piece to fit over the plastic frame of the tank. There will be small pieces of plywood on the front and back of each side to hold the canopy from moving left or right.
C.) Doors on either side, hinged towards the rear of the canopy.


I’ll continue to post pictures showing as much as possible. I’ll also let you know about areas that could be improved. Right now I’m thinking that my corner L-Braces are overkill.
 

TanksNStuff

Officer Emeritus
Officer Emeritus
OK, I'll just see how it goes and then decide if I like it when it's done, lol. I don't mean to discourage you Paul, but in order to help you do it right the first time... here are a couple concerns I'm seeing right off the bat:

1. Height of the canopy. These tanks are all around 18" or so tall. With a 16-17" canopy, it's going to look like a really tall top hat. :p

2. Front face is curved. Were you going to try to bend the plywood, or will you instead use vertical slats as some of the bowfront designs use?
 

redfishbluefish

Officer Emeritus
Officer Emeritus
1. Height of the canopy. These tanks are all around 18" or so tall. With a 16-17" canopy, it's going to look like a really tall top hat.


TopHat.jpg


They suggest these Chinese fixtures get mounted 12 to (I think) 18 inches high. I’m targeting the bottom of the fixture to water surface to be about 12 inches.


I will be painting it black, so it will look like a top hat! :p


2. Front face is curved. Were you going to try to bend the plywood, or will you instead use vertical slats as some of the bowfront designs use?


I plan on scoring the plywood every half inch…at least half way through the plywood…to assist in bending around the arch. I’ll make sure I show this as well when I get there.
 

redfishbluefish

Officer Emeritus
Officer Emeritus
Going back to the lower front arched brace, I scribed a line approximately 5/8 inches wide. This was done by eye, and not actually measured.


LowerFrontBraceScribed.jpg


Using the band saw, I cut this line fat and rasped up to the line. Again, the top front frame piece was left whole.


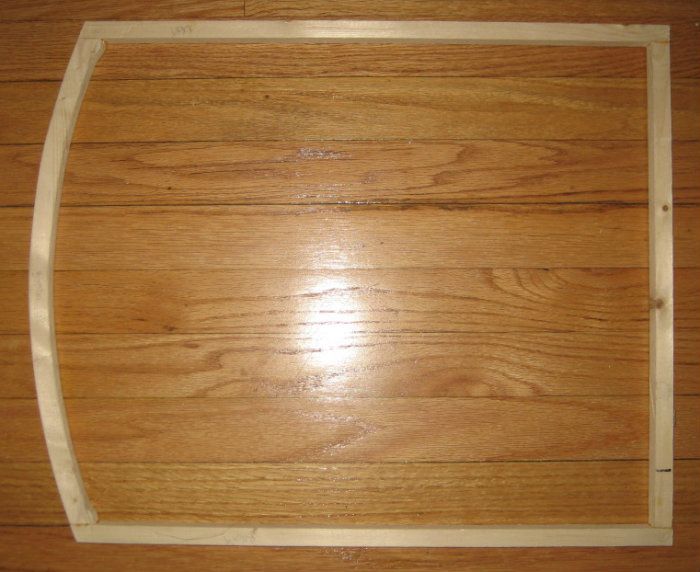
With all the lower frame pieces done, the front, side and back braces were given lap joints and glued up. Here’s the lower frame all finished:


BottomFramePiece.jpg


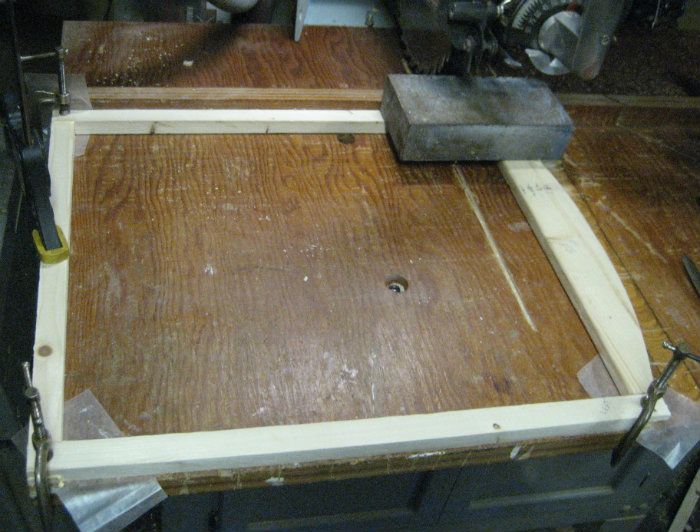
And here’s the top frame clamped to my saw table to assure it is nice and square while the glue dries. (The same was actually done for the bottom frame.)


TopFramePiece.jpg


This might be a good place to stop for today. My wife will be home from work momentarily and I also need for these glue joints to dry.


More tomorrow……
 

TanksNStuff

Officer Emeritus
Officer Emeritus
Looking good Paul! I like that you put some plastic under the glued corners so any seepage glue doesn't make it stick to the table. ;)

As for your previous responses:

1. Yea, I figured that's why you went that tall... I'm just worried about how it will look when it's done. I've seen some regular tanks with an oversized canopy and they just look out of place. I can imagine what an oversized canopy will look like on a short nano... probably a lot like that pic you found. :cool: If it looks good, I may ask you to cut some of the curved front pieces for me if/when I take on this project. I think I can handle the rest of it with my limited toolset.

2. Gotcha on the scoring. I think that will look much better than vertical slats as those tend to have a chance to let light seep through. The bent plywood will give it a nice solid finish.

Looking forward to the next update.
 

redfishbluefish

Officer Emeritus
Officer Emeritus
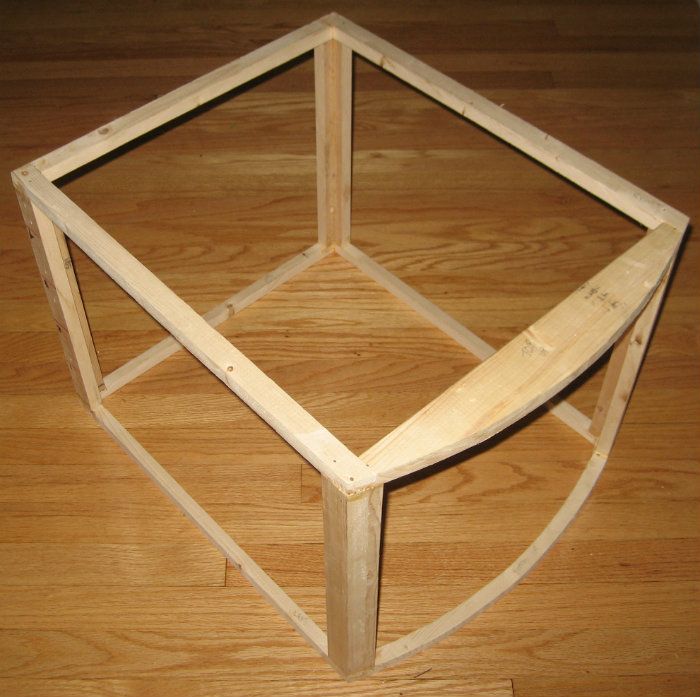
I snuck down to the shop after dinner tonight and assembled the carcass. Glue and 3d nails hold this thing together.


CarcassSkeleton_zpseeb5c2c4.jpg


Tomorrow I’ll start skinning it with ¼ ply.


I was originally thinking of hinging the doors on the back upright, but now think I’ll hinge this on the top brace on both sides. Still kicking that one around.
 
What are you going to do for ventilation to keep moist, warm, salt laden air from decomposing your wooden canopy or have condensation accumulate on you Chinese LEDs?
 

redfishbluefish

Officer Emeritus
Officer Emeritus
What are you going to do for ventilation to keep moist, warm, salt laden air from decomposing your wooden canopy or have condensation accumulate on you Chinese LEDs?


Just like my other canopy, the top will be open. Haven’t had a problem with any moisture, salt, etc. The fixture is up at least 12 inches.


Even if it was a problem, I’ll be painting this thing with Kilz Complete….it’s their oil based primer that is so nasty to breath when you’re painting. Sticks like grim death.


Damn, that looks great Paul.

Nice work!

Thanks Sunny…..just like your tank! Dance


Paul that little project is coming along nicely.

Thanks Jose….more to come tomorrow.


Paul, I love your projects and sarcasm along the way! Keep up the good work

Is that “good work” for the project or the sarcasm? :p


This old buffoon who calls himself an old fart can give anyone a complex with his witty one liners.


That makes one of us old, and one of us with a complex. Which one are you? :eek: :grin: :grin: :grin: :grin: :grin:
 
Last edited:

redfishbluefish

Officer Emeritus
Officer Emeritus
Skinning the Canopy

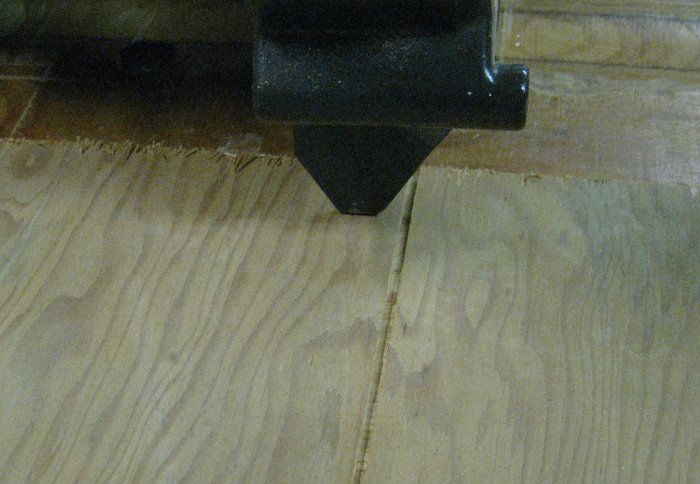
I used ¼ inch exterior plywood salvaged from a job. To bend the front piece over the arced front, I cut grooves the entire height of the plywood about half way through. To simplify this process, I began by making the first cut down the middle, than moved the saw over a half inch.


PlywoodOneGroove.jpg


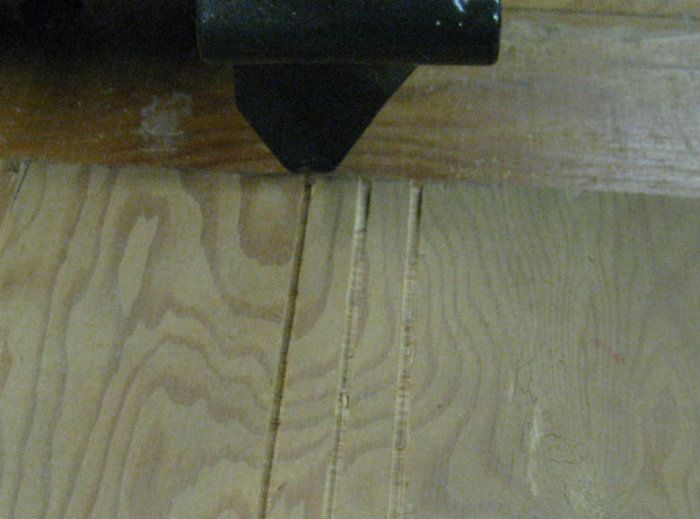
I then made a pass, flipped the board around and made a second pass….now three gooves:


PlywoodThreeGrooves.jpg


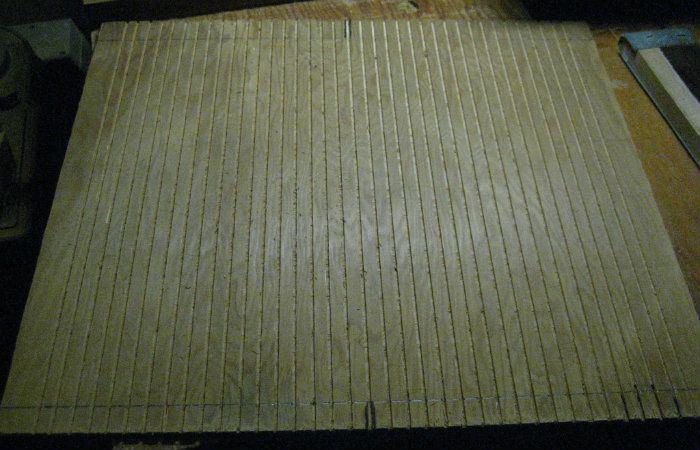
I continued this process, moving a half inch and making two cuts, until the entire board was grooved every half inch.


FrontPlywoodtotallygroved.jpg


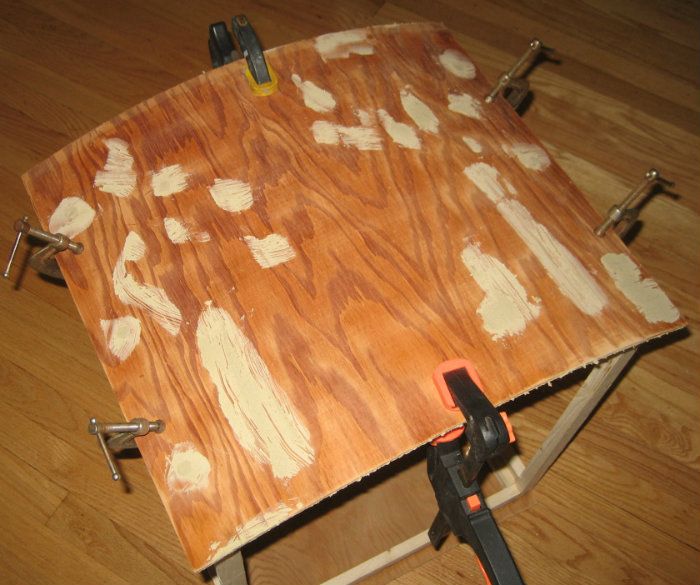
All these gooves every half inch make bending the board over the arc very easy. The back was glued on and the front was glued, clamped and screwed on the two outer uprights. Small scratches and the screw holes were filled with wood filler.


FrontPuttiedUp.jpg


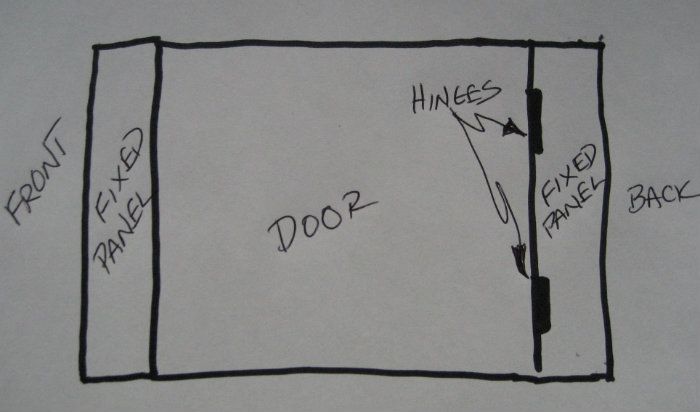
While this glue and filler dries, I’m now scratching my head over the doors. Whatever the design, I plan on putting doors on both sides of the canopy. My original thought was to have a small fixed panel on the front and back side, with a door in the middle of these two panels, hinged at the back.

PLAN A

PLANA.jpg


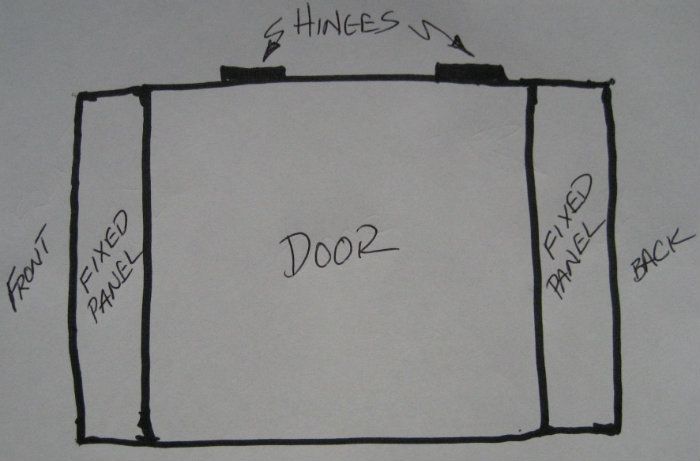
This then changed to the door hinged at the top.

PLAN B

PLANB.jpg


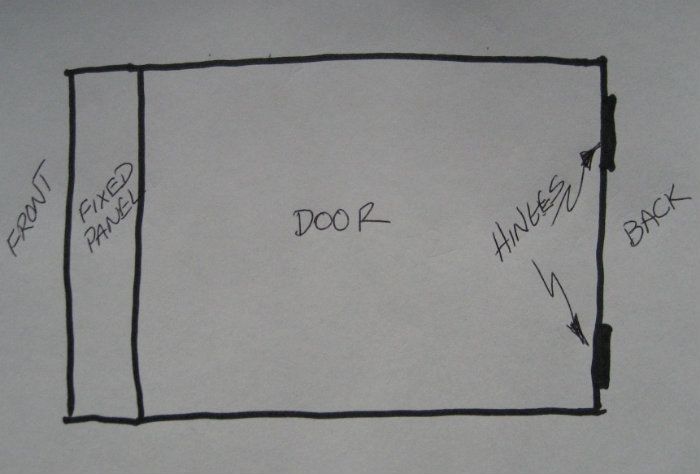
And this then changed to only one front panel and the door hinged all the way at the back.

PLAN C

PLANC.jpg


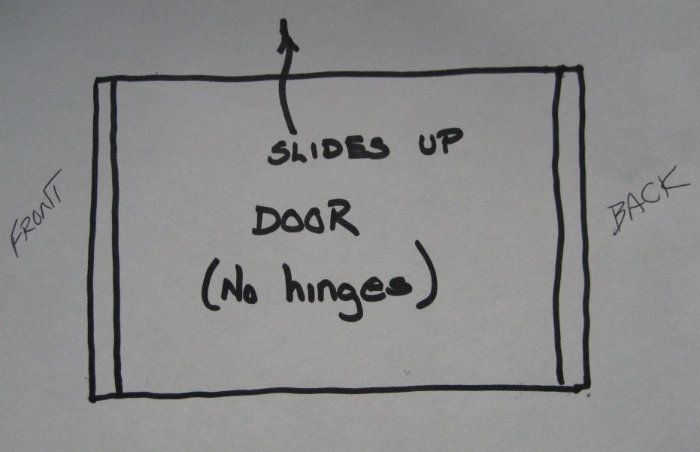
And the latest thought is to have no hinges….they rust up within a couple months anyway….and put in two grooved pieces, front and back, and have the door simply slide up and off the canopy.

PLAN D

PLAND.jpg


I want to give these options more thought before proceeding. I’m also open to suggestions.


If the filler dries enough tonight I think I’ll prime what I have so far with Kilz Complete.
 
Top