I posted this up on the nano forum and thought I would share it here also.
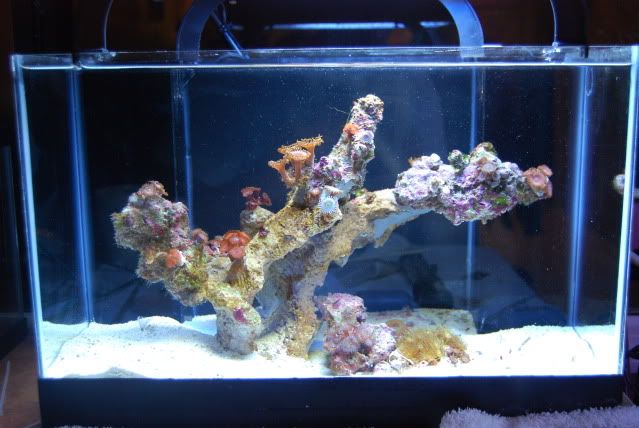
I thought I would share my 5.5 gal all in one build . I started with a nano and have missed it since I took it down for a larger system . Main goals of this nano was to build it myself,have it AIO ,Rimless and keep it really clean with nothing showing in display . No powerheads ,filters,etc..
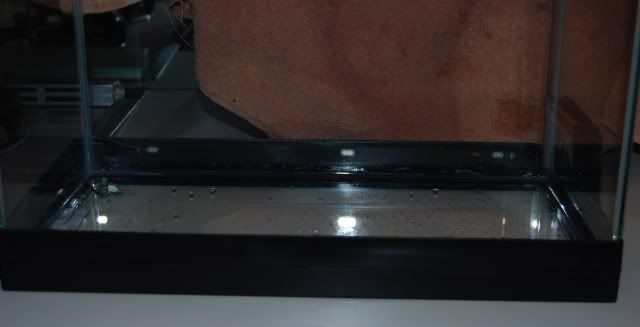
Well here it goes . I started with a 5.5 gallon anf removed the top brace and cleaned up all the silicone joints .
next was to remove just the outer band from the top brace to be reused .
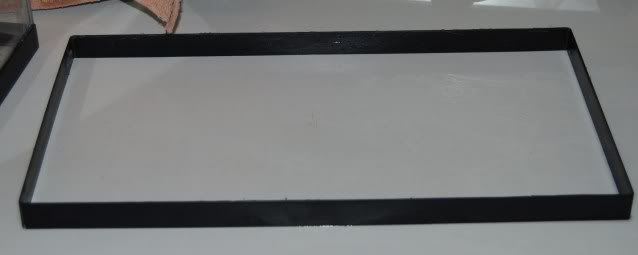
I then reused the upper band on the bottom for a few reasons . I figured it might give a little more strenght to the tank . The main reason was to give a greater depth to the trim hiding the sandbed and plumbing .
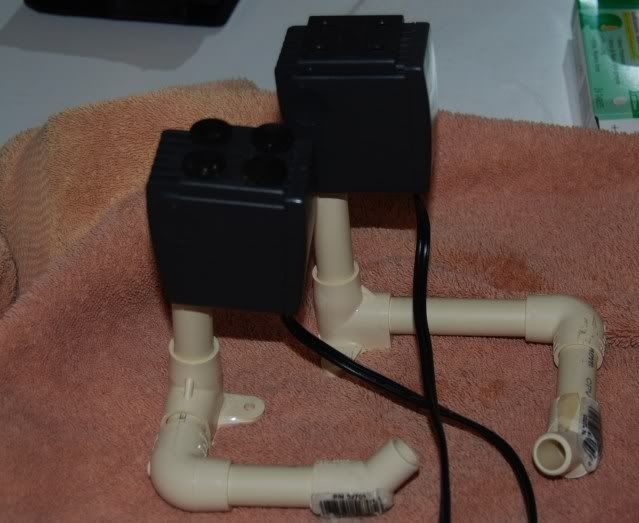
Next up was the plumbing . I wanted it hardlined and self contained . I found that by removing the little numbs on the outlet of a minijet it fits nice and tight inside this water line . I used the flater 90's so I have an area to silicone them down . I used street 45's as the final outlets . By leaving a few unglued I can direct the angle and hight of the return flow .
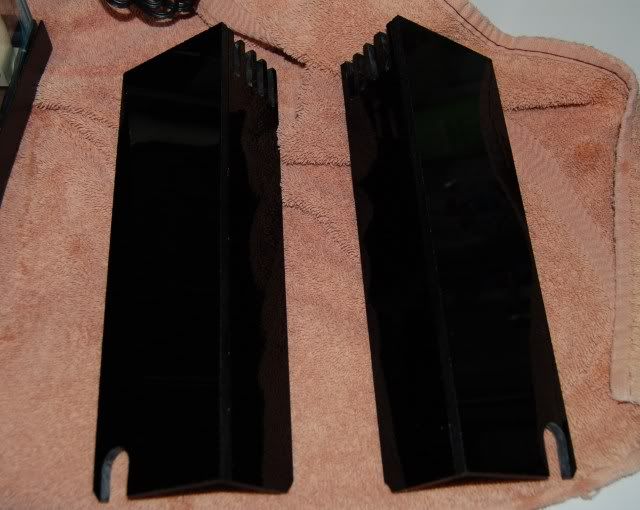
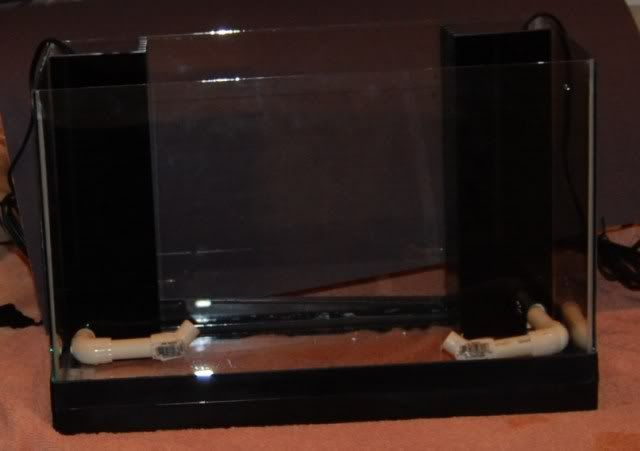
I then had some black acrylic cut,made some teeth myself and a notch for the hard line .
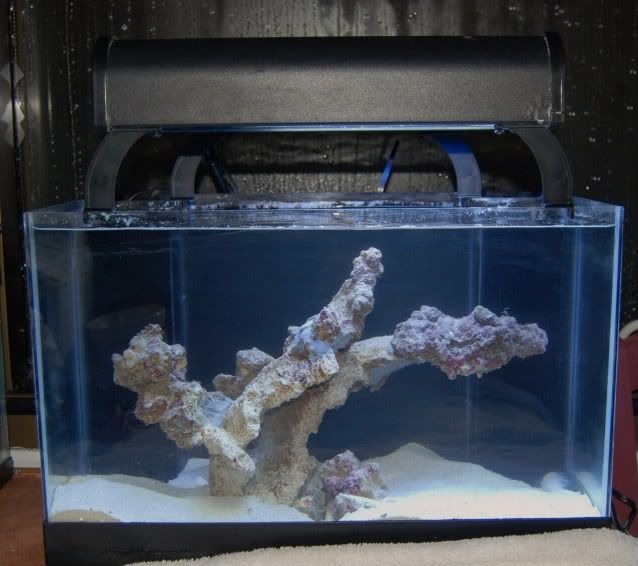
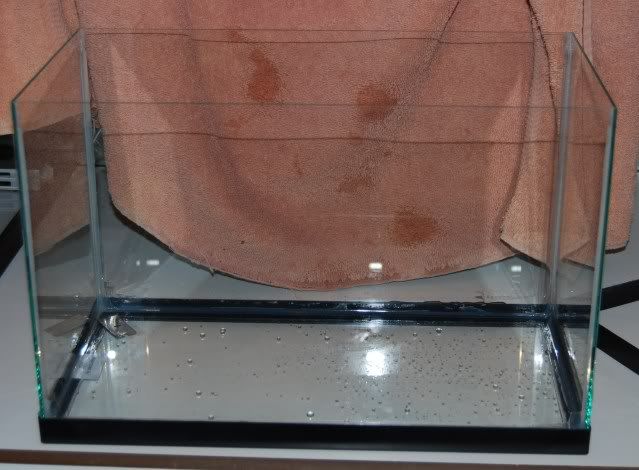
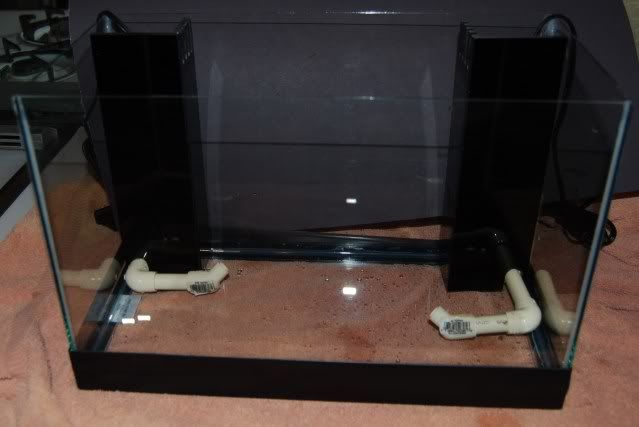
Well here is the final tank . It has been water tested. Next is to glue everything in place and direct the flow the way I want it . I plan on hiding the plumbing under a sabdbed and the returns in the rockwork . I am hoping for a crcular flow . Hope You enjoy. Please let me know, Enjoy Paul
Any questions,comments or critiqs welcomed .
I thought I would share my 5.5 gal all in one build . I started with a nano and have missed it since I took it down for a larger system . Main goals of this nano was to build it myself,have it AIO ,Rimless and keep it really clean with nothing showing in display . No powerheads ,filters,etc..
Well here it goes . I started with a 5.5 gallon anf removed the top brace and cleaned up all the silicone joints .
next was to remove just the outer band from the top brace to be reused .
I then reused the upper band on the bottom for a few reasons . I figured it might give a little more strenght to the tank . The main reason was to give a greater depth to the trim hiding the sandbed and plumbing .
Next up was the plumbing . I wanted it hardlined and self contained . I found that by removing the little numbs on the outlet of a minijet it fits nice and tight inside this water line . I used the flater 90's so I have an area to silicone them down . I used street 45's as the final outlets . By leaving a few unglued I can direct the angle and hight of the return flow .
I then had some black acrylic cut,made some teeth myself and a notch for the hard line .
Well here is the final tank . It has been water tested. Next is to glue everything in place and direct the flow the way I want it . I plan on hiding the plumbing under a sabdbed and the returns in the rockwork . I am hoping for a crcular flow . Hope You enjoy. Please let me know, Enjoy Paul
Any questions,comments or critiqs welcomed .