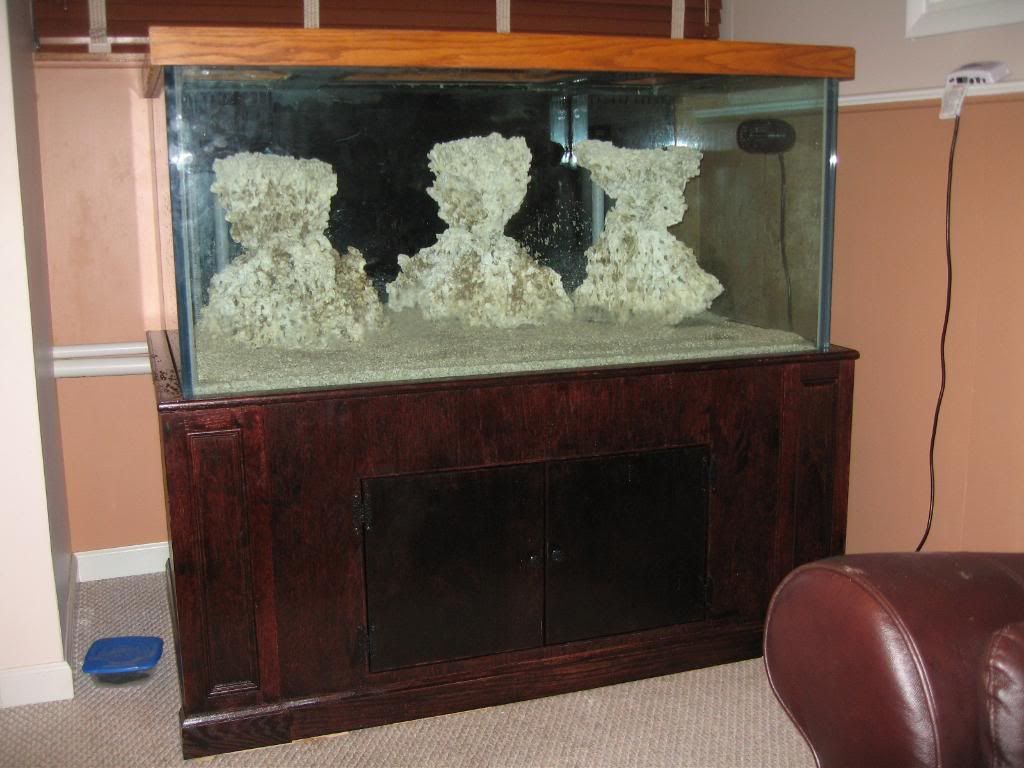
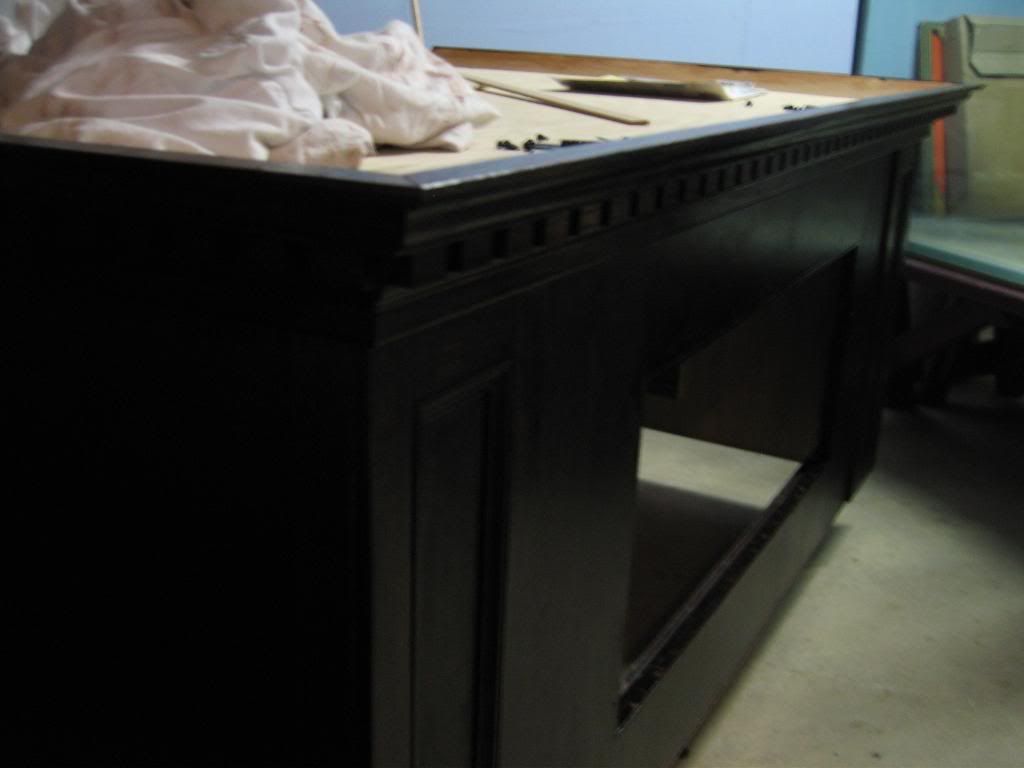
I am trying to document more of my build than I have in the past. My old tank which was a 72g bow front that was great but… I wanted something bigger and nicer. As a result I started looking for something that would suit my personal taste, my fish and corals better. Than on NJ Craigslist site in late July 2009 I came across a tank that was too good to pass up. Sure, it needed a little bit TLC but it had all the potential in the world to make it a dream tank.
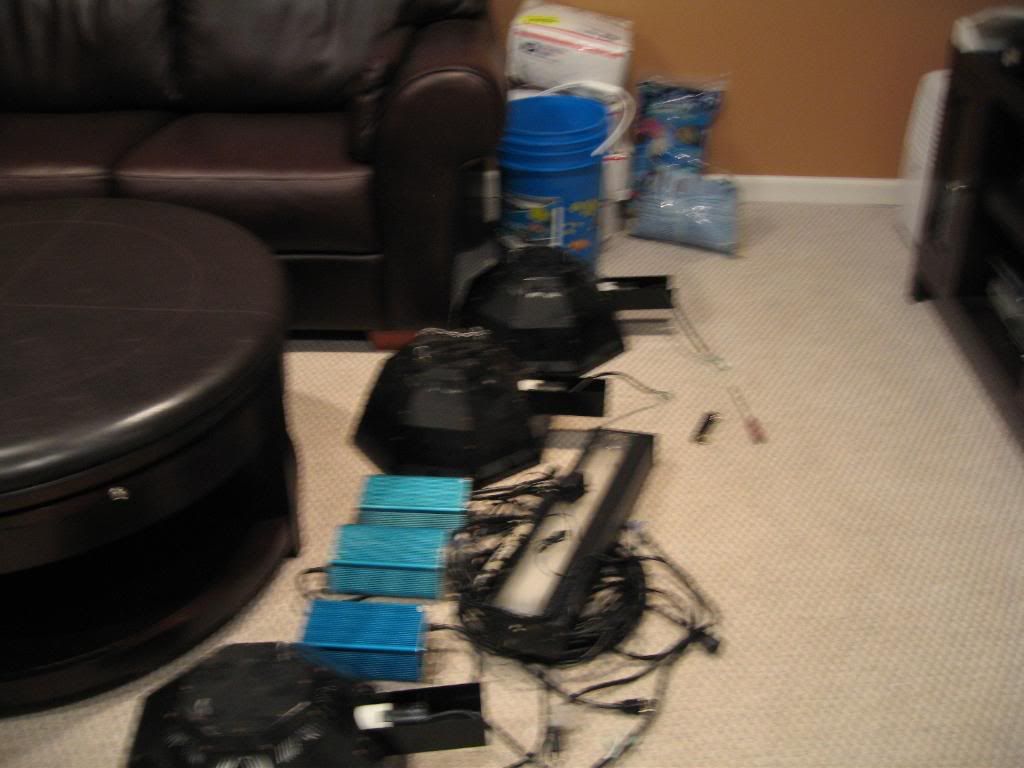
Also, most the equipment is second hand. I bought it from people on my local forum or on RC. It has taken a little bit longer to collect all the equipment, but it helped me to save some money and allowed me to meet some nice people.
Here is a rundown of the equipment that will be used on this system.
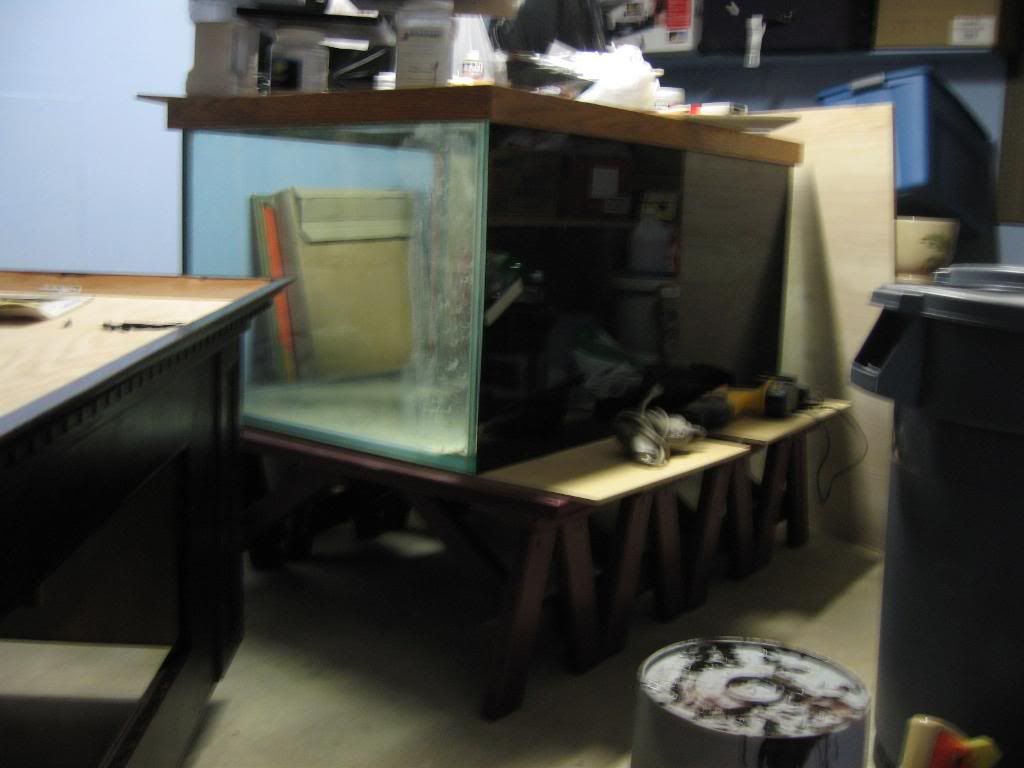
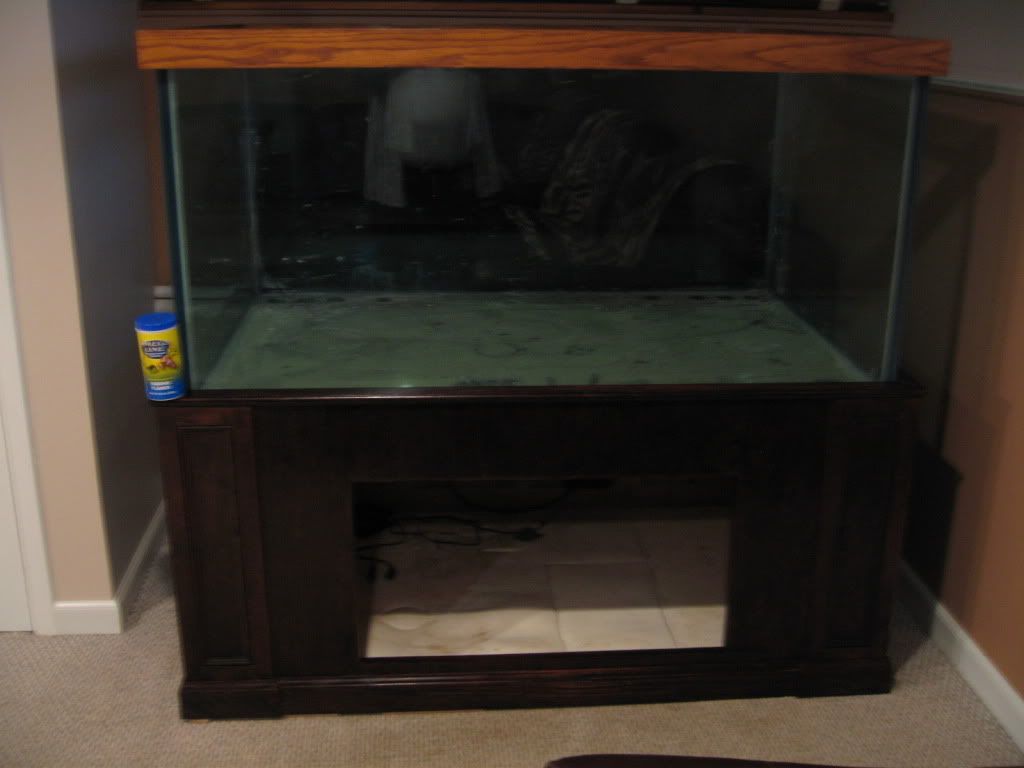
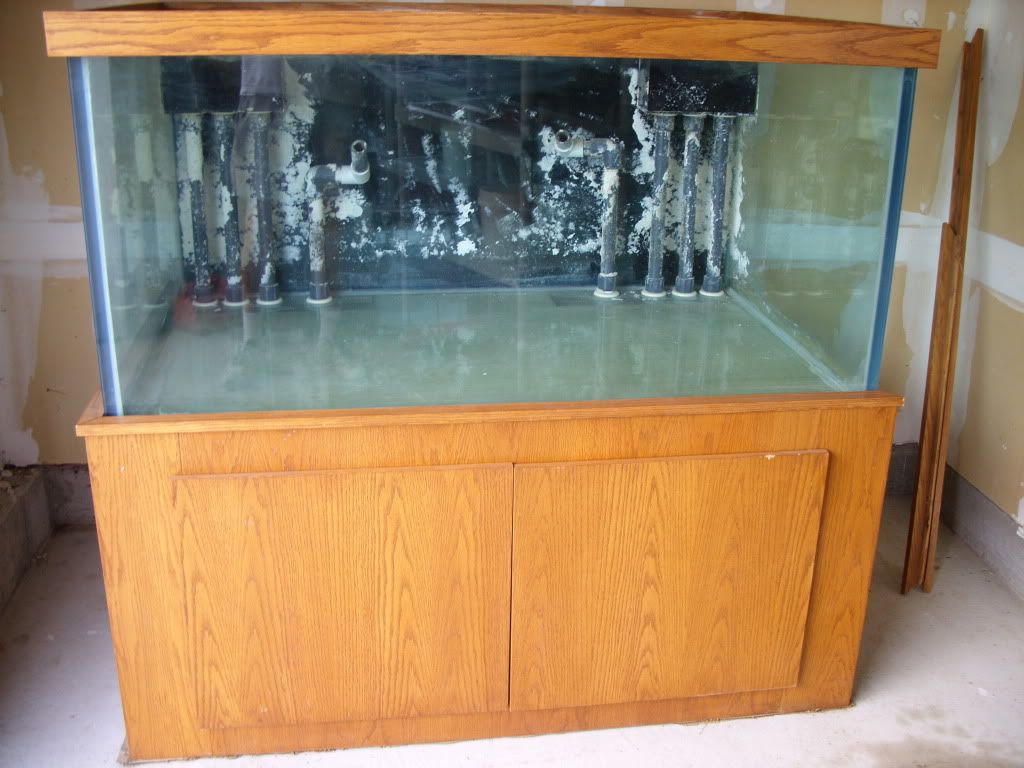
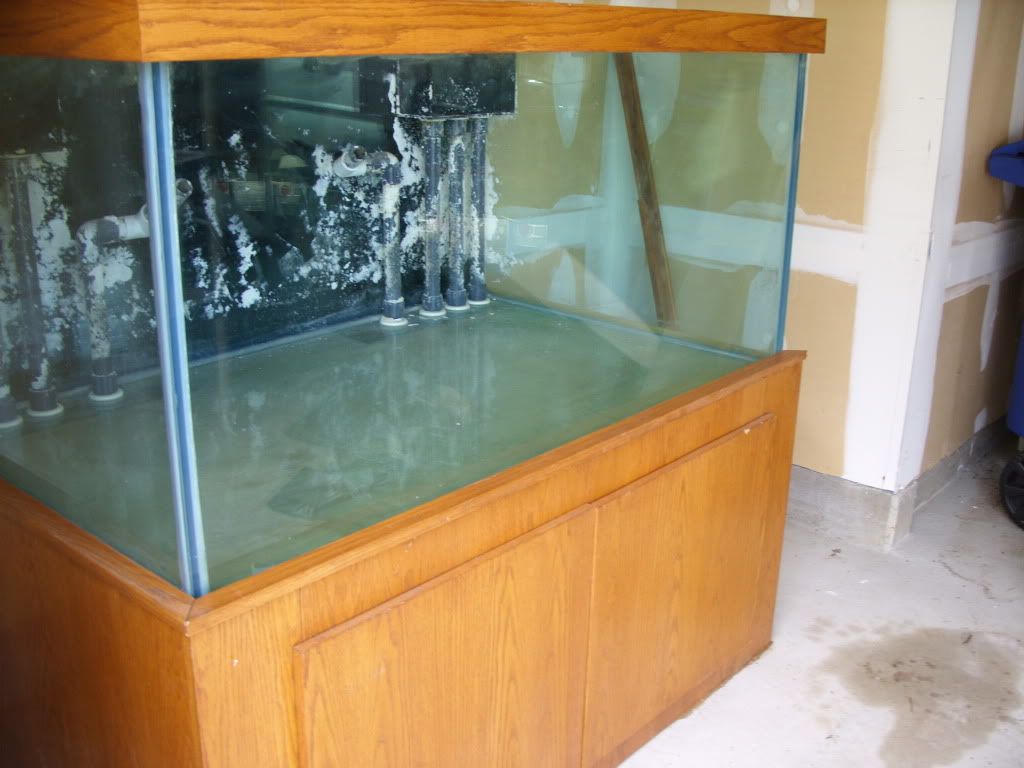
Tank- 54" x 36" x 27" 225g tank (Thank you GloveGuru) – can you imagine that there is not a single scratch on the front glass? ¾” starphire glass. --- also, thank you goes to Paul to helped me to bring it over to my house. It was a great two of moving 2 large tanks from 2 different states in ONE day.
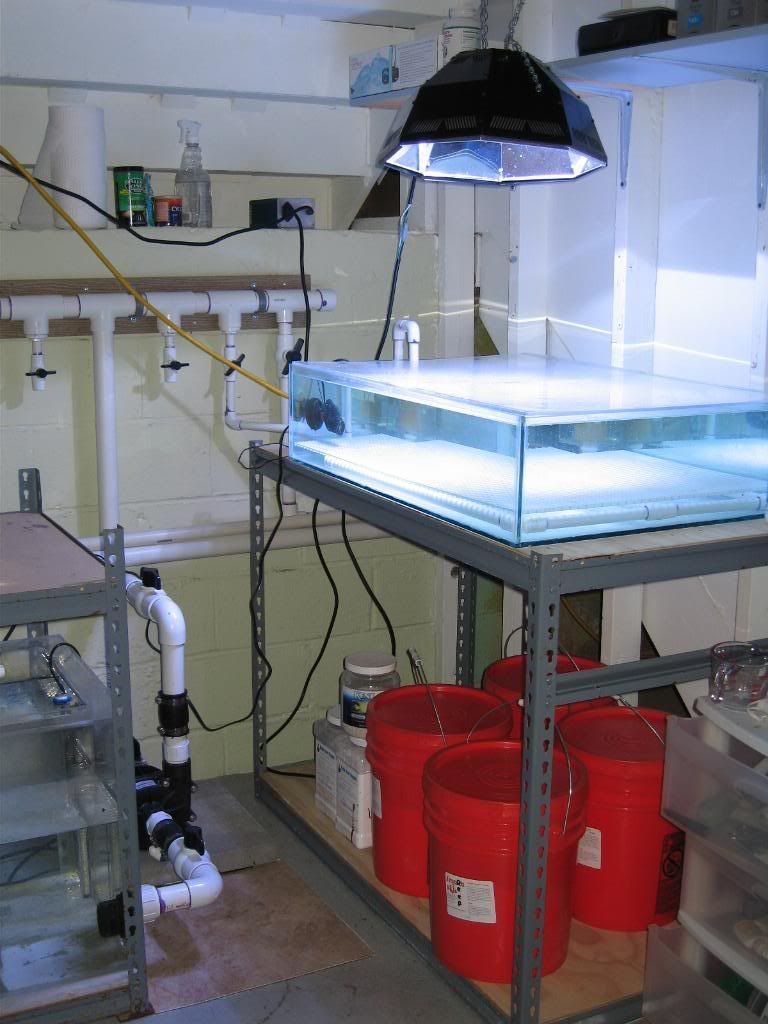
36" x 24" x 10" 30 gallon Frag tank (Thank you Adam)
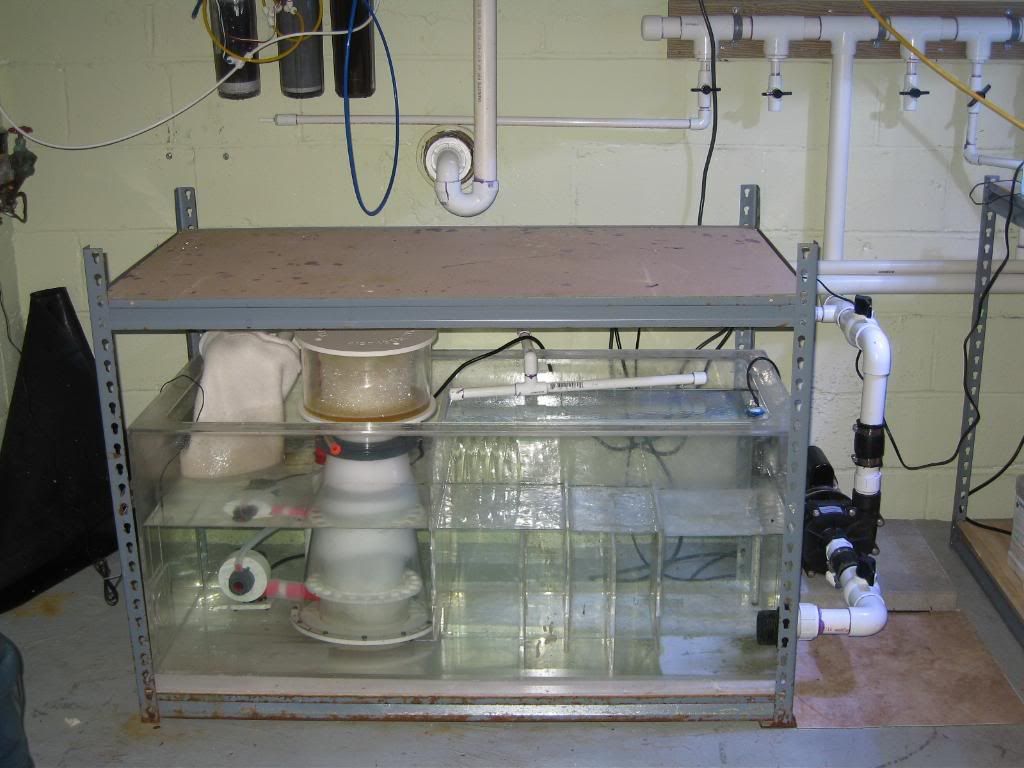
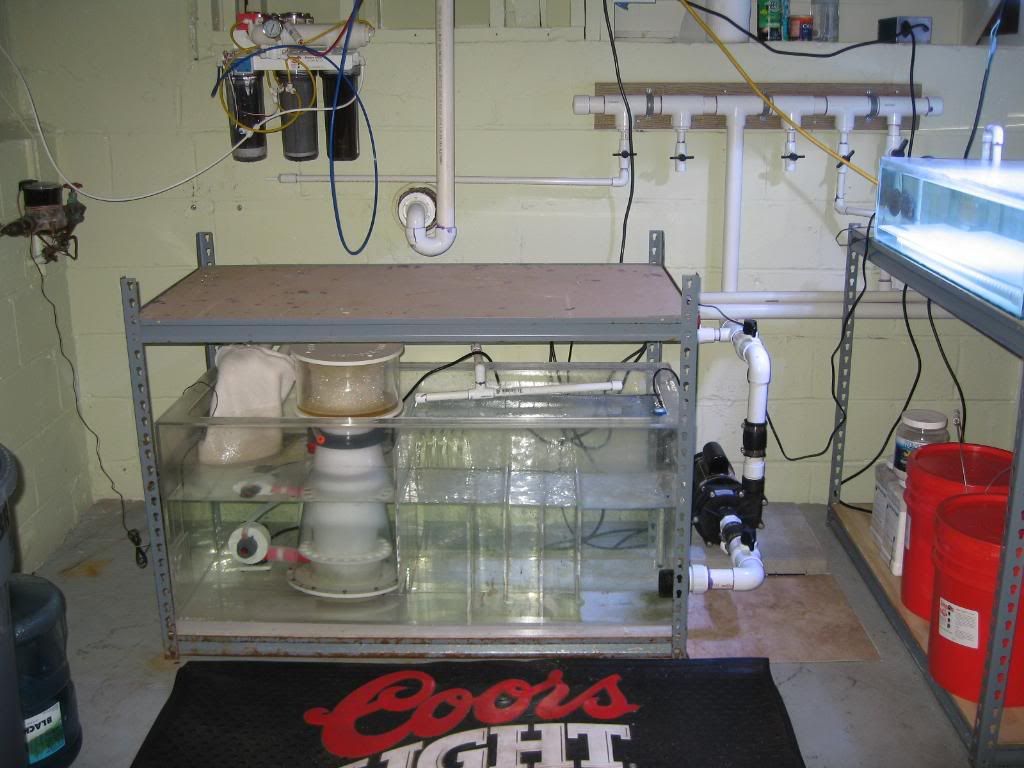
Sump- 80g acrylic sump (Thank you Twinreef)
Skimmer- RE Alpha Cone 250 (Thank you Samsky)
Main pump – Hammerhead (Thank you DanTheManNJ)
Controller: Profilux II with WLAN and soon to be III EX with WLAN (Thank you Vinny)
Profilux Dosing Unit – 4 pump to control Ca, Alk and Mg (Thank you Vinny)
In tank circulation- 2 mp40's gen2 http://ecotechmarine.com/products/vortech-mp40w/ - (Thank you Brian from TB Aquatics)
Salt-Brightwell Salt (Thank you Felix)
Zeo Reactor - Vertex 3L reactor and zeo stuff
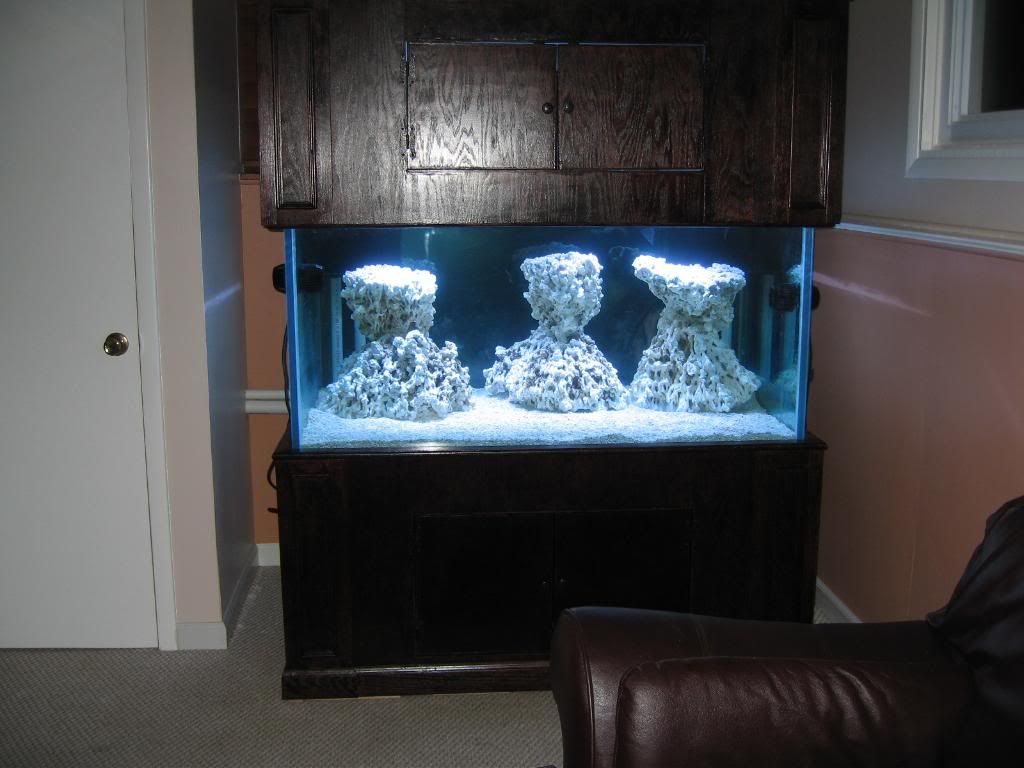
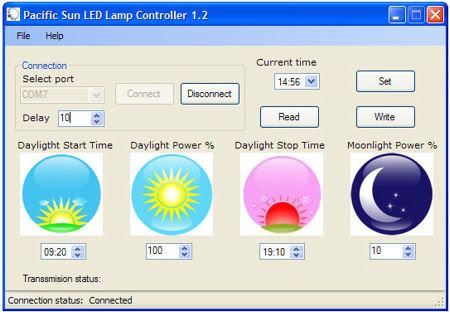
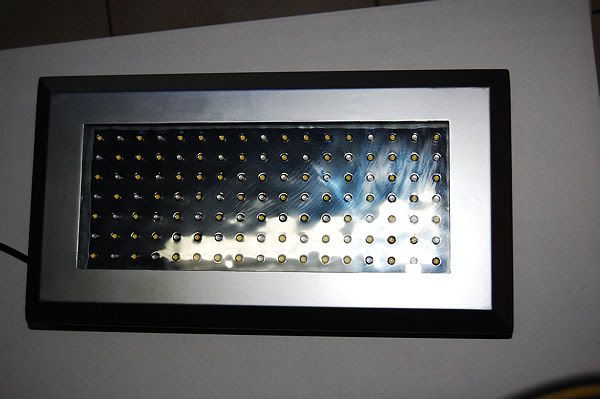
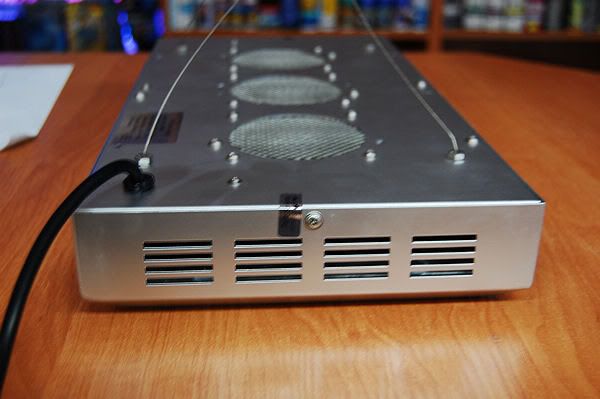
Lighting - 2 modules of 120W EX BT PS LED plus 90W EX BT LED module for the frag tank.
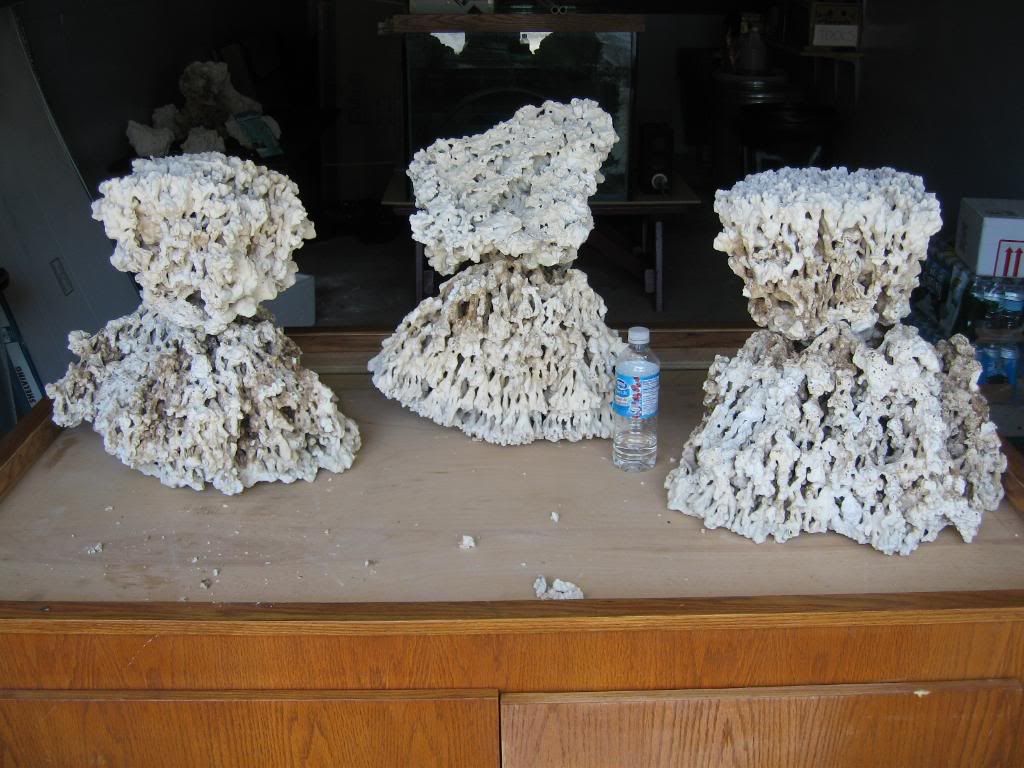
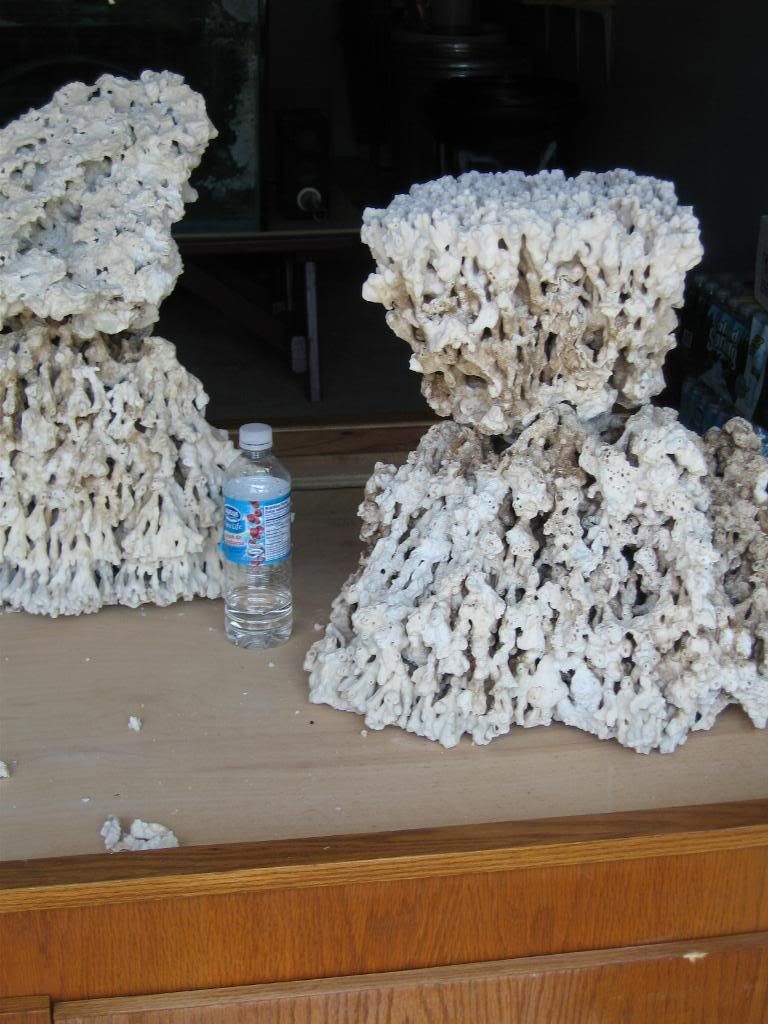
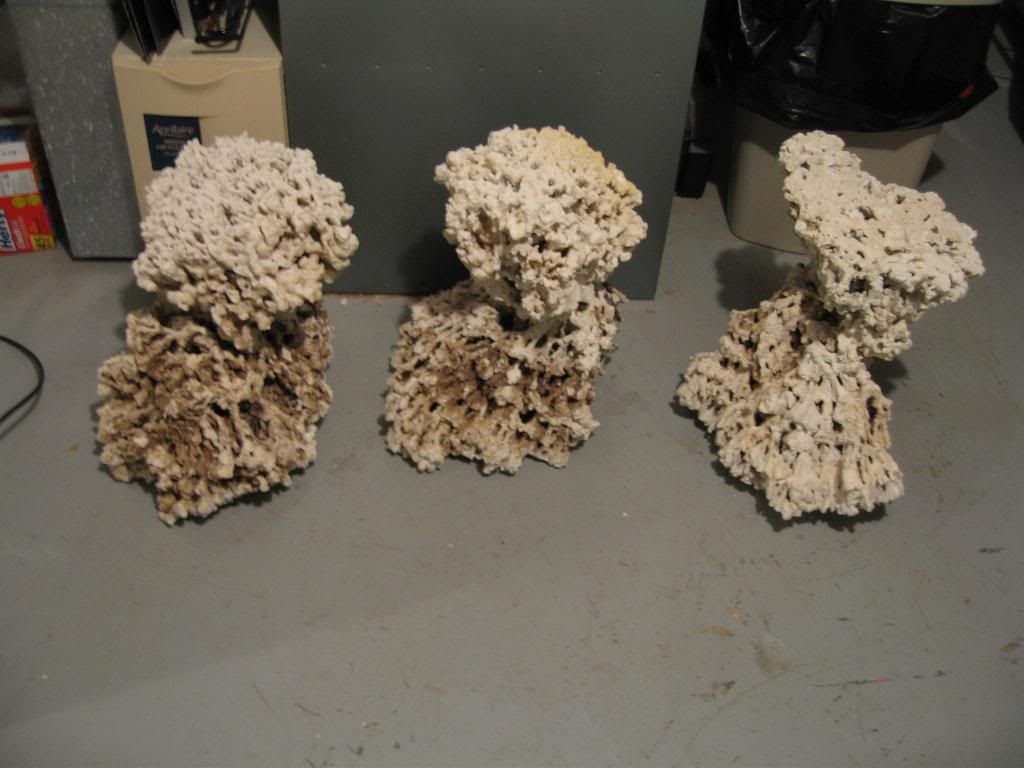
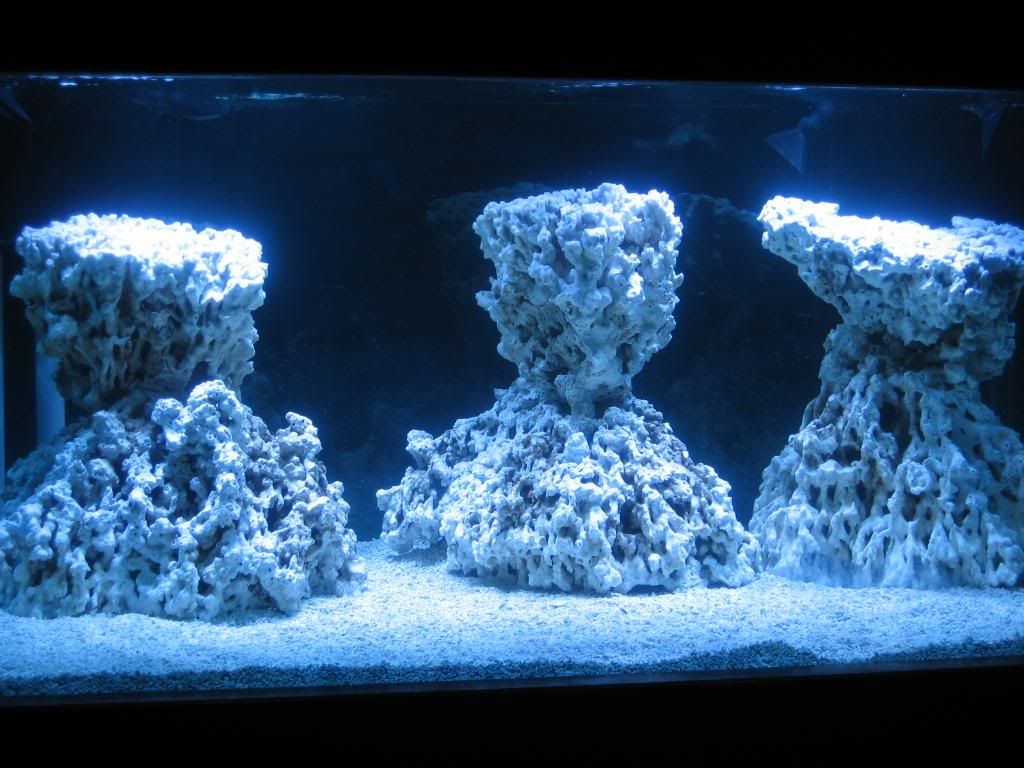
MarcoRocks – 3 nice towers – just wait for the pics.
Why Jack's 300 gallon system - the little boy is on his way to join the forum at the end of Dec 09.
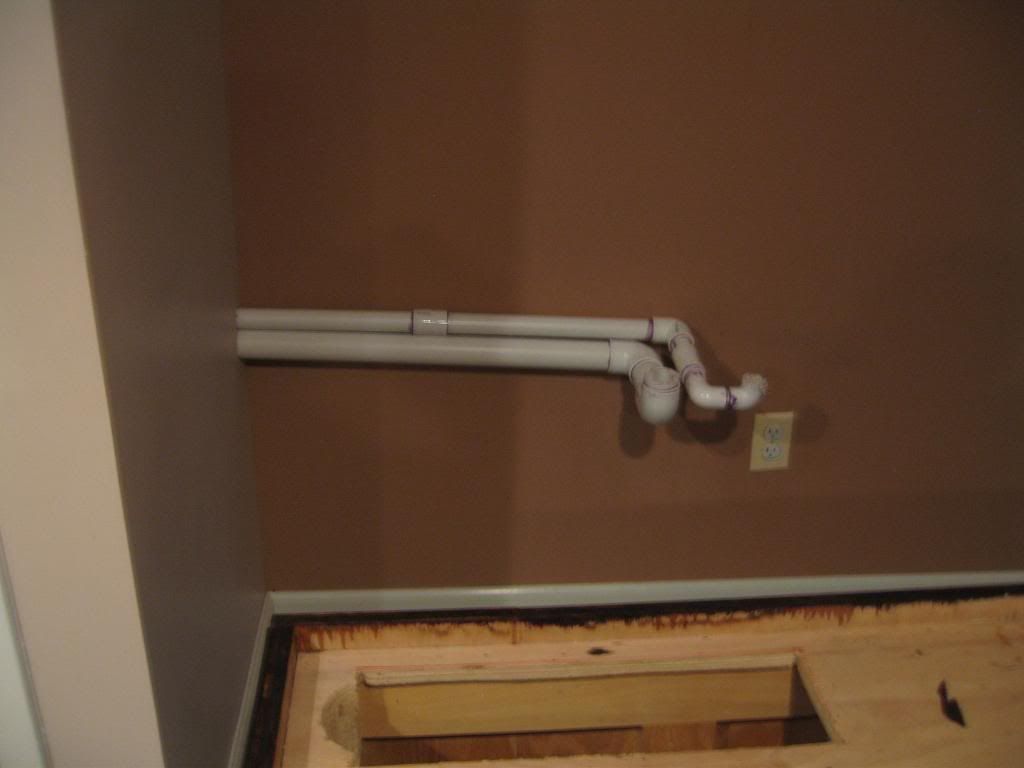
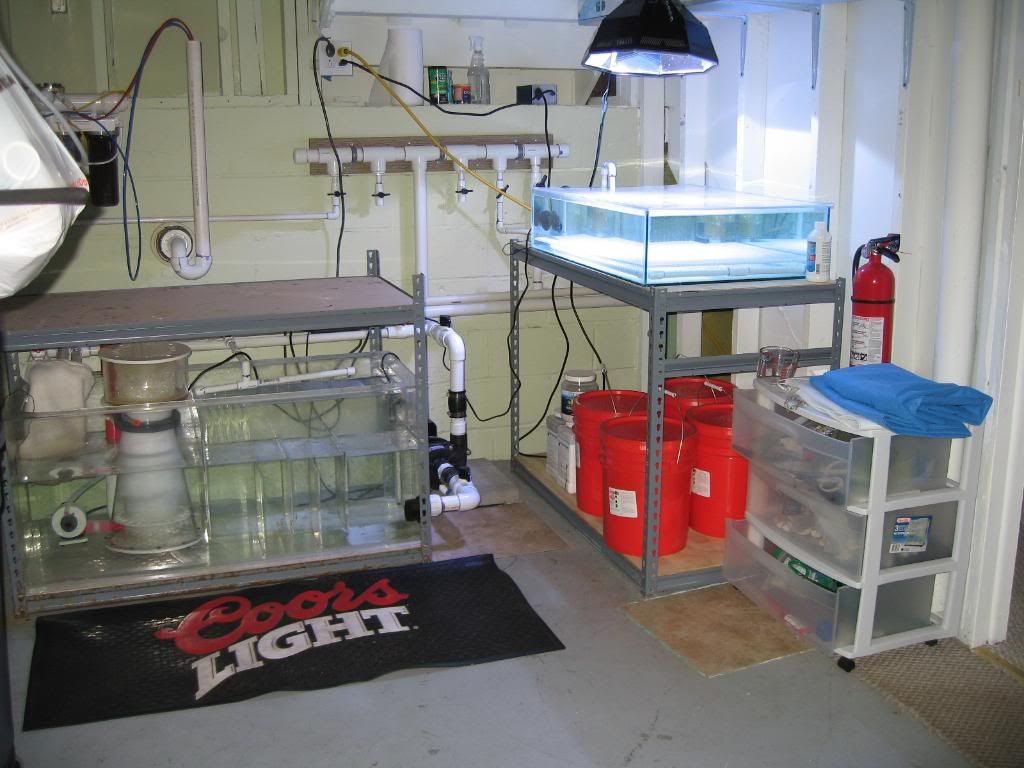
And here is how it all started:
Also, most the equipment is second hand. I bought it from people on my local forum or on RC. It has taken a little bit longer to collect all the equipment, but it helped me to save some money and allowed me to meet some nice people.
Here is a rundown of the equipment that will be used on this system.
Tank- 54" x 36" x 27" 225g tank (Thank you GloveGuru) – can you imagine that there is not a single scratch on the front glass? ¾” starphire glass. --- also, thank you goes to Paul to helped me to bring it over to my house. It was a great two of moving 2 large tanks from 2 different states in ONE day.
36" x 24" x 10" 30 gallon Frag tank (Thank you Adam)
Sump- 80g acrylic sump (Thank you Twinreef)
Skimmer- RE Alpha Cone 250 (Thank you Samsky)
Main pump – Hammerhead (Thank you DanTheManNJ)
Controller: Profilux II with WLAN and soon to be III EX with WLAN (Thank you Vinny)
Profilux Dosing Unit – 4 pump to control Ca, Alk and Mg (Thank you Vinny)
In tank circulation- 2 mp40's gen2 http://ecotechmarine.com/products/vortech-mp40w/ - (Thank you Brian from TB Aquatics)
Salt-Brightwell Salt (Thank you Felix)
Zeo Reactor - Vertex 3L reactor and zeo stuff
Lighting - 2 modules of 120W EX BT PS LED plus 90W EX BT LED module for the frag tank.
MarcoRocks – 3 nice towers – just wait for the pics.
Why Jack's 300 gallon system - the little boy is on his way to join the forum at the end of Dec 09.
And here is how it all started:
")