Im coming very close to the end of my new build. To start heres the tank i have now, the "small tank" (comparitivly speaking) a non RR 46 gallon bowfront:

its a mixed reef that i plan on transfering everything in it now over to the next one.
the tank now
Fish:-2 clowns, one black and one orange misbar
-orange spotted goby paired
yellow headed sleeper goby (MIA)
4" powder blue tang that came out of QT about a week ago and has been swimming about awaiting the larger tank.
Inverts:
cerith snails
nerite snails
nassarious snails
stomatalla snails
sea cucumber
RBTA
Corals:
Pink Birdsnest
Ponape Birdsnest
Orange Cap, Idaho Grape Cap, Green encrusting cap
green pocillapora
xenia
clove polyps
2 color variations of green star polyps and pink star polyps
frogspawn
orange crush acan
neon green eye favia
red, purple, green mushrooms
hairy mushroom
a few different zoanthids and palythoas inlcuding purple deaths and nuclear greens
cyanarina or scolymia
kenya tree
finger leather
toadstool leather
and its possible a few im forgeting
Theres about 60lbs of live sand, 100lbs of live rock. A Hydor K4 and K2 supply my flow along with a mag 9.5 return from my sump. My sump was home made from a 40 breeder. Im using a MRC MR2 protein skimmer that is being fed with a mag 24. i connected to reactors for carbon and phos. I knew setting up this tank i was already do for an upgrade so i decided to go big from the gate. Having a 40 gallon sump on a 46 gallon tank for the time it has been has been awesome. I am running four 48'' icecap T5s that stick out alittle off the tank now. Again i knew i was upgrading while i was setting this tank up so its going to work perfect.
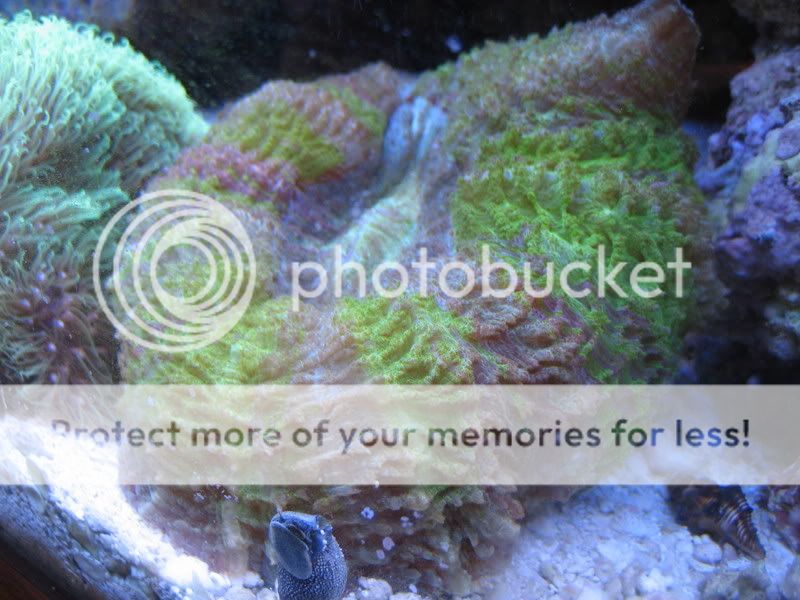
heres the scolymia or cynarina that mike m was kind enough to donate to me. however it was in poor shape with its skeleton exposed.
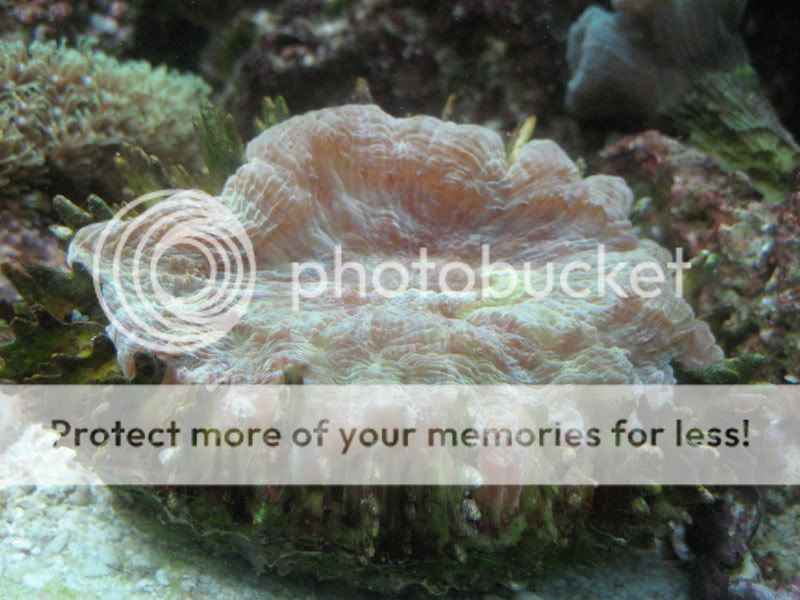
ive been feeding it from time to time. silversides, sometimes a squirt of brine, rods .. here it is today.

heres the sump

skimmer

its a mixed reef that i plan on transfering everything in it now over to the next one.
the tank now
Fish:-2 clowns, one black and one orange misbar
-orange spotted goby paired
yellow headed sleeper goby (MIA)
4" powder blue tang that came out of QT about a week ago and has been swimming about awaiting the larger tank.
Inverts:
cerith snails
nerite snails
nassarious snails
stomatalla snails
sea cucumber
RBTA
Corals:
Pink Birdsnest
Ponape Birdsnest
Orange Cap, Idaho Grape Cap, Green encrusting cap
green pocillapora
xenia
clove polyps
2 color variations of green star polyps and pink star polyps
frogspawn
orange crush acan
neon green eye favia
red, purple, green mushrooms
hairy mushroom
a few different zoanthids and palythoas inlcuding purple deaths and nuclear greens
cyanarina or scolymia
kenya tree
finger leather
toadstool leather
and its possible a few im forgeting
Theres about 60lbs of live sand, 100lbs of live rock. A Hydor K4 and K2 supply my flow along with a mag 9.5 return from my sump. My sump was home made from a 40 breeder. Im using a MRC MR2 protein skimmer that is being fed with a mag 24. i connected to reactors for carbon and phos. I knew setting up this tank i was already do for an upgrade so i decided to go big from the gate. Having a 40 gallon sump on a 46 gallon tank for the time it has been has been awesome. I am running four 48'' icecap T5s that stick out alittle off the tank now. Again i knew i was upgrading while i was setting this tank up so its going to work perfect.
heres the scolymia or cynarina that mike m was kind enough to donate to me. however it was in poor shape with its skeleton exposed.
ive been feeding it from time to time. silversides, sometimes a squirt of brine, rods .. here it is today.
heres the sump
skimmer