

nightmarepl
NJRC Member
hey guys thought i should share this, Im newish to the reefing hobby just learning what i can from people and online mostly and ofcourse on a budget like most of us are i seen online CRP refugiums are pretty damn expensive so i figured i would attempt to make one at work and share some images how i did it, its still not completely finished but i should have it done next week
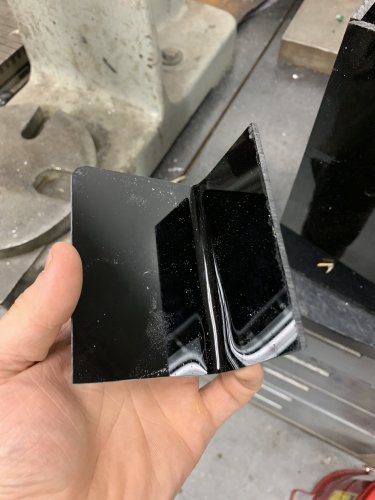
1st Step : i took a long piece of plexiglass cut it into 11" high 20" long put it over a few 2x4s to get a semi clean bend use a torch to fire it up and melt it to the point where you can bend it started the bending process
getting the from face and the sides in one pieces " less fusing less silicone " 11 high 12 long and two sides 4 inches each became basically a U shape
2nd step back piece " going against the Display Tank " 11 high 12 long i attached it to the front piece aligned it best i can with some clamps and used Chloroform to fuse the Plexiglass together " it basically melts them today"
3rd Step bottom of the Refugium i cut out a bigger size piece the sit the refugium down on it drew out the lay out mostly left some wiggle room to make the fusing alittle easier champed it down used the chloroform in a needle to basically get all the grooves in
4th Step once the fusing was done i took the refugium and started to sand it down alittle the corners and edges are alittle sharp so i shaved it down alittle made it smoother rounded off the corners
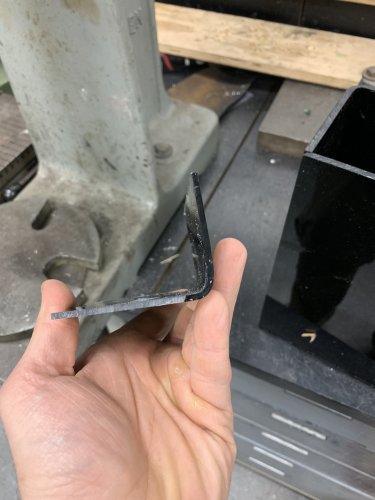
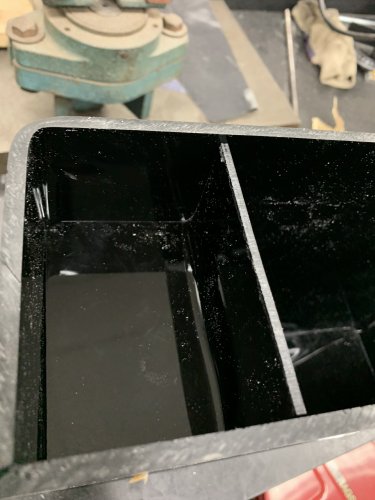
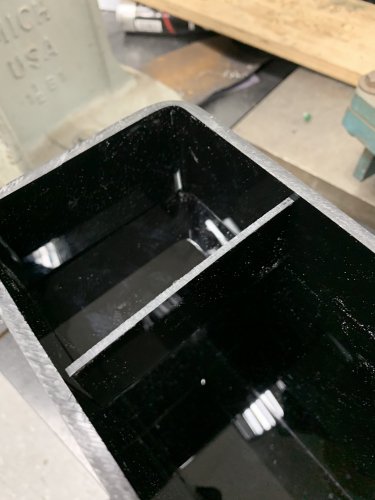
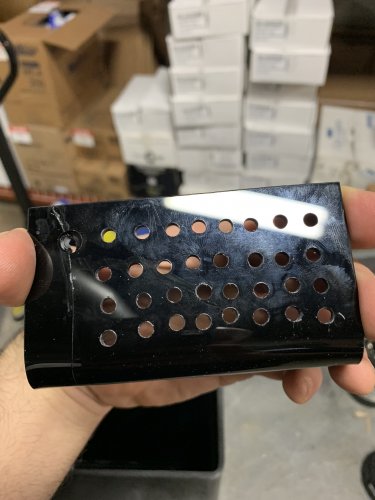
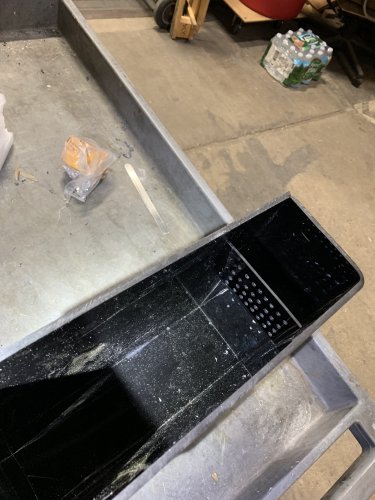
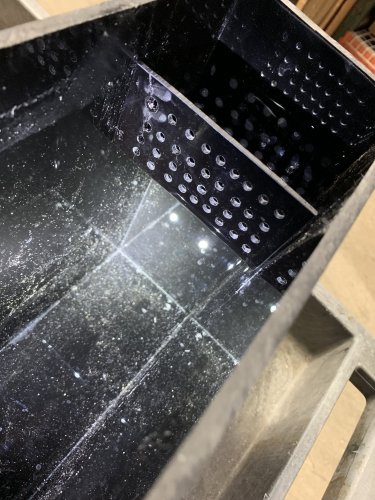
5th step cutting out a L shaped piece for the out take area cut an L shaped piece out drilled a bunch of holes in it for water passage just not extra stuff like chaeto or anything else your putting in the refugium so it doesnt clog the out take area " big mess i suppose if it does "
6th step im currently working on is making a hole for the Out take spot and building alittle bridge with a drop so the water can flow out back into my display tank.
Rest ill be adding once i do more work still need to do some piping for the intake valve and pump
1st Step : i took a long piece of plexiglass cut it into 11" high 20" long put it over a few 2x4s to get a semi clean bend use a torch to fire it up and melt it to the point where you can bend it started the bending process
getting the from face and the sides in one pieces " less fusing less silicone " 11 high 12 long and two sides 4 inches each became basically a U shape
2nd step back piece " going against the Display Tank " 11 high 12 long i attached it to the front piece aligned it best i can with some clamps and used Chloroform to fuse the Plexiglass together " it basically melts them today"
3rd Step bottom of the Refugium i cut out a bigger size piece the sit the refugium down on it drew out the lay out mostly left some wiggle room to make the fusing alittle easier champed it down used the chloroform in a needle to basically get all the grooves in
4th Step once the fusing was done i took the refugium and started to sand it down alittle the corners and edges are alittle sharp so i shaved it down alittle made it smoother rounded off the corners
5th step cutting out a L shaped piece for the out take area cut an L shaped piece out drilled a bunch of holes in it for water passage just not extra stuff like chaeto or anything else your putting in the refugium so it doesnt clog the out take area " big mess i suppose if it does "
6th step im currently working on is making a hole for the Out take spot and building alittle bridge with a drop so the water can flow out back into my display tank.
Rest ill be adding once i do more work still need to do some piping for the intake valve and pump
Attachments
-
 IMG_9538.jpg1.1 MB · Views: 14
 -
 IMG_9539.jpg1.3 MB · Views: 14
 -
 IMG_9540.jpg1.3 MB · Views: 14
 -
 IMG_9541.jpg1.6 MB · Views: 14
 -
 IMG_9543.jpg1.1 MB · Views: 14
 -
 IMG_9544.jpg1.3 MB · Views: 14
 -
 IMG_9545.jpg1.2 MB · Views: 14
 -
 IMG_9546.jpg1.2 MB · Views: 14
 -
 IMG_9547.jpg1 MB · Views: 14
 -
 IMG_9548.jpg1.6 MB · Views: 14
 -
 IMG_9549.jpg1.9 MB · Views: 14
")