• Folks, if you've recently upgraded or renewed your annual club membership but it's still not active, please reach out to the BOD or a moderator. The PayPal system has a slight bug which it doesn't allow it to activate the account on it's own.

Back in the Water, Powder's tank tale

A few years ago I was pretty heavy into this hobby but unfortunately, due to a work move, I had to get rid of everything. I didn't realize I missed it until about a year ago when my good friend (IHOP) got a tank and started getting involved with it. I fought the temptation to get another tank a little longer until last week. On Monday I got an email from IHOP with a link to SinkingBeach's nice 92 gallon deal. Still on the fence I spent a few hours on this site and a couple others and I was hooked again. So this morning IHOP and I drove to meet Francis and check the tank out. It was great to meet Francis this morning, your new tank is sweet can't wait to see it in a few months when everything is established. The 92 tank was just what I needed so a no brainer to pick it up. We load it up and IHOP and I spent most of the day getting it home and starting to situate things.

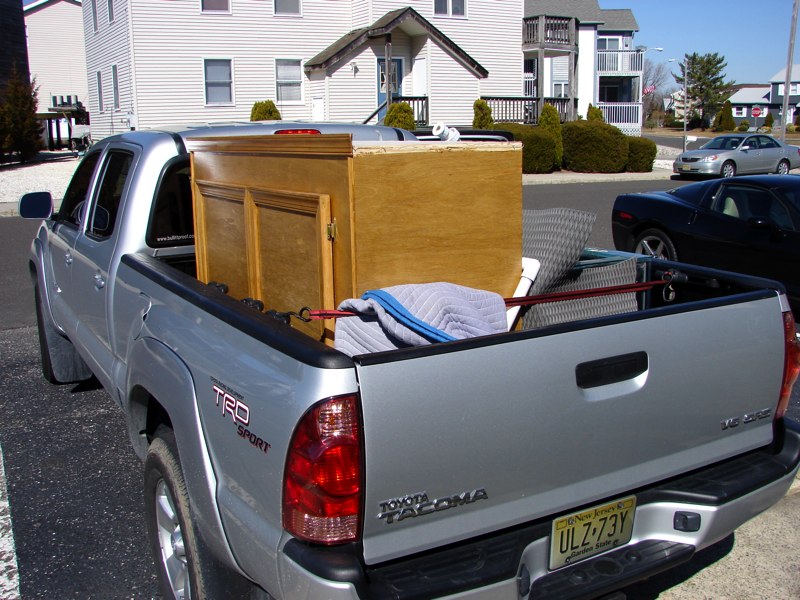
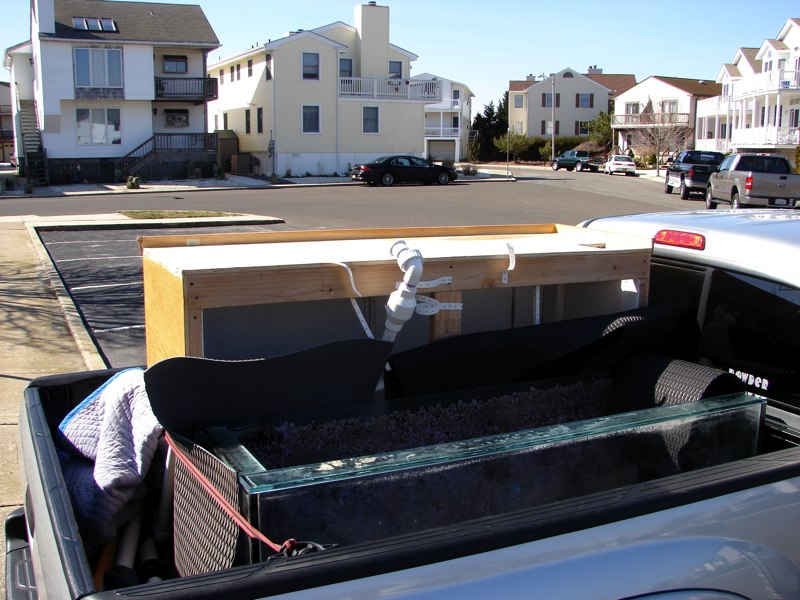
Tank 20" wide, stand 22.5" at the widest point, fender to fender clearance 43". How could I not get a tank that fits that perfect in my truck?
DSC00755.jpg
DSC00754.jpg


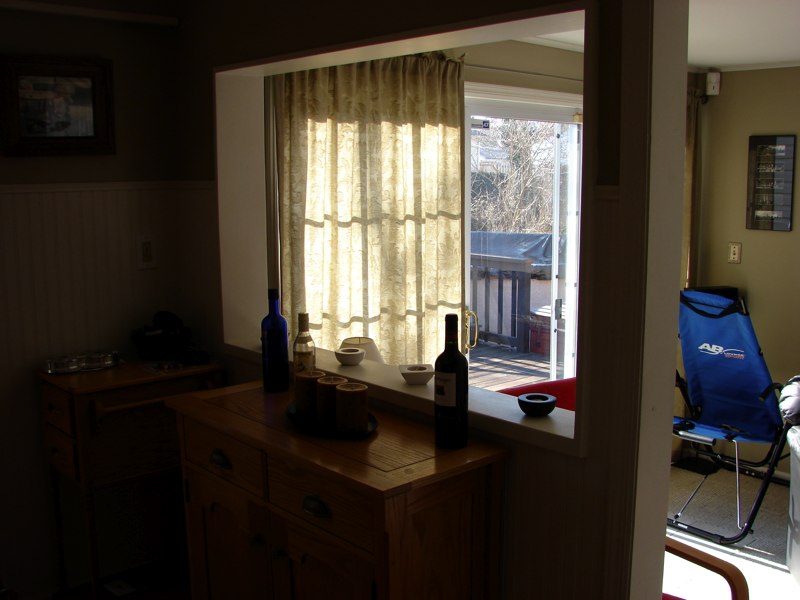
Once we got it home it we had to try it out in a few spots and it was obviouse there was only one place for this tank.

DSC00753.jpg


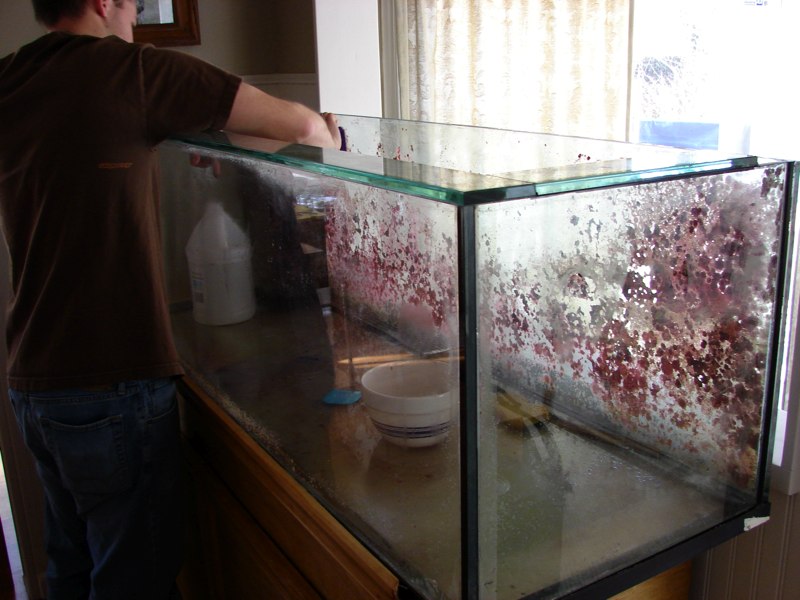
IHOP, the blade man, went to town on the Coraline.

DSC00756.jpg
DSC00757.jpg


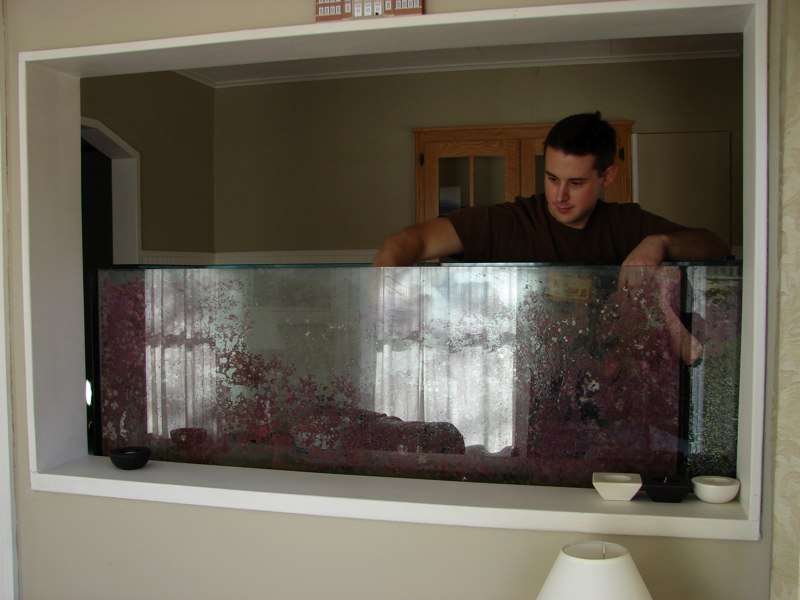
Too bad IHOP drank all the vinegar before we could finish.

DSC00758.jpg


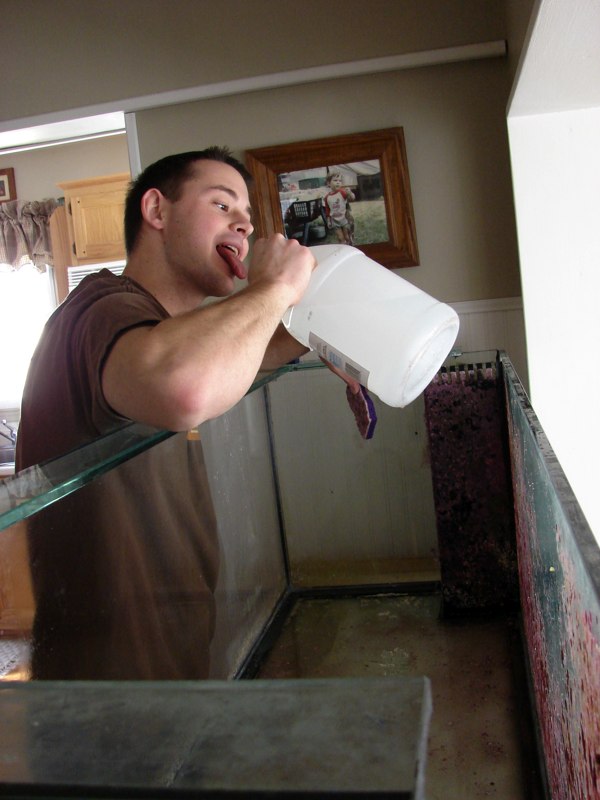
Actually I think he did a pretty good job!

DSC00760.jpg
DSC00759.jpg


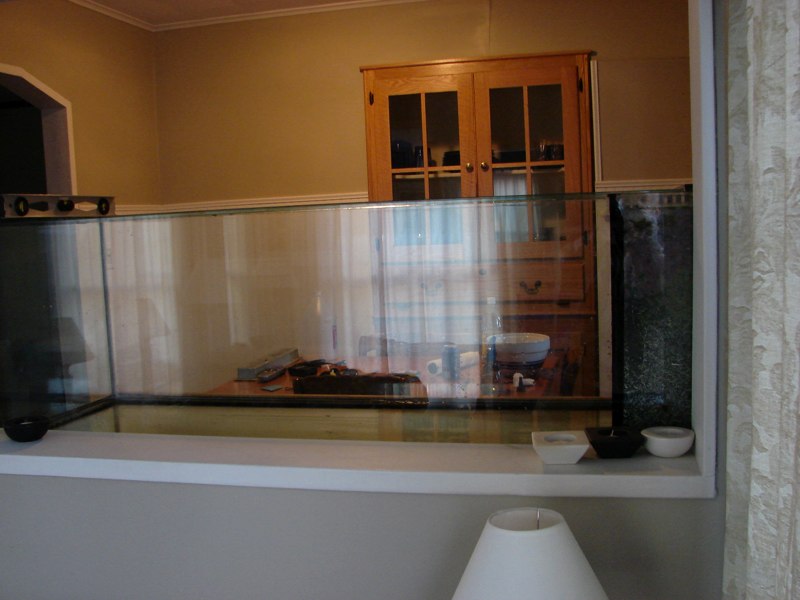
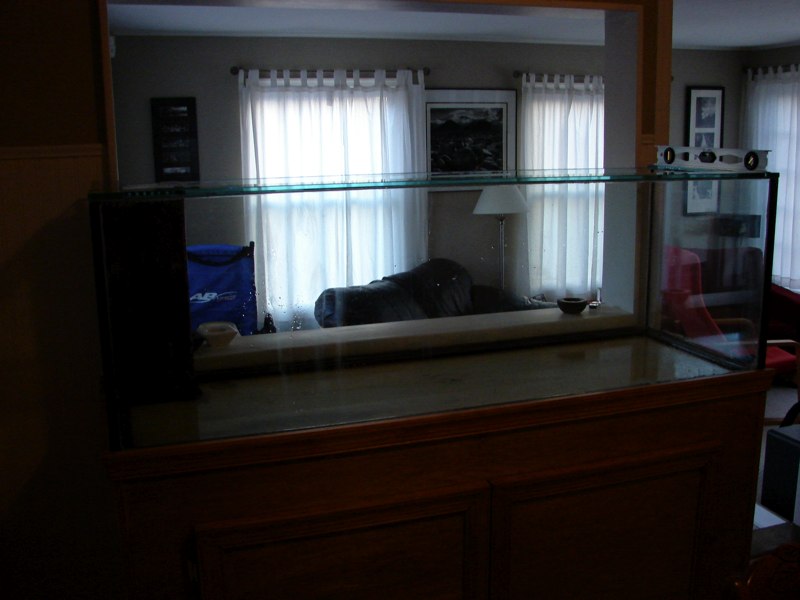
We thought at first it would be killer to open the wall up a few more inches and mount everything into the wall, but I want to move in a year or two so I talked myself out of it. I will be able to situate everything so all the lines are pretty well hidden and the view will be good from both rooms.

Next steps:
1.Come up withe a sump plan
2.Find a pump,skimmer, heater(s), Powerheads.....blah blah I have NOTHING so I need EVERYTHING

I plan to update what I do each step of the way so you can all laugh at horribly inept attempt to get a tank going again. I work late during the week so I probably will not get much done until next weekend.
 

malulu

NJRC Member
the tank looks good, and perfect location!
:)

can;t wait to see the progress... good luck!
 

JohnS_323

Officer Emeritus
Officer Emeritus
That looks great. You guys did a great job so far, and you're right, the location is perfect!

I'm really glad to see that Francis' tank went to a good home and that it's still gonna be part of our "family". Keep the updates coming.
 
Great job ... My next tank will have to be a room divider. This way you get double the realestate to place corals and it's like having 1 tank with 2 views.
 

malulu

NJRC Member
MikeNapoli said:
Great job ... My next tank will have to be a room divider. This way you get double the realestate to place corals and it's like having 1 tank with 2 views.

bewarn what are you wishing for - it actually end up with less realestate...

i have it setup like that, BUT, since one side can not touch the glass, so, now i end up with a high slope on both side, which *lack* SPACE for corals grow (compared to tanks with rock leaning on one side)...

see my tank's side view (72W x 29H x 24D)

332_18_03_07_10_05_56.gif


IMHO - the TWO sides view would only be good/practical for tank deep of 40+ inch.
 
Powder said:
Next steps:
1.Come up withe a sump plan
2.Find a pump,skimmer, heater(s), Powerheads.....blah blah I have NOTHING so I need EVERYTHING

On next steps - 1(a) - join njrc! it's a small upfront cost in exchange for participation in group buys and discounts at LFS that sponsor our club.

Here's a link Membership Thread
 
Ihop said:
Looks Great!
You did most the dirty work Thanks again for all the help...even though this is ALL YOUR FAULT!!! :p

malulu said:
see my tank's side view (72W x 29H x 24D)

Looks pretty good to me! I guess it is all a matter of what you want. Being able to enjoy the tank from 4 different rooms out weighs not being able to stack up against the glass for me.

phil519 said:
On next steps - 1(a) - join njrc! it's a small upfront cost in exchange for participation in group buys and discounts at LFS that sponsor our club.

Here's a link Membership Thread
I'll do it now, worthy cause money well spent.


I had to rethink my next steps anyway. I left out some important things like add post supports under the floor, I don't trust Sears finest in Circa WW2 manufactured "dreams."
 

malulu

NJRC Member
Powder said:
malulu said:
see my tank's side view (72W x 29H x 24D)

Looks pretty good to me! I guess it is all a matter of what you want. Being able to enjoy the tank from 4 different rooms out weighs not being able to stack up against the glass for me.

i end up with very little corals on the side, and most of them are mounted on top, and they are touching each other like crazy, need constant trimming...
:(

good luck on your setup...
:)
 

Phyl

Officer Emeritus
Officer Emeritus
Congrats on your new tank, AND NJRC Membership. Dave's tank looks good to me too. I like the look of the room divider.
 
Phyl said:
Congrats on your new tank, AND NJRC Membership. Dave's tank looks good to me too. I like the look of the room divider.
do Ihop and i get a referral bonus?

;D

just joking! it is all ihop's work anyway!
 
Just caught the thread, back online again ;D I must say you did an excellent job removing the coraline, must of took you all afternoon :-X It was really nice meeting you and look forward to seeing you at the meetings. My door is always open so if your in the area just stop by :)
 

RichT

Officer Emeritus
Officer Emeritus
The room divider is tricky. I have the same issue as Dave. Except my tank is only 18" wide!!!!! Bad newbie mistake on my part. I can barely get trumpet corals on the side of my reef. My upgrade will be at least 36" if not 40" (do I hear 48") wide.

Good Luck with the new tank and welcome to the club and back to the hobby. I've seen that tank set up and it's a beaut.
 

malulu

NJRC Member
Yes, RichT, i hear you loud and clear... (upgrade, upgrade...!!)
;)

if i have to re-do it again, i may do something like this for the rock formation - to gain more realestate.
the blue line are the top edge.
332_04_03_08_9_36_08.JPG


Powder,
sorry to steal your thread, i am done now.
:)
 

malulu

NJRC Member
the problem is - it is not easy to find alots of "thin" rocks...
you may have to end up with a lots of smaller rocks, and some how, *stick* them all together, and made them have the natural look and feel.

let me know if you need any help for your setup/planning, i am pretty much free for all weekend time.
thx
 
Very cool thanks for the offer I'll see how everything progresses. I am not in a rush so if i need to pick over rocks for a while to get the shape i want that's not too big of a deal for me. I am trying to make heads or tails of all the lighting choices right now. I like to LED lights but $$$$$ and I would need a 60" and it seems anything over 48 jumps way up.
 
Keep in mind that I was only using a 48in. lighting fixture on it, granted it was 750watt hqi. If you set up your rocks properly you'll have 6in. of space on each end ;) Any thought of skimmer yet?
 
Top