• Folks, if you've recently upgraded or renewed your annual club membership but it's still not active, please reach out to the BOD or a moderator. The PayPal system has a slight bug which it doesn't allow it to activate the account on it's own.

Tale of the Tank - 215 Gallon In-Wall

danthemanj

FRAG SWAP VENDOR
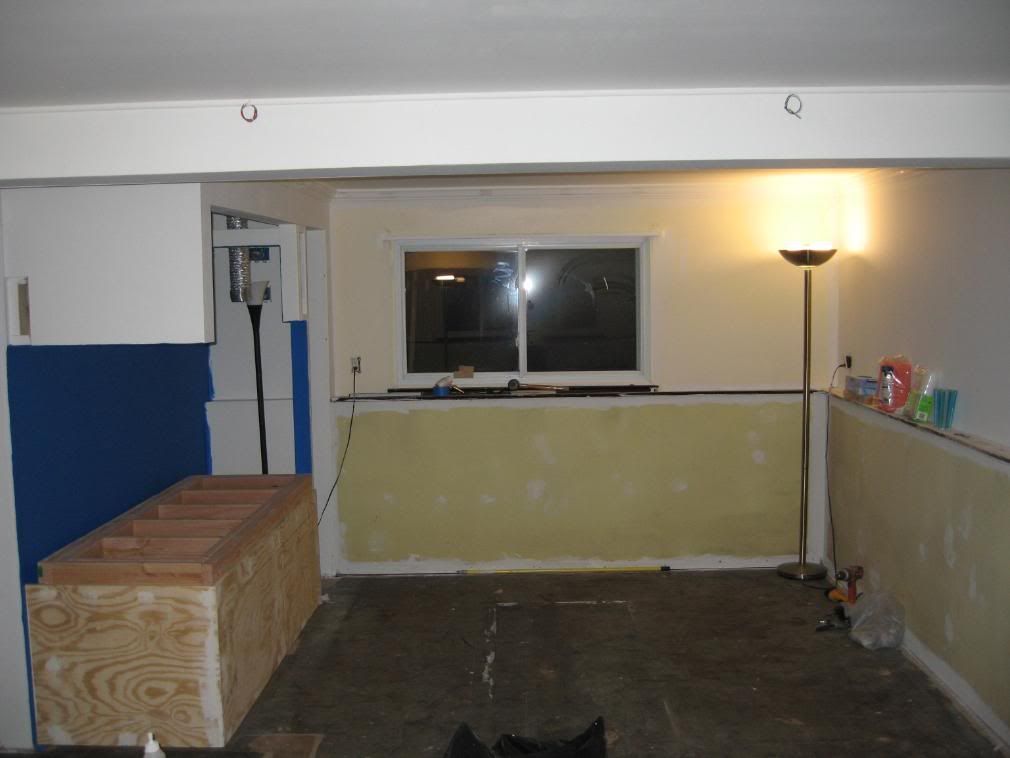
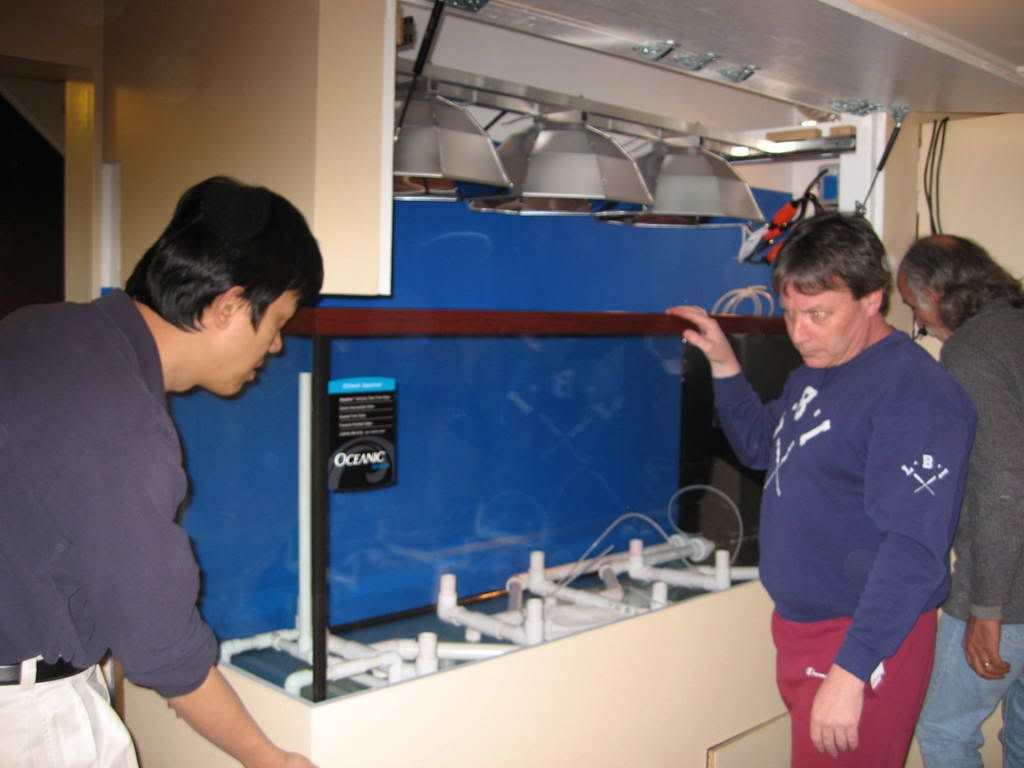
Several folks have asked me to post pictures of my tank build so here goes.

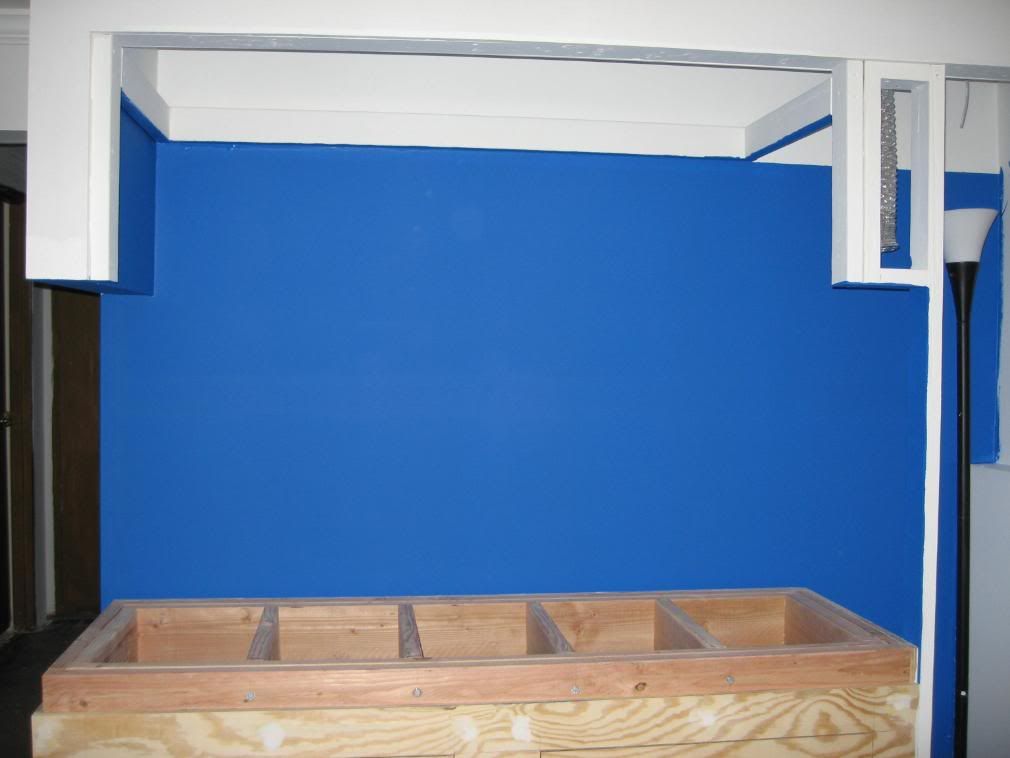
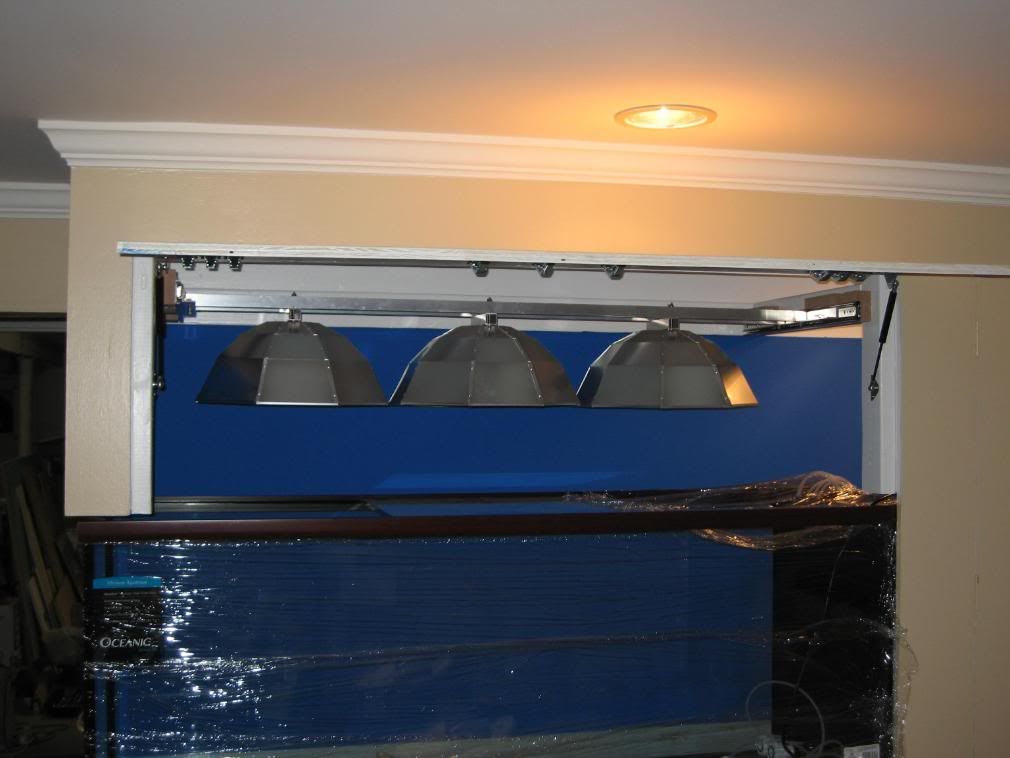
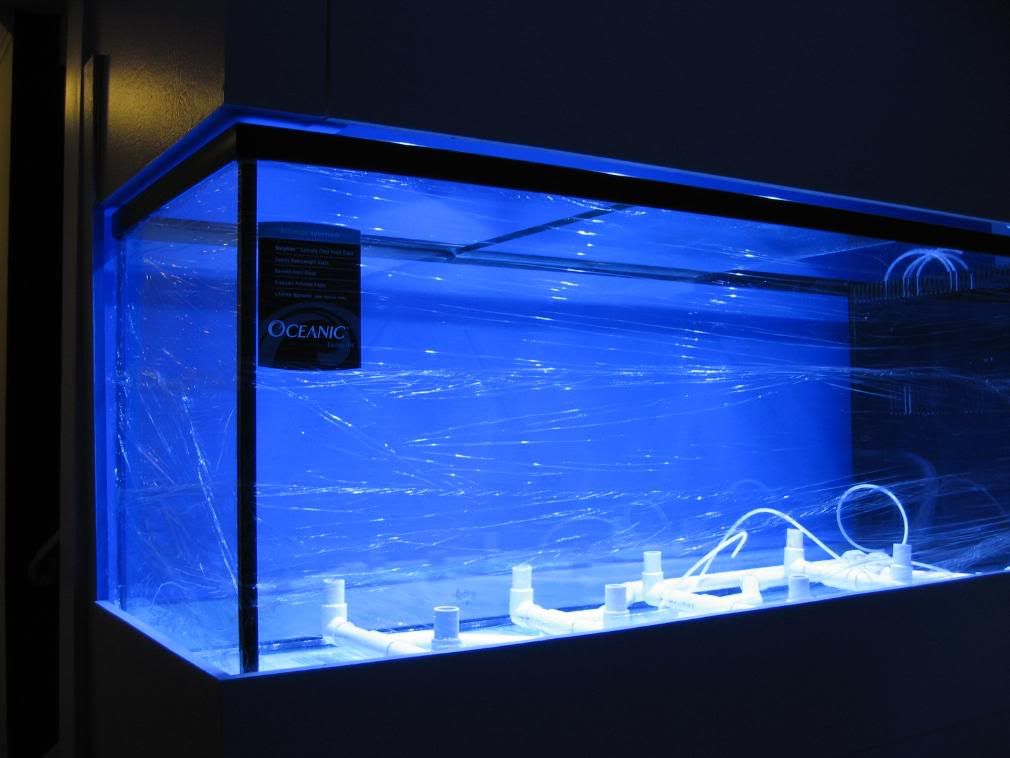
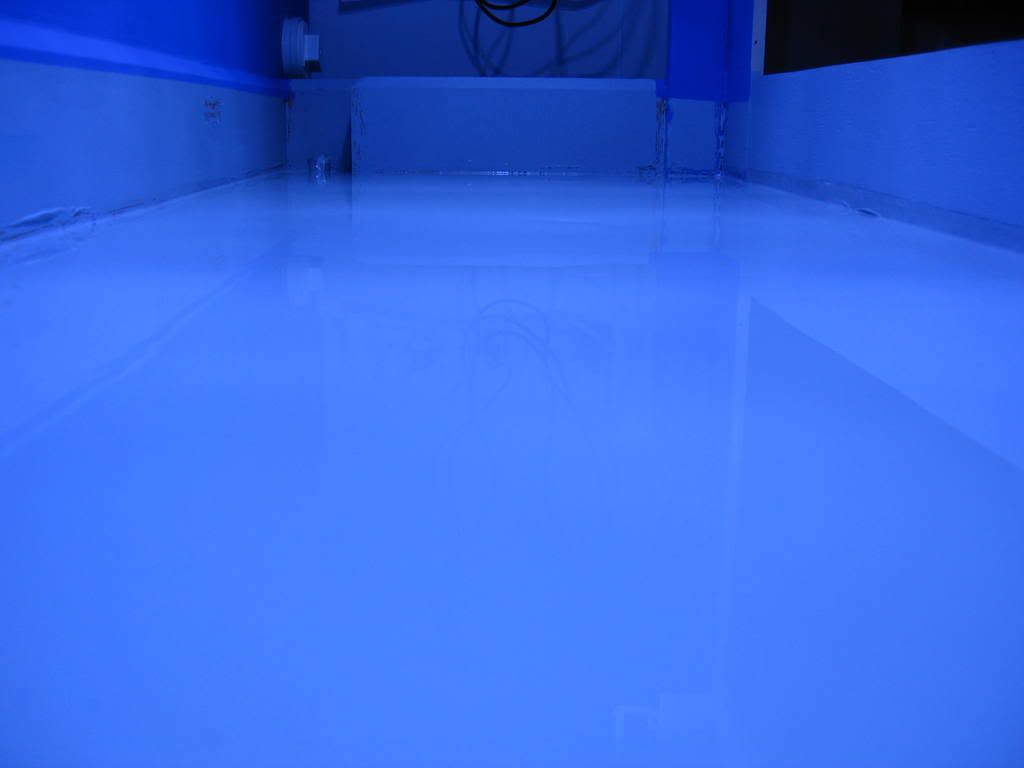
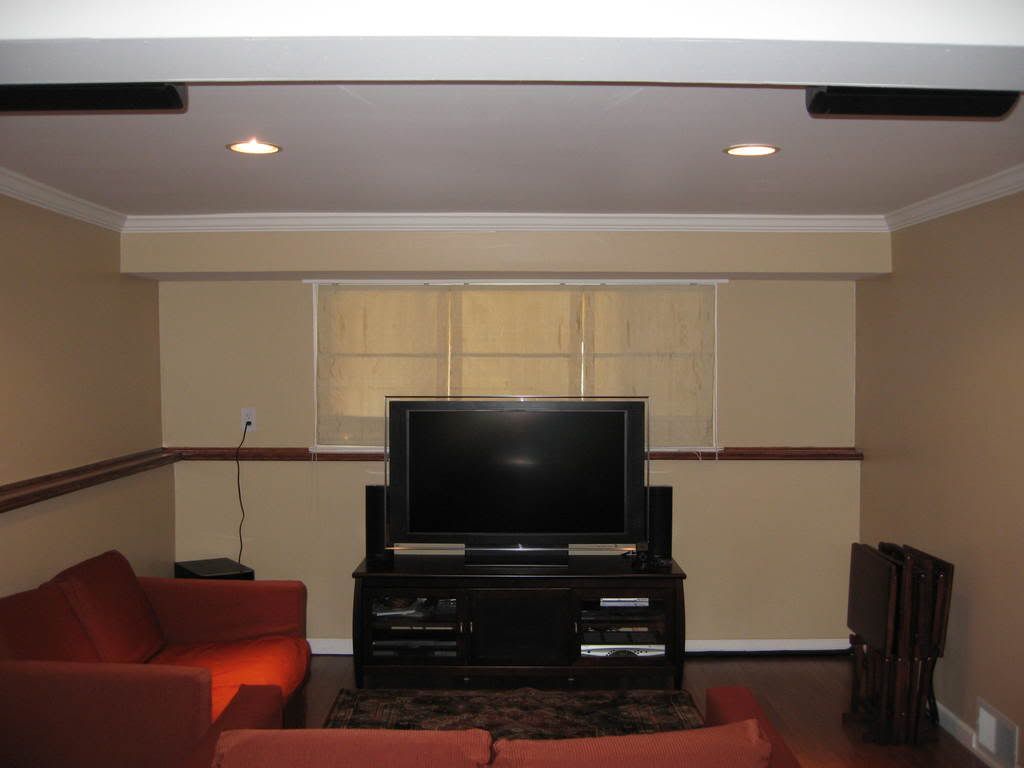
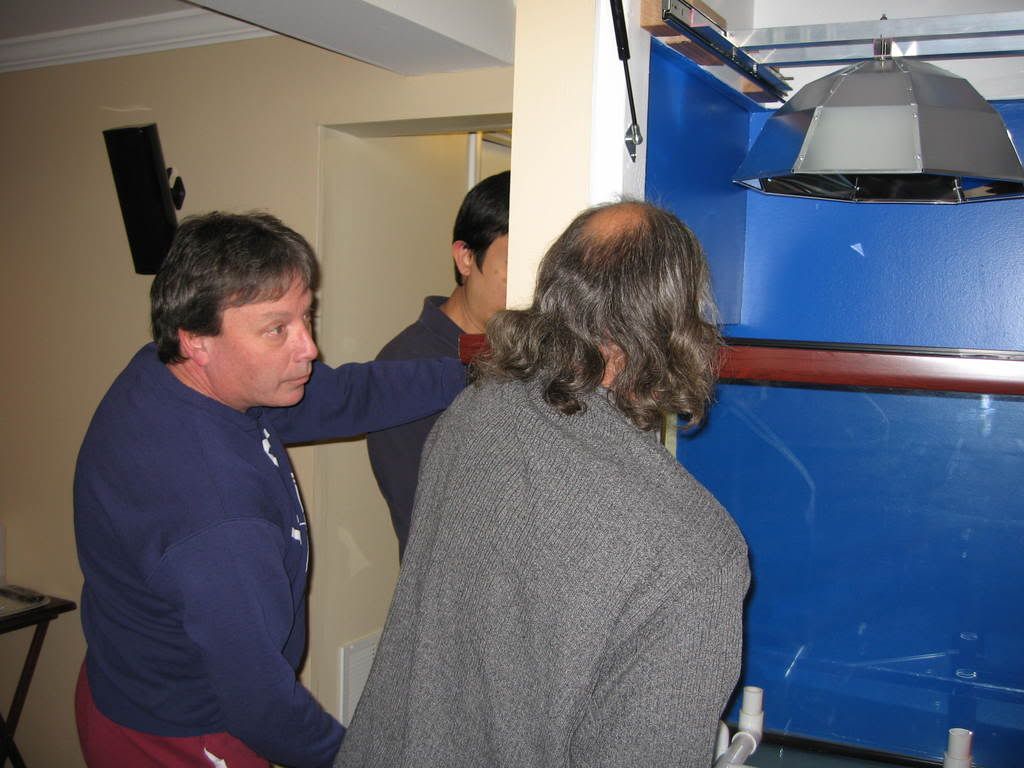
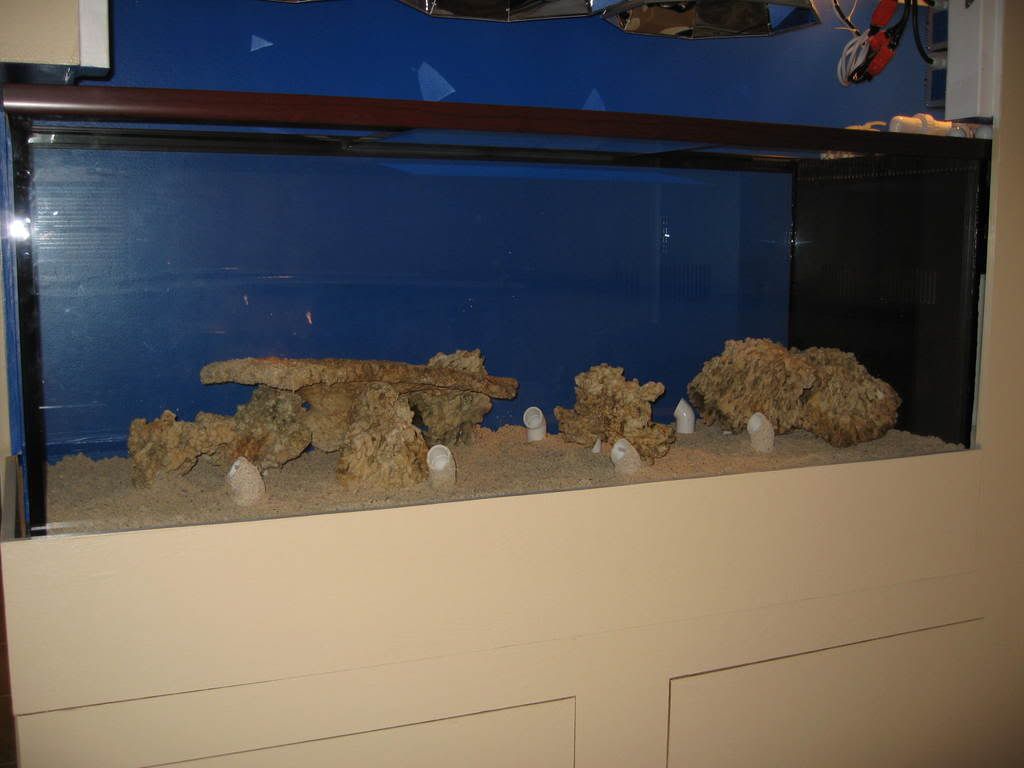
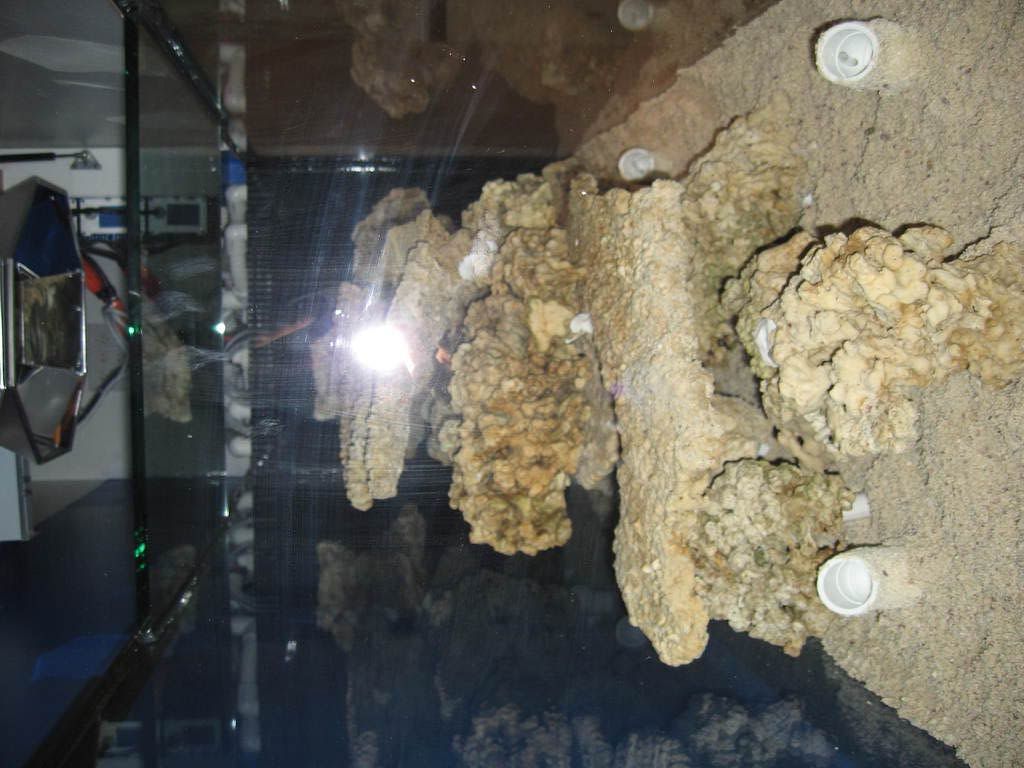
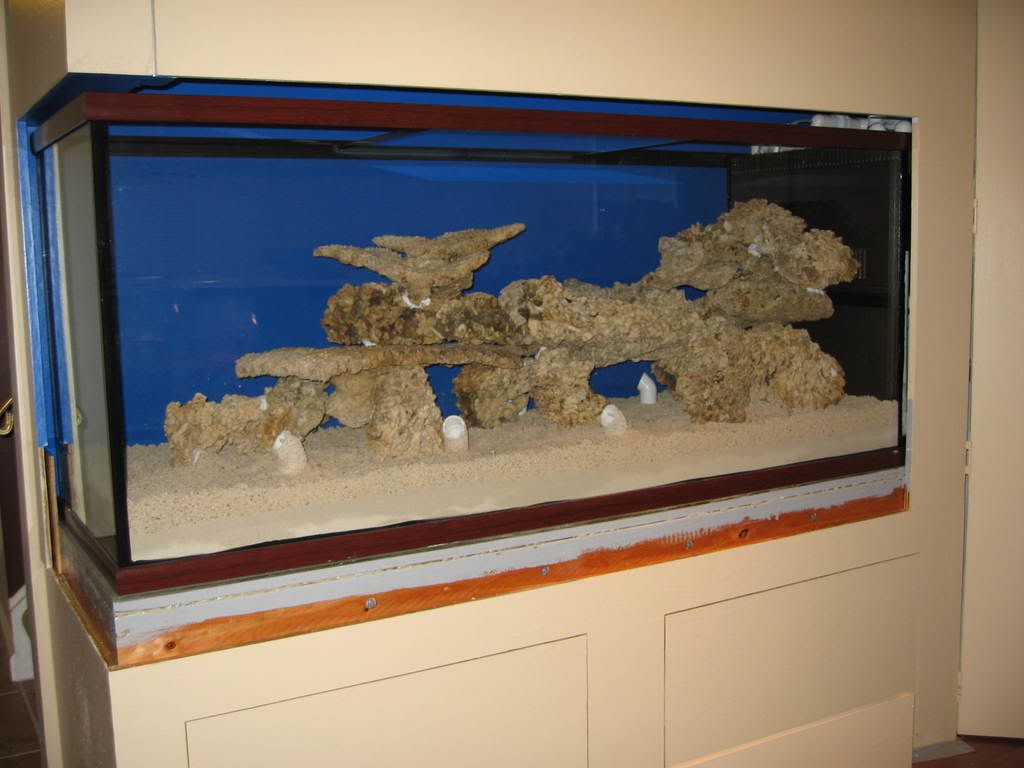
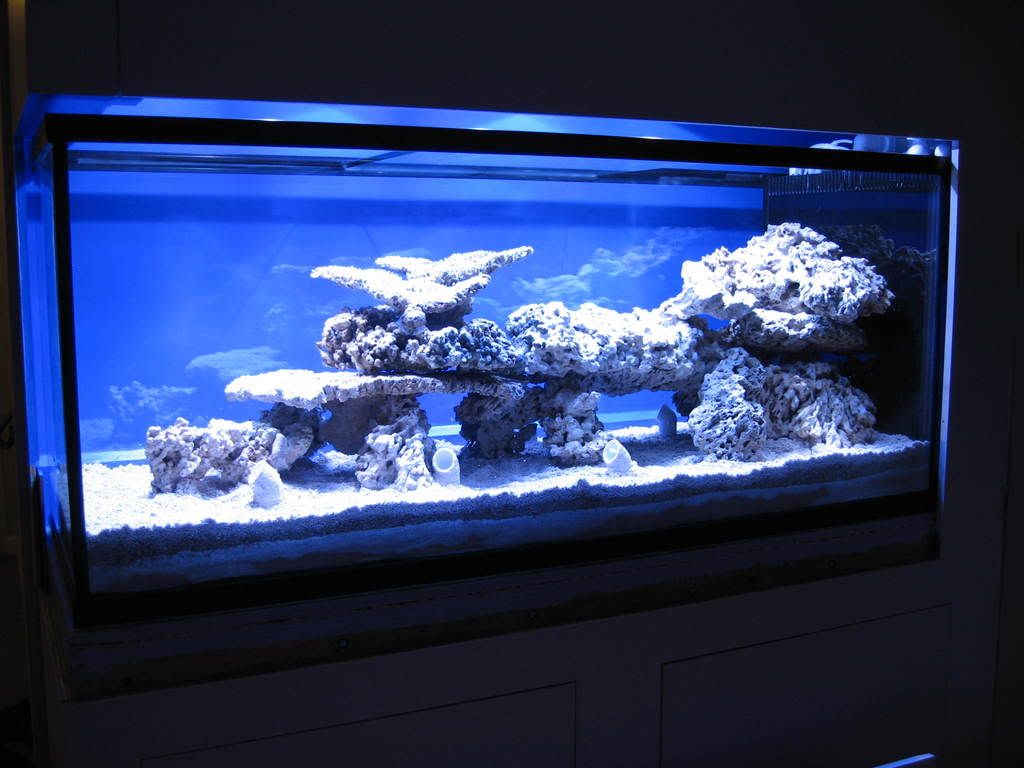
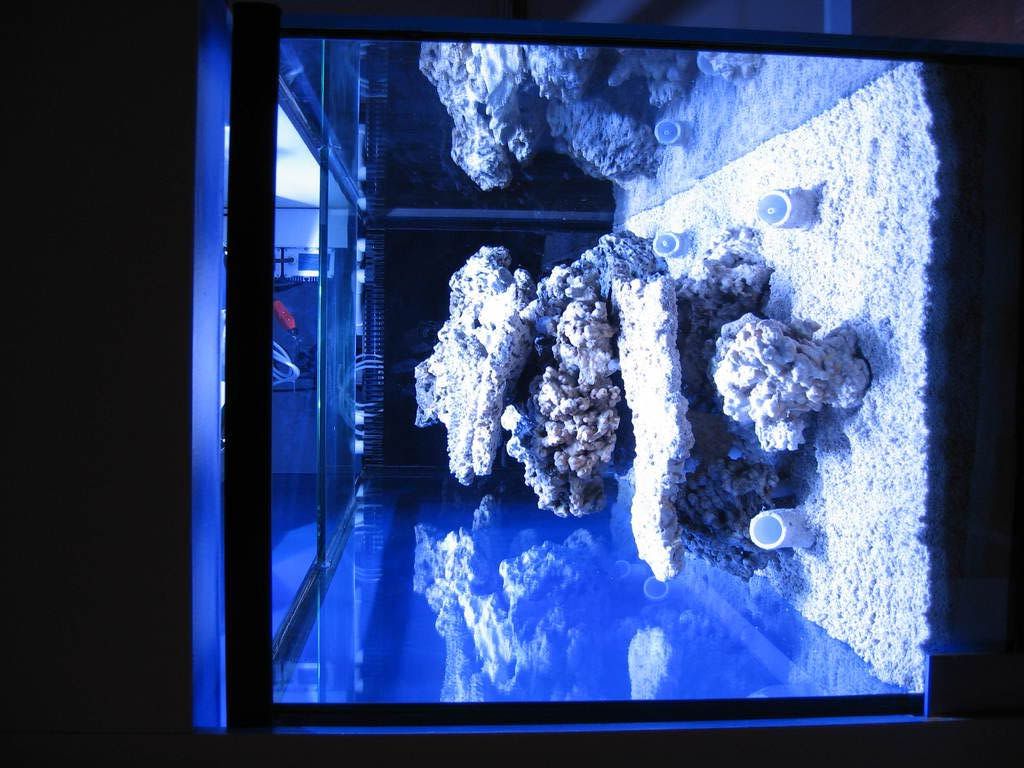
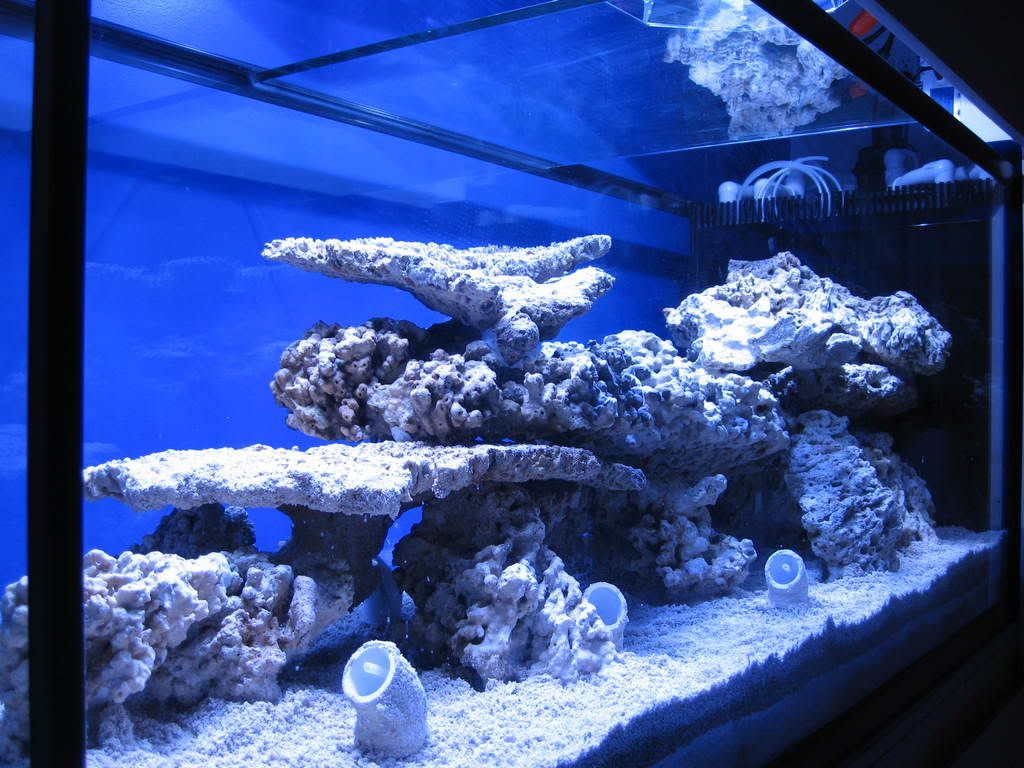
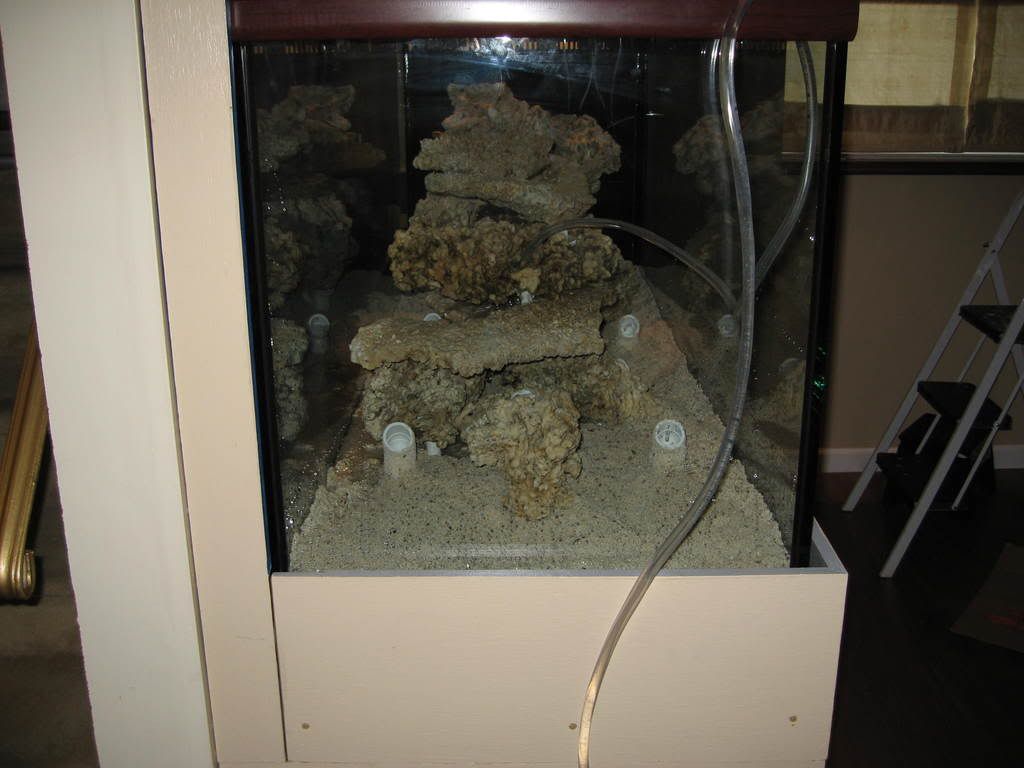
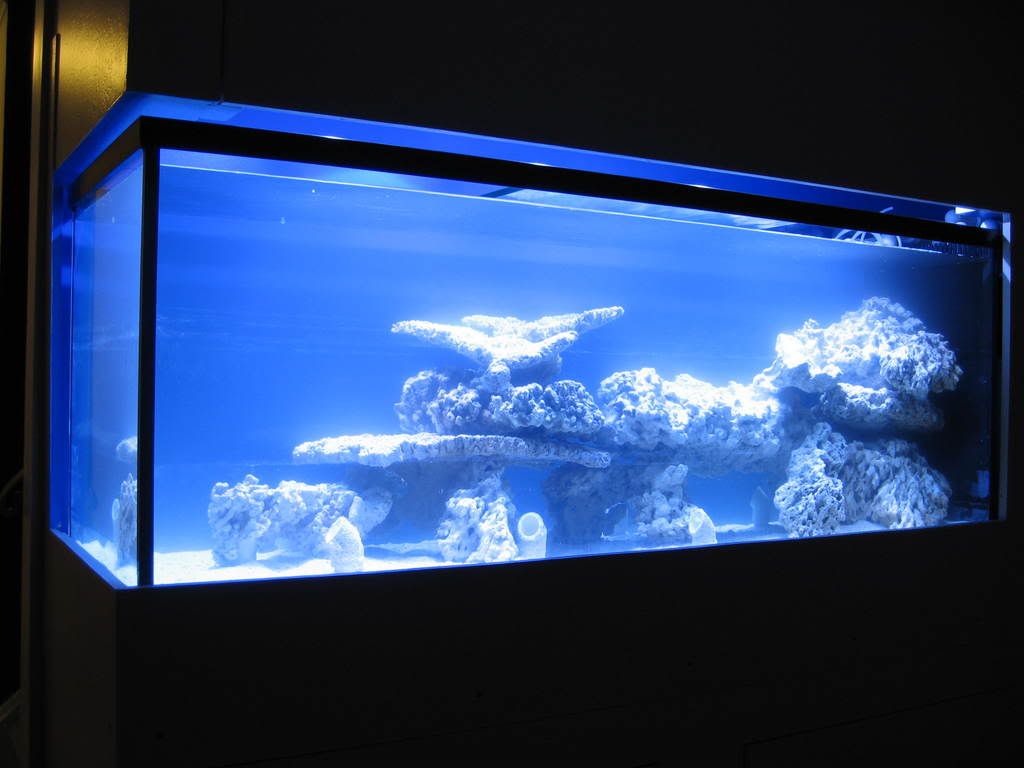
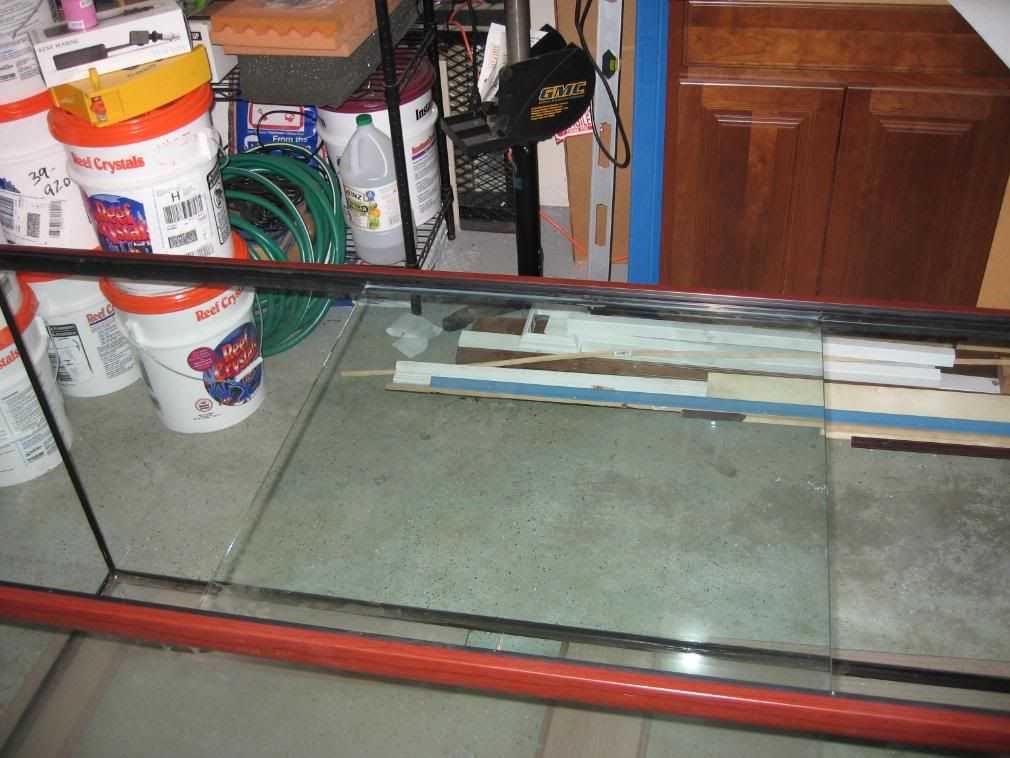
As many of you know, I had a 90 gallon tank and like many reefers I had the urge to go bigger without breaking the bank. I looked around for some good deals on tanks and got one on a 215 gallon Oceanic Ultimate from Will @ Aquatic Obsessions. The front panel of the tank is Starfire glass while the sides are regular glass. I decided on a blue background but instead of painting the back glass panel of the tank, I decided on painting the wall behind the tank blue in color. You will see that in later pics later on in the thread. I drilled 3 x 1.5 inch holes in the right panel of the tank with help of Steve (thanks Steve) with Hole Saws I bought from eBay. 2 of these holes would act as drians for the overflow and the 3rd hole would act as a drain for the closed loop of the tank

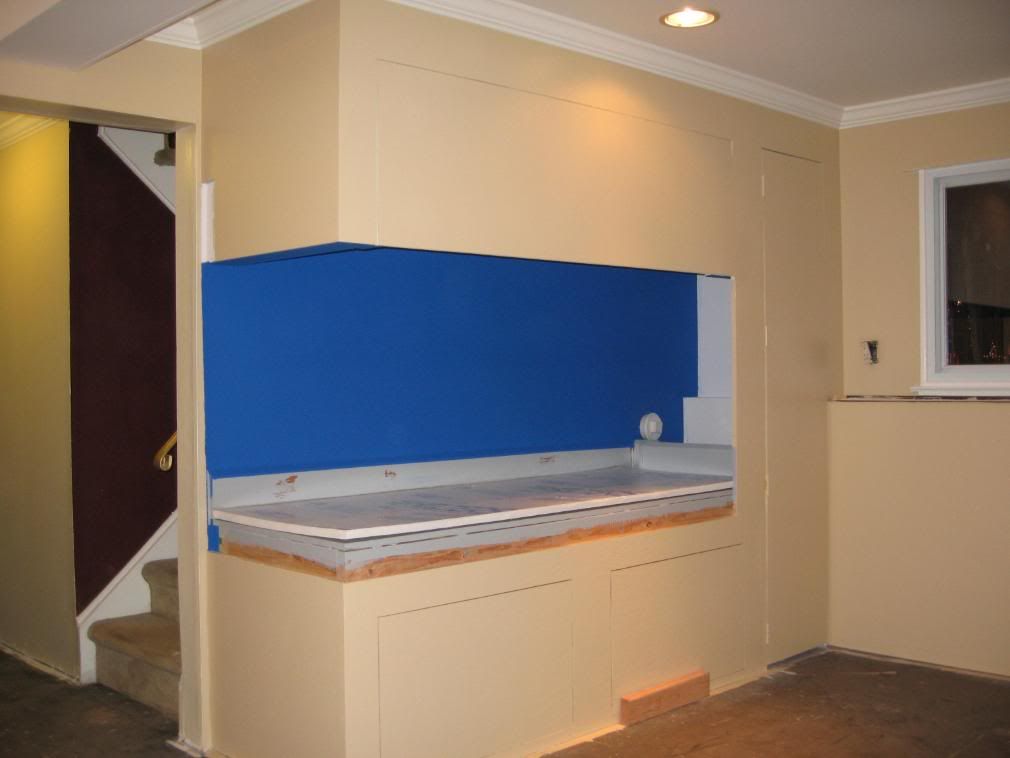
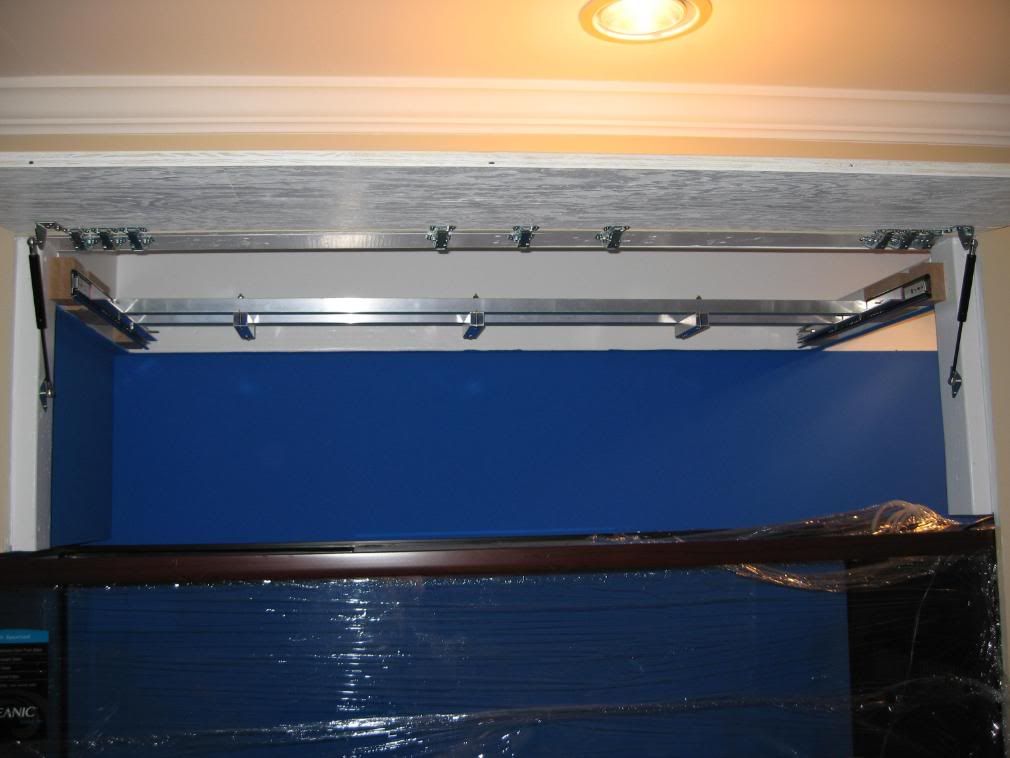
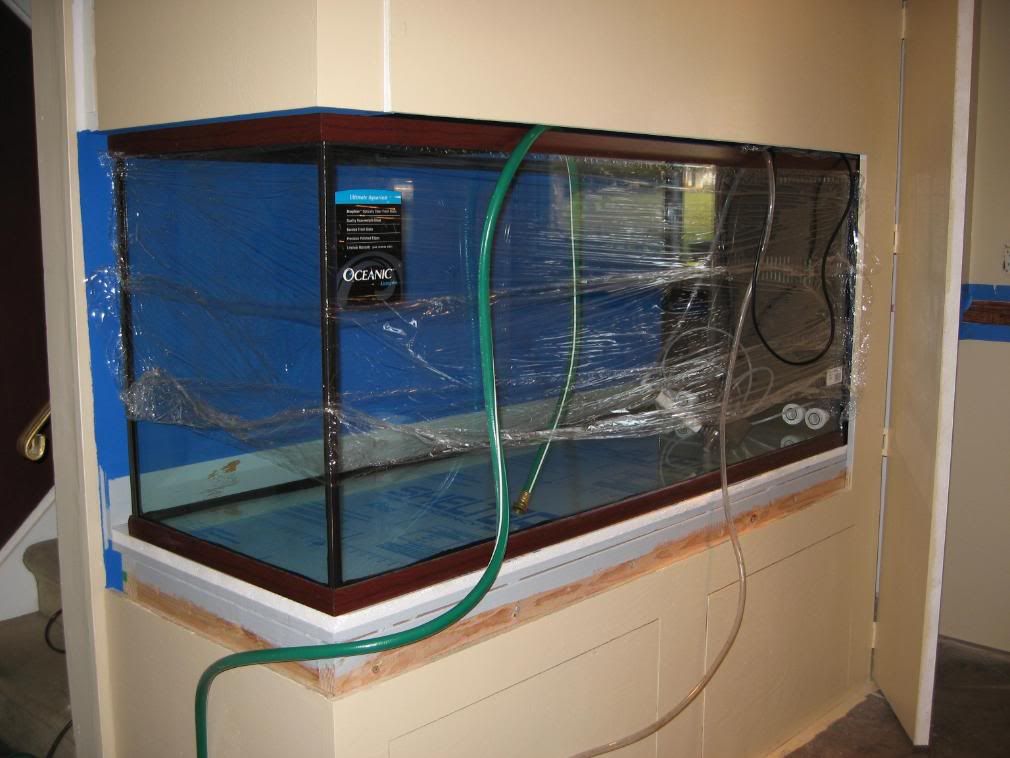
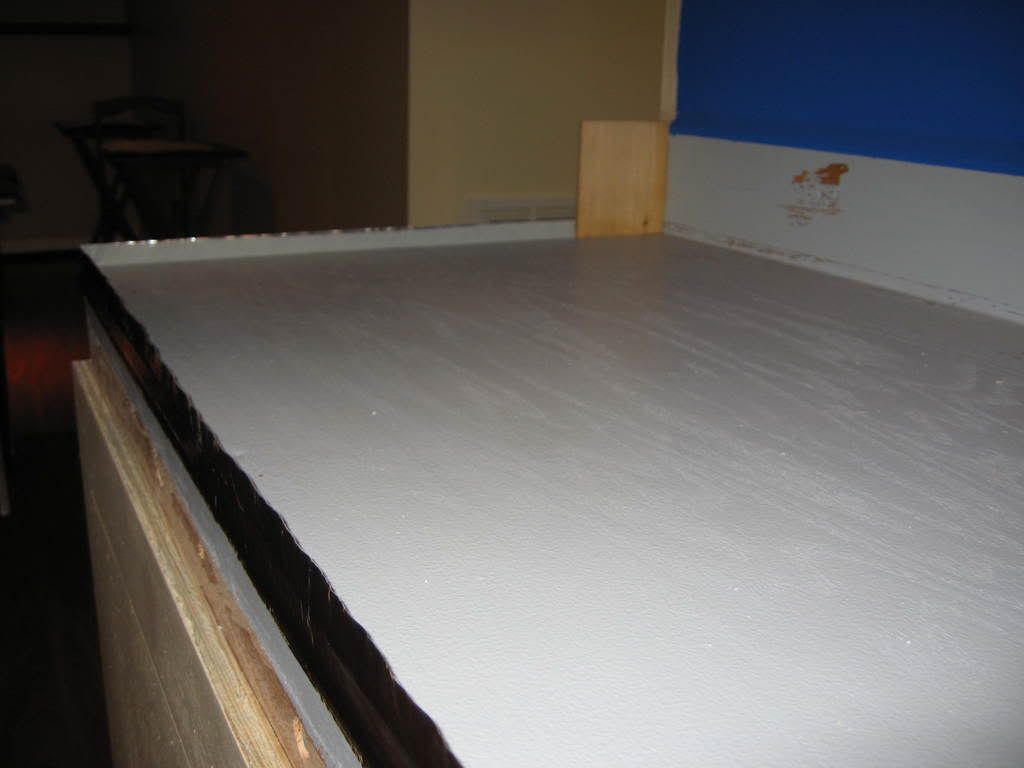
Here's a pic of the tank:

215Build015.jpg


215Build016.jpg


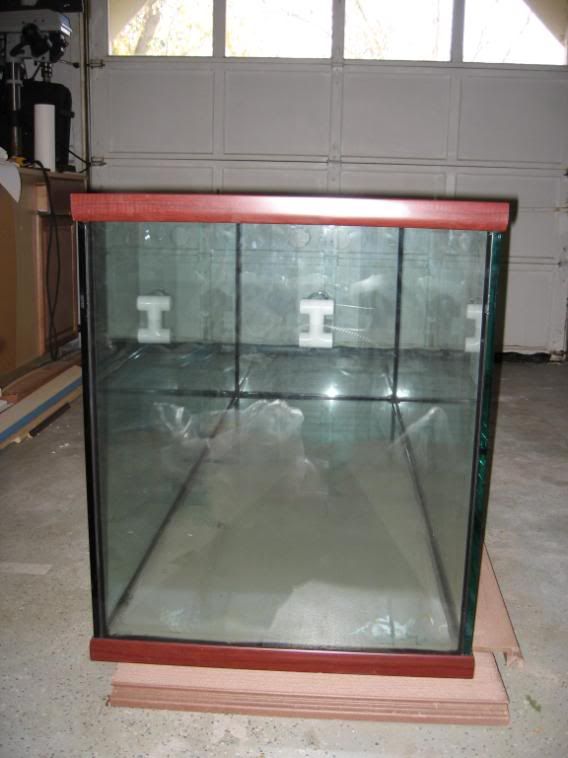
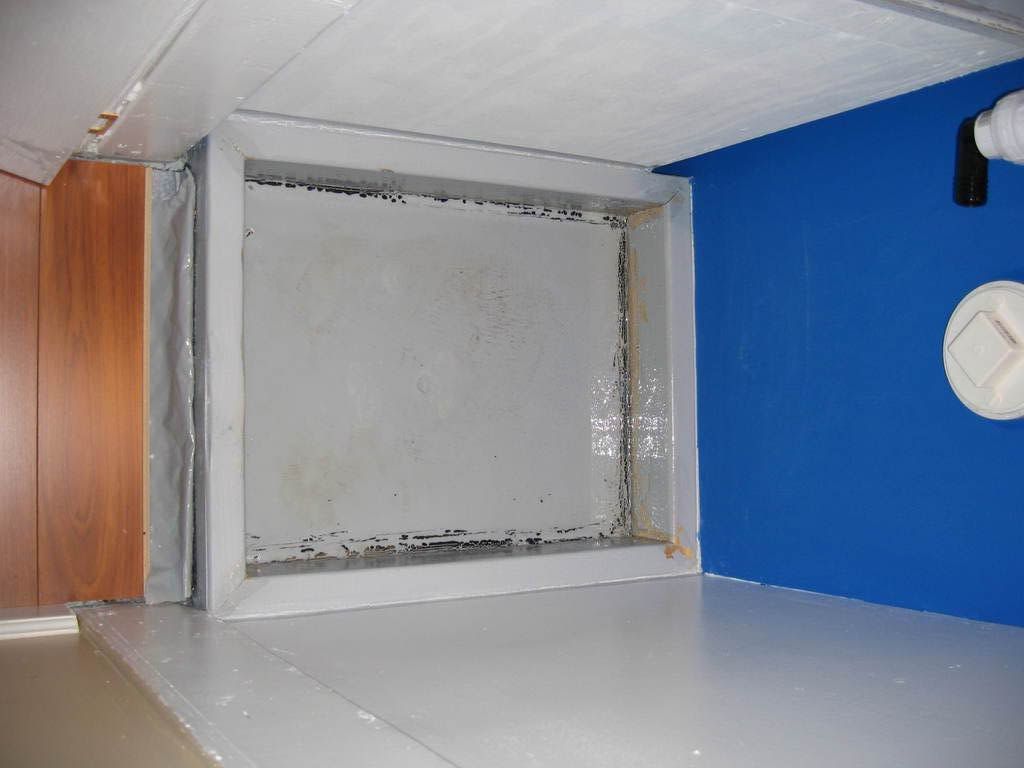
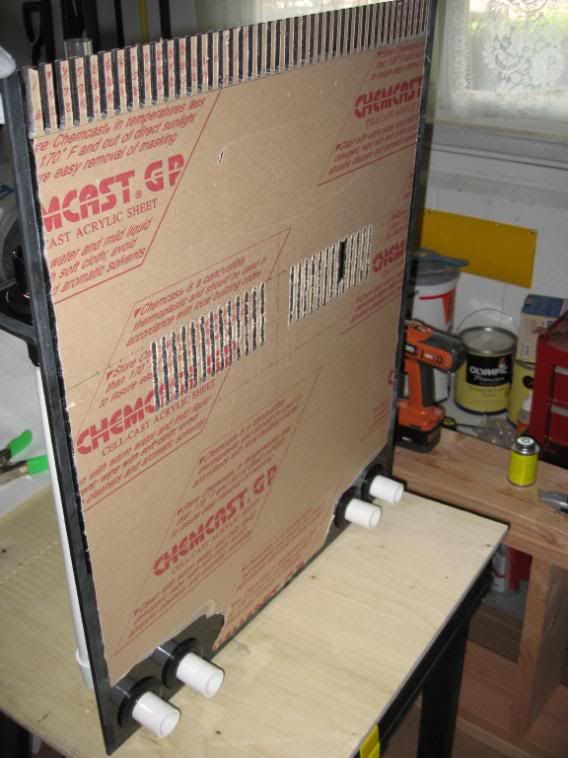
I didn't want to get a Reef Ready tank because I feel the Overflows occupy valuable Real Estate in all the wrong places so I decided on a Regular tank and decided to build my own Internal Overflow out of acrylic. Because of the way the tank would be viewed (from the front and left sides) the overflow had to be built on the right side.

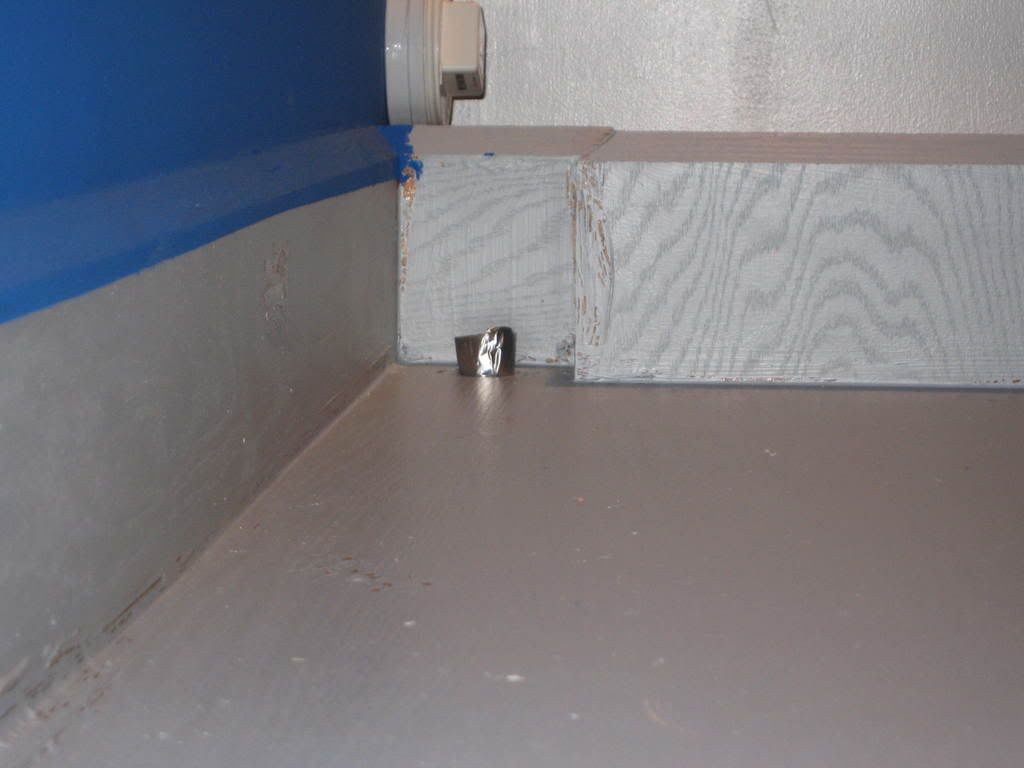
The following are pics of the overflow I built out of 1/4 inch black acrylic:

215Build018.jpg


215Build017.jpg


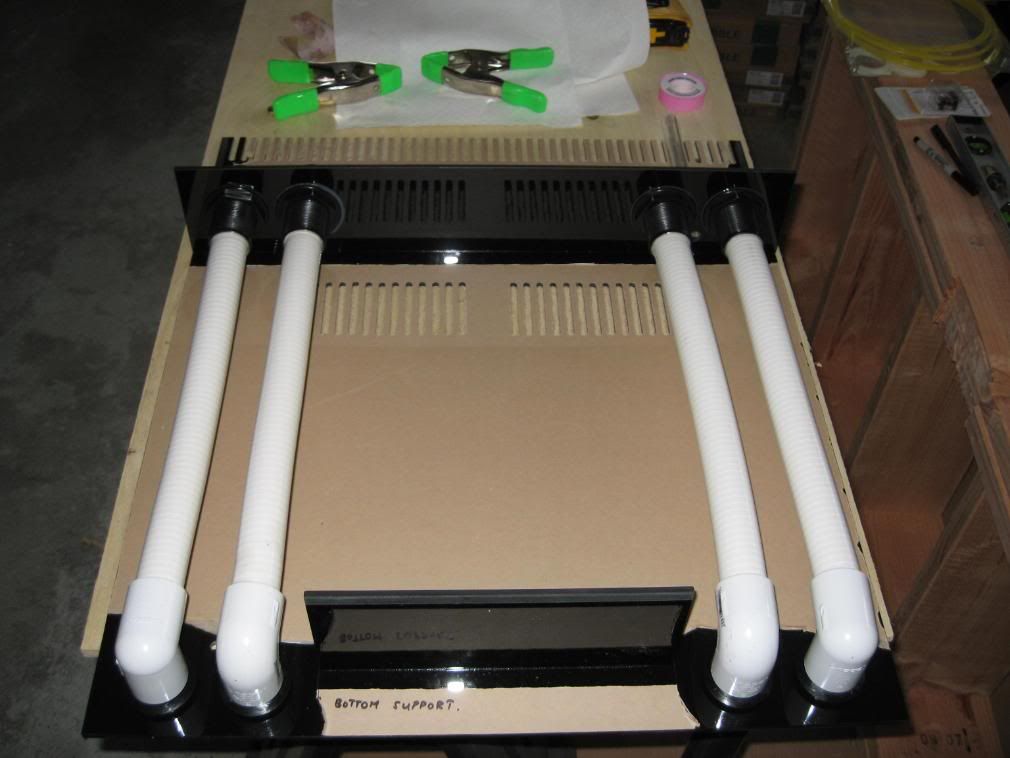
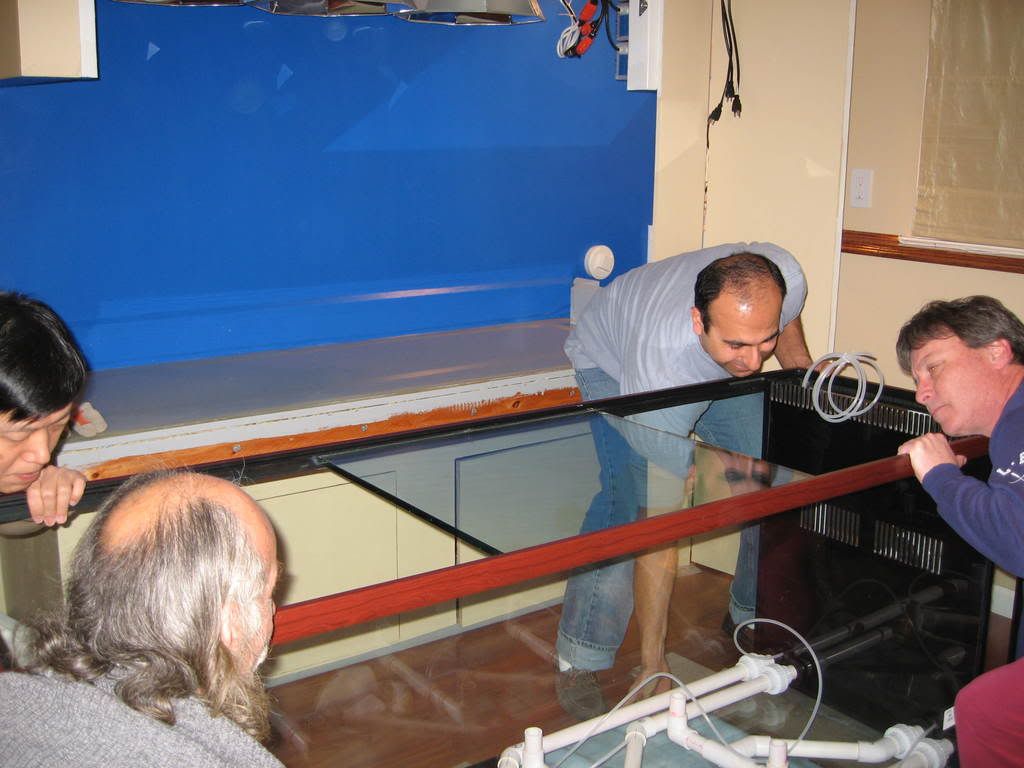
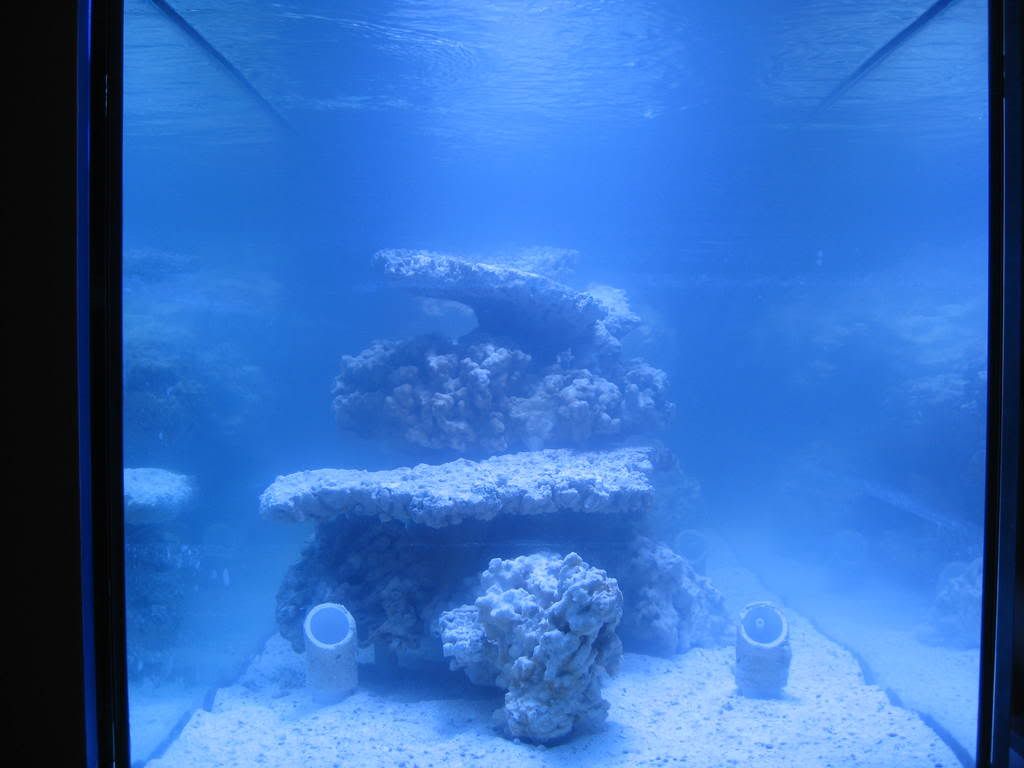
And here's a pic with the Overflow installed in the tank with Black Silicone:

215Build021.jpg


215Build023.jpg


215Build024.jpg


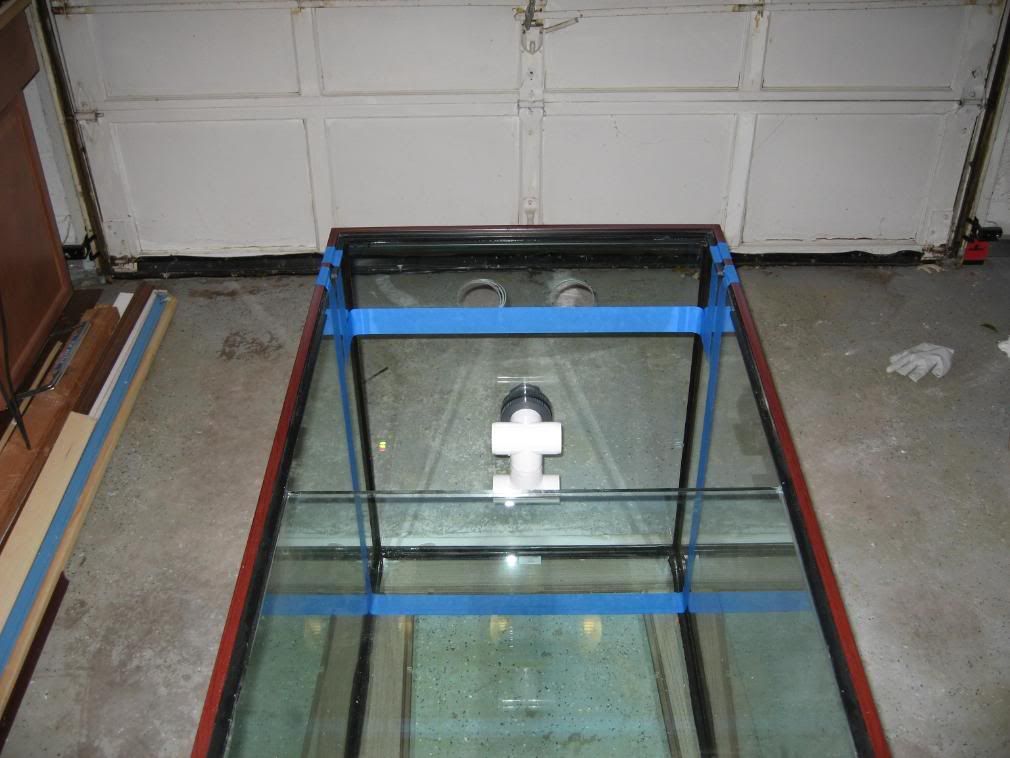
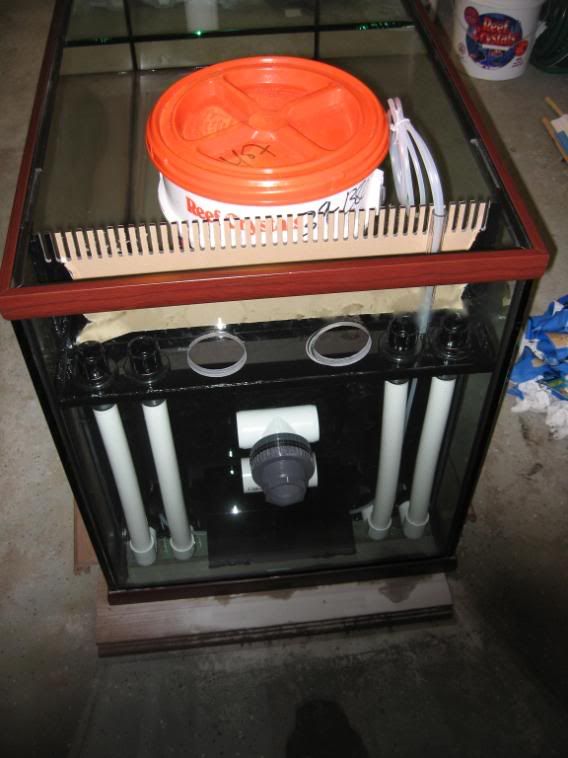
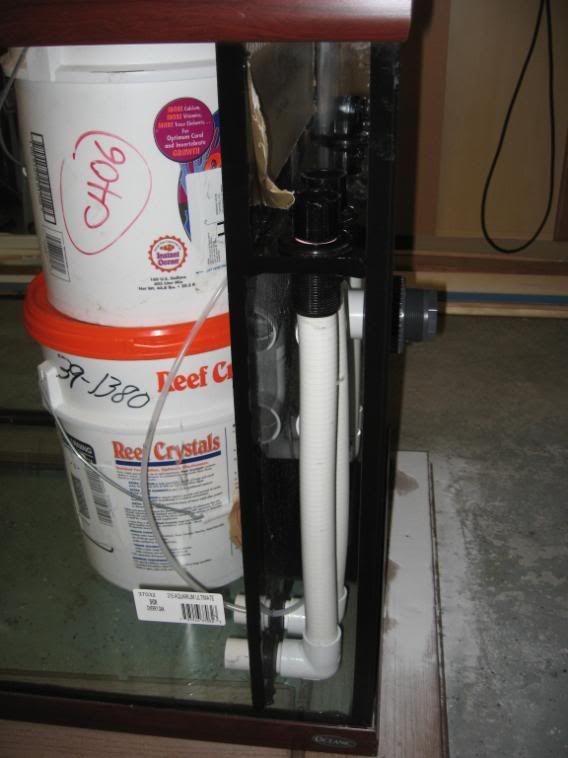
The buckets of salt are being used to hold the overflow in place until the Silicone cures.

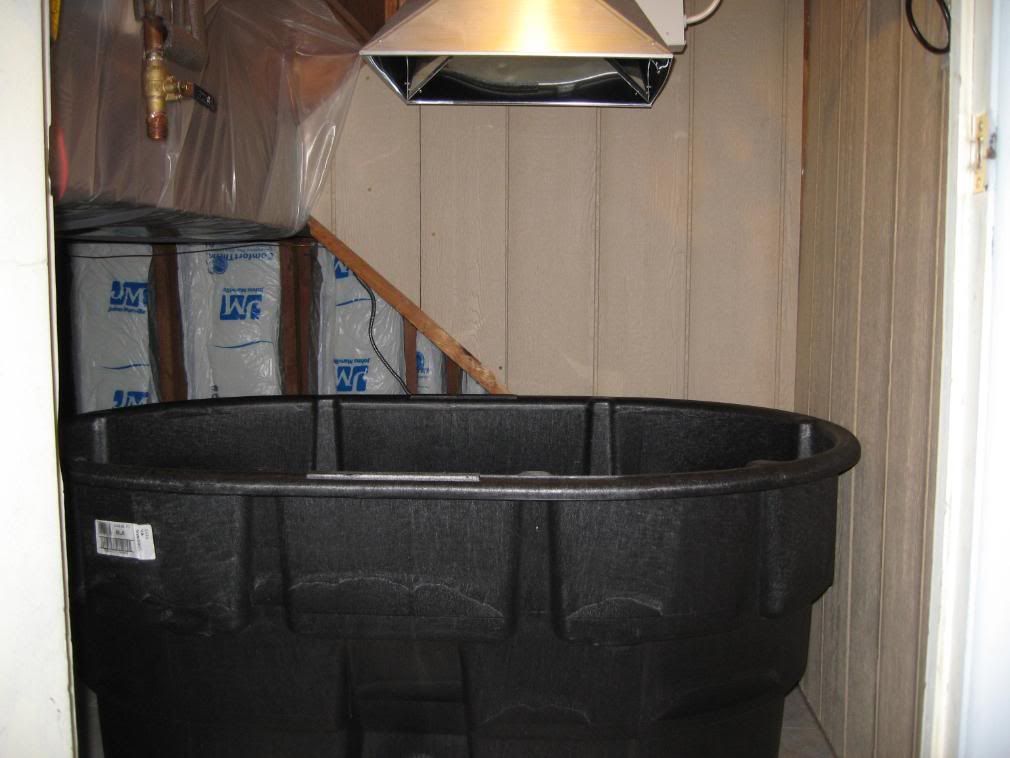
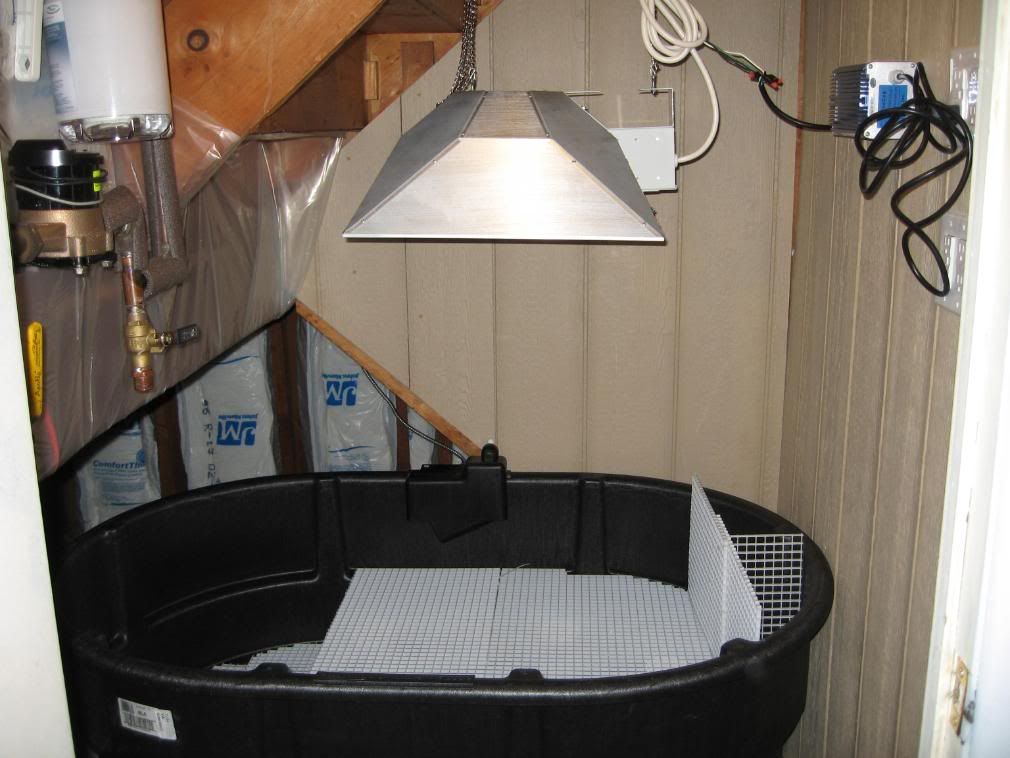
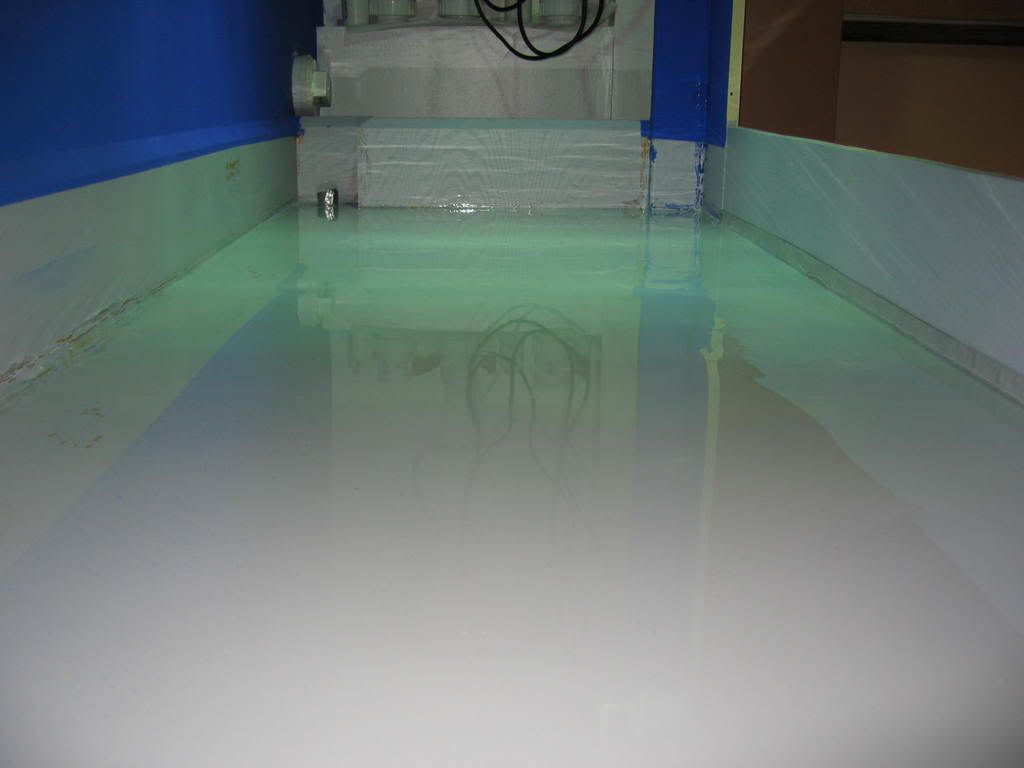
In addition, the right side panel of the tank had to be drilled for my plumbing layout to work.In addition to having a larger tank, I also wanted to have a good amount of water in the system. So I decided to buy a 150 gallon stock tank, which I got a good deal on from AgWay in Hillsborough.

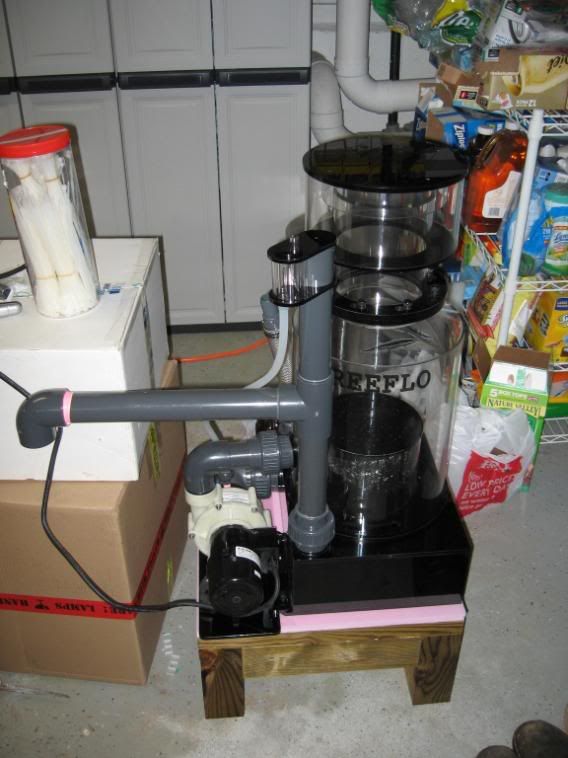
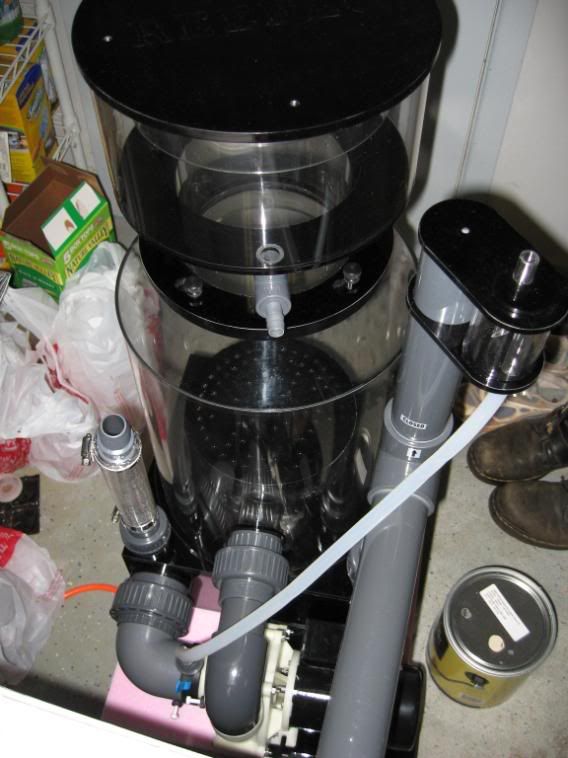
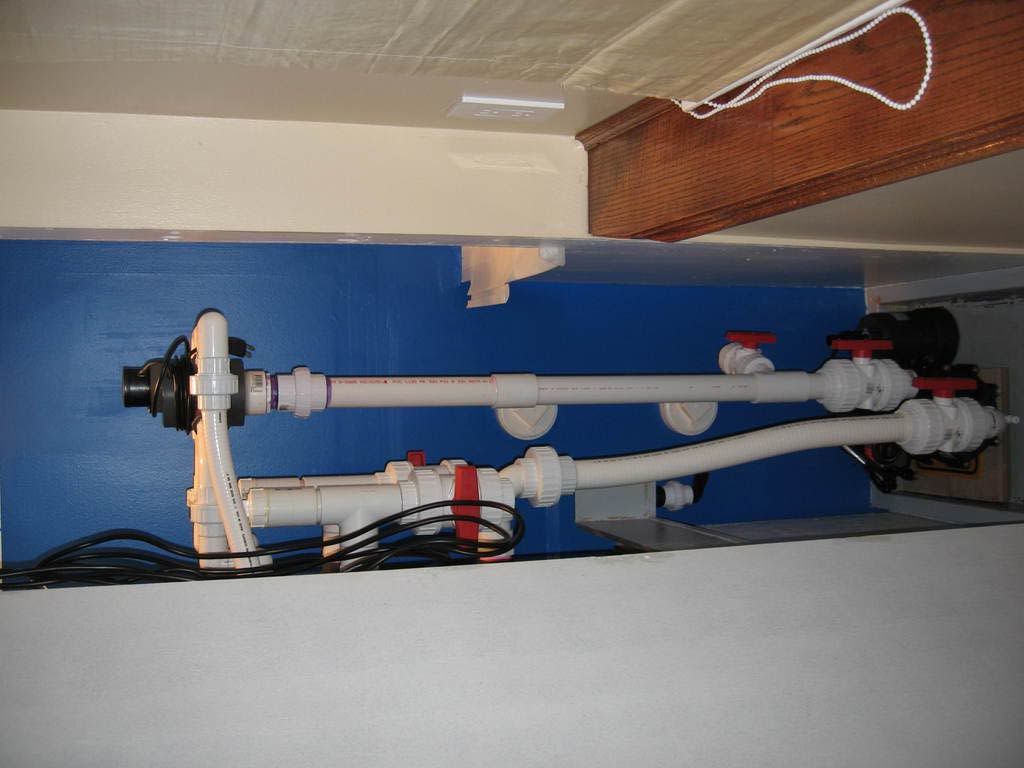
I wanted the sump to serve both as a sump and also a prop tank so I decided on using a Reeflo Hammerhead pump on both the sump and the tank. This should fulfill my circulation needs. The pump in the stock tank would feed the stock tank's closed loop in addition to returning water to the tank, feeding the Calcium Reactor, Chiller, etc.

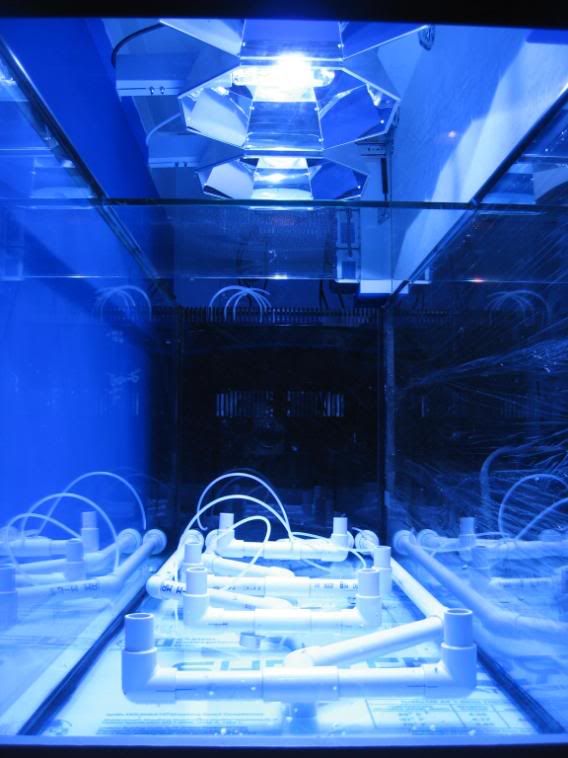
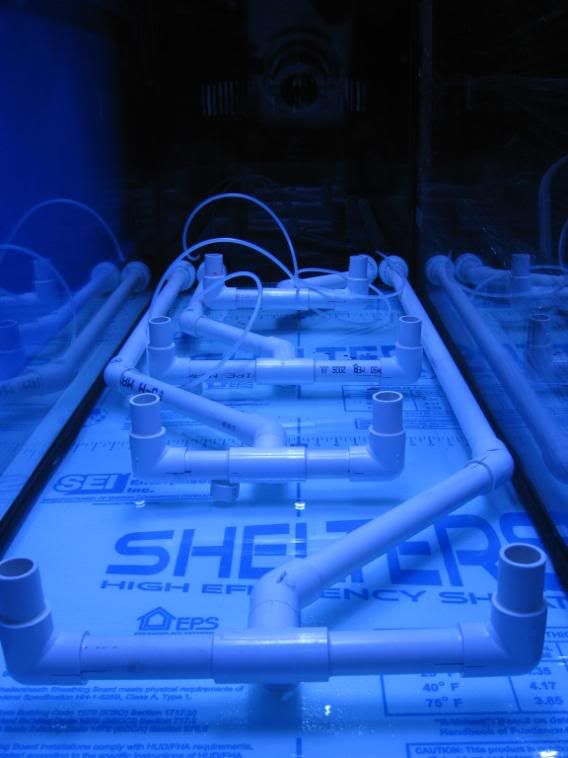
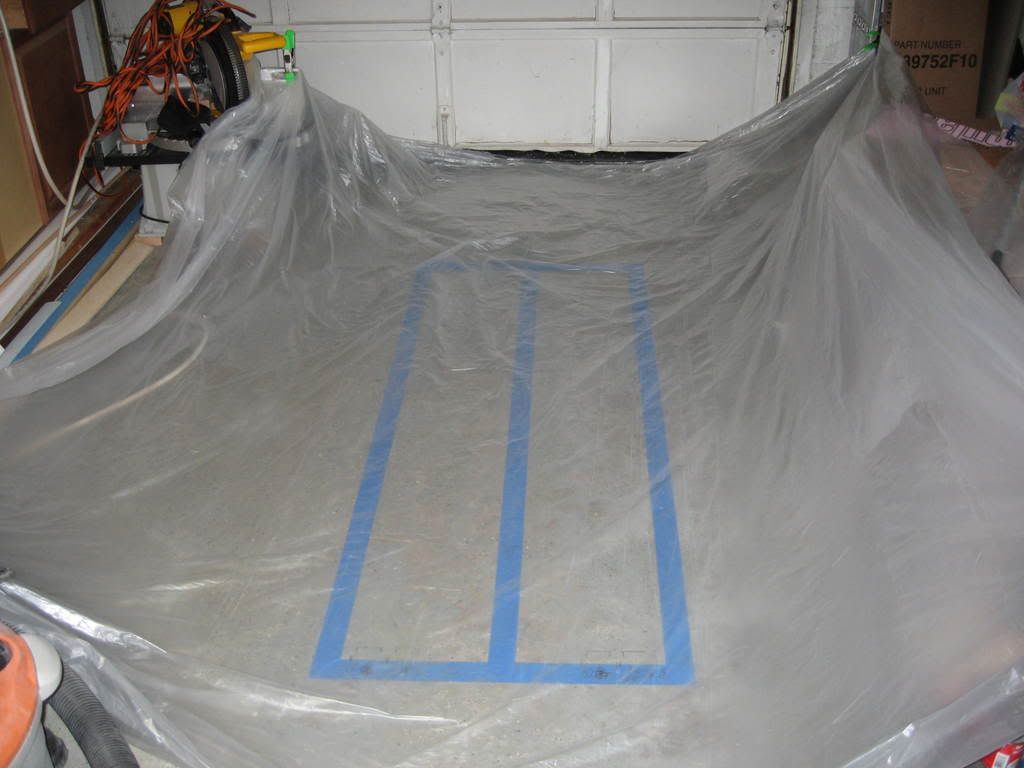
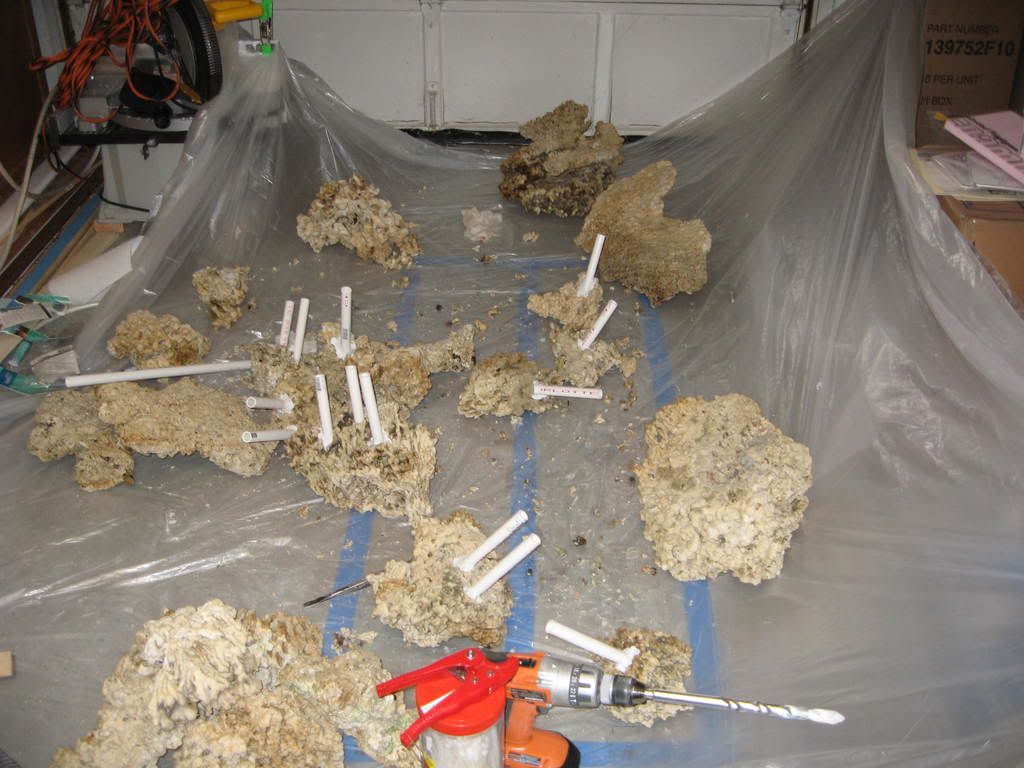
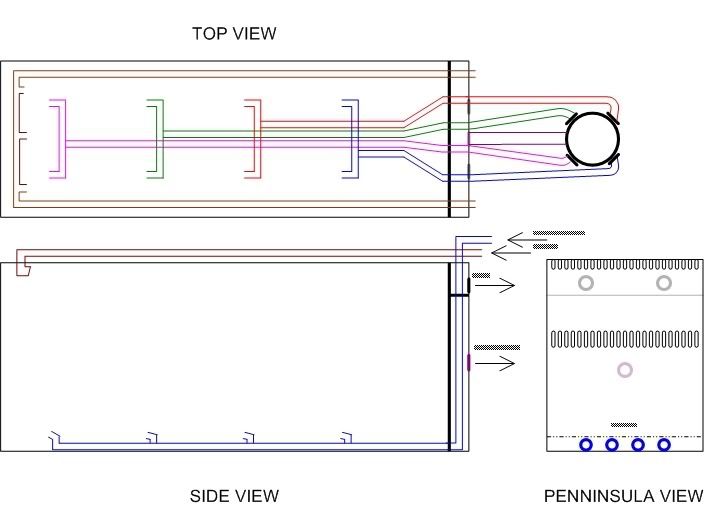
The following is a plumbing layout of the closed loop in the tank:

PlumbingLayout_v2.jpg


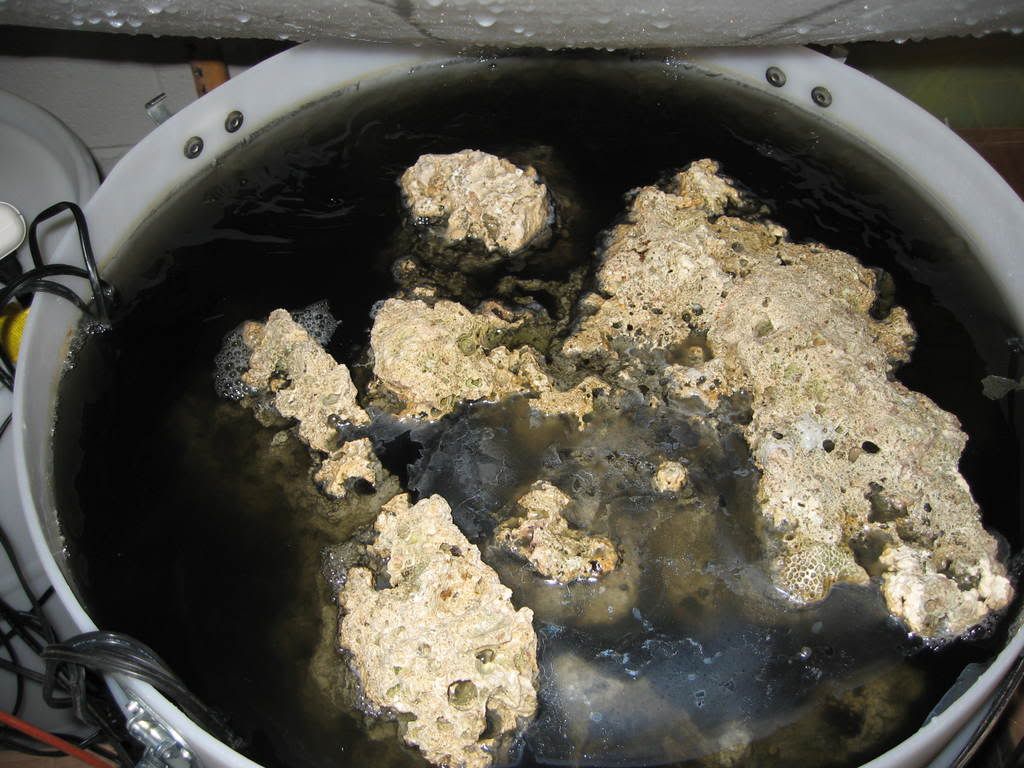
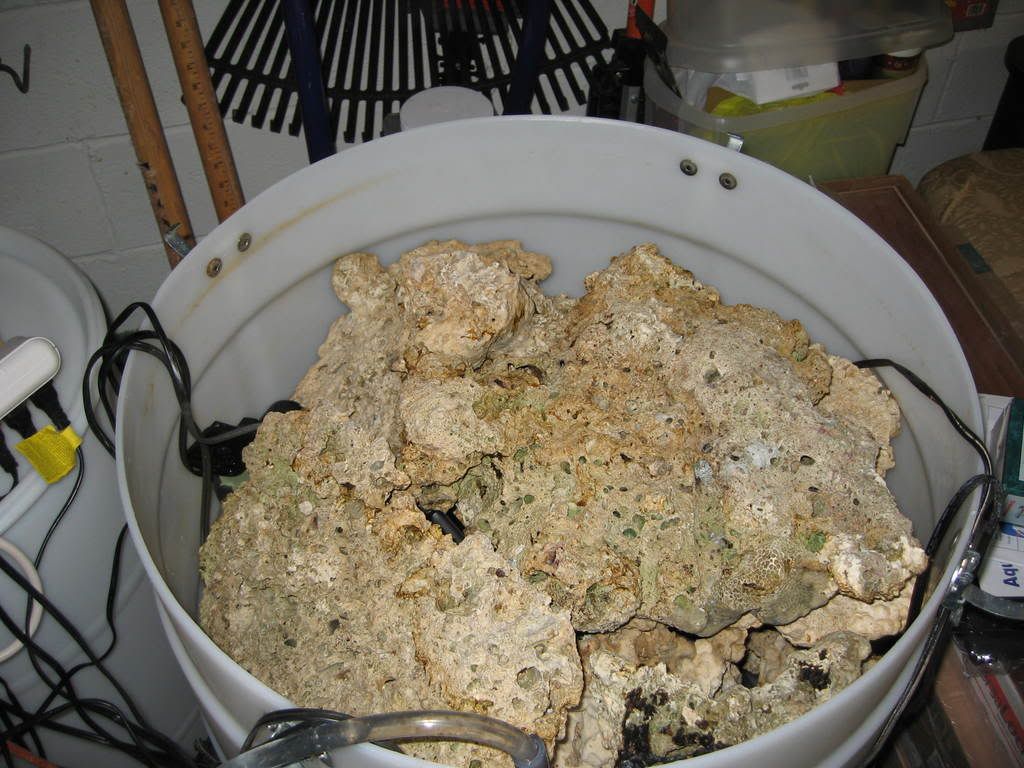
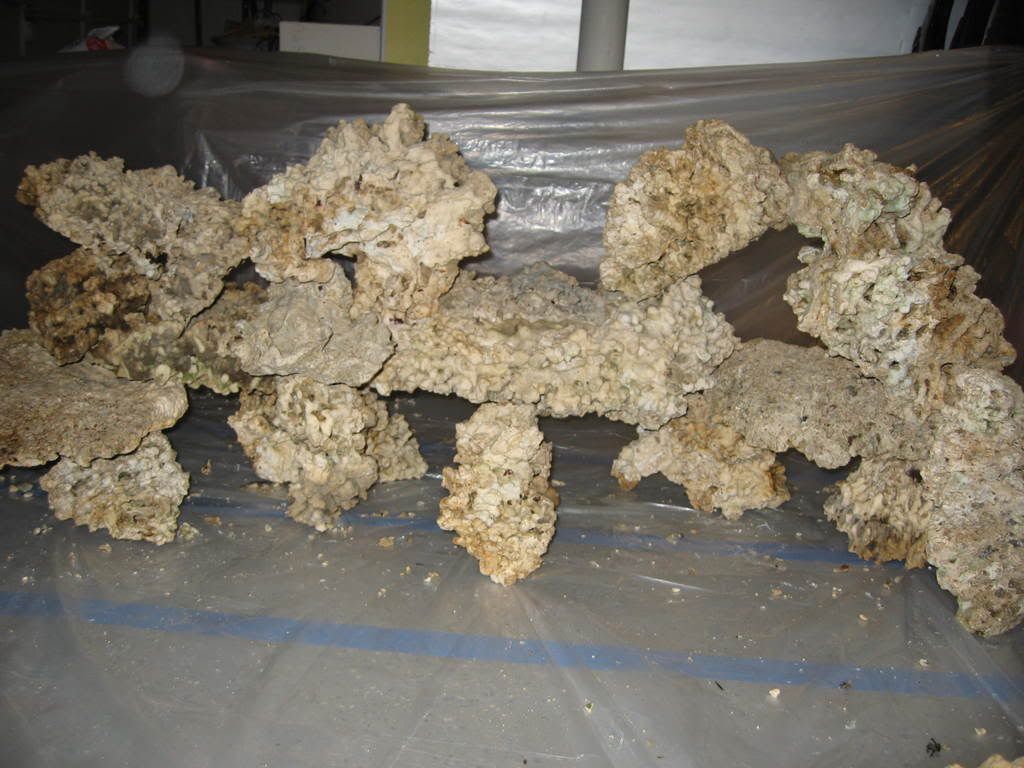
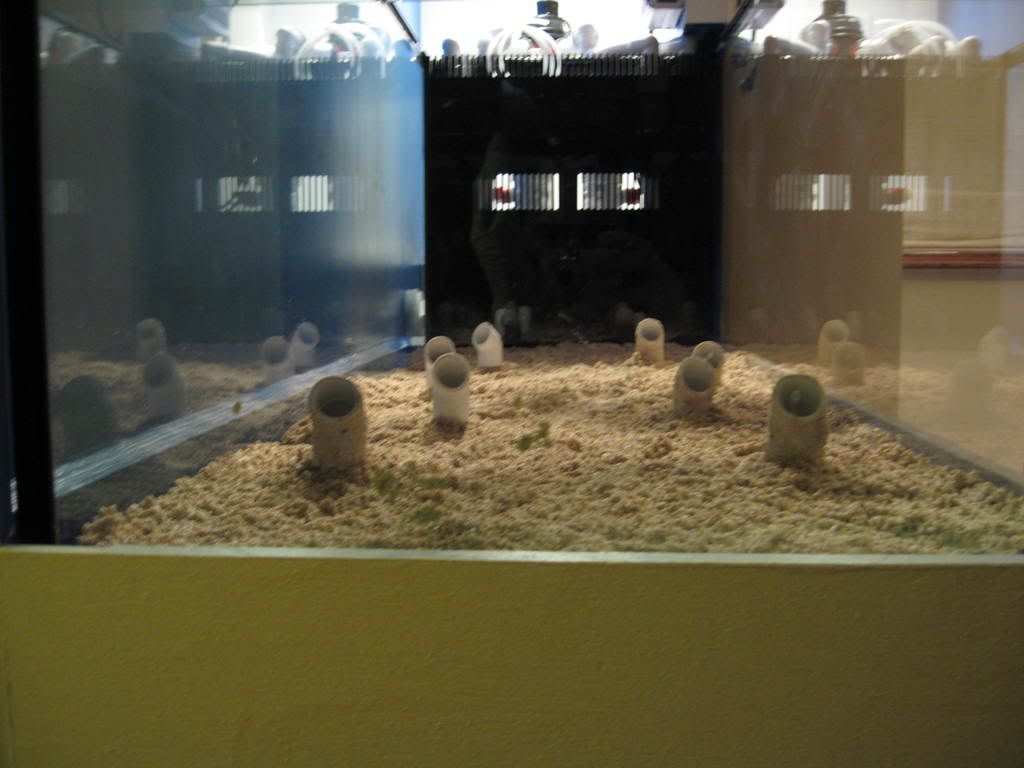
I had to house my live stock from my old 90 gallon tank while I was building my new system
so I decided to get my stock tank up and running first.
 

danthemanj

FRAG SWAP VENDOR
The stock tank would be housed in a separate room (actually a small storage room under my house stairs) and is seperated from the main tank by a wall. I had to redo the walls of the storage room to prevent humidity from affecting it and added 2 vents to remove the humid air in the room and replacing it with fresh air. In addition, I added a 20 Amp circuit to the room to cater to the electricity needs of the room.

The following is a pic of the storage room with the stock tank in it:

215Build001.jpg


215Build009.jpg


Lighting would be provided by IceCap Metal Halide ballast. I decided on using LumenArc IIIs on the stock tank and LumenBrights minis on the main tank. The LumenArc IIIs would help spread the light over the wide stock tank while the LumenBrights minis would help focus the light within the main tank. I initially setup the sump with a 250 Watt IceCap ballast with an XM 10K bulb but later decided to upgrade it to a 400 watt ballast with a Reeflux 12K bulb.

I wanted to keep several fish in the tank along with SPS, LPS and a few Softies so the skimmer I would decide on would be crucial. I wanted to get the biggest skimmer I could fit in my small storage room without having to pay a fortune for it. After much research, I decided on buying the Reeflo Orca 250 skimmer (which I think is the best bang for the buck) when it comes to price and high end performance.

Here are pics of the skimmer along with the stand I built for it out of left over 6 x 6s from my deck building project last summer:

215Build010.jpg


215Build014.jpg
 

danthemanj

FRAG SWAP VENDOR
For the location of the display tank, I decided on putting it in my family room for several reasons. The family room is on a slab so bearing the weight of a 4000lb tank and stand wouldn't be an issue. In addition, the family room is 3 feet sub grade so it stays cooler than the rest of the house. In addition, I was going to redo the entire family room anyways so it would give me the opportunity to design the tank encloser the way I wanted it. the old family room had wood panelling on the walls that were glued and nailed to it. The only way to fix that was to gut the walls and that is what I did. I replaced the walls in the room with new mold resistant sheet rock, removed the commercial carpeting, redid the center beam, put in crown molding, recessed lights, a new oak trim on 3 sides of the room, new flooring, in wall speaker wiring, additional electrical outlets and more, in addition to running a 20 Amp circuit to the corner of the room where my tank enclosure would go. I built the stand for the tank out of 2 x 8s and 4 x 4s (a little overkill as my friend Steve would say but I wanted the stand to be solid and so it is).

Here are pics of the room and stand:

215Build029.jpg


215Build030.jpg


215Build031.jpg


215Build033.jpg


215Build036.jpg


215Build043.jpg


215Build046.jpg


215Build051.jpg


215Build056.jpg
 

danthemanj

FRAG SWAP VENDOR
The way I designed the tank stand, I would have a 5 inch lip all around the tank and the stank would have a 1" bulkhead in one end so that incase I did have a leak in the tank, it would drain the water out of the house instead of spilling on the floor. Since I was going to have a 5 inch DSP, you wouldn't really notice the lip since the sand and top of the lip would be at the same level. Once the tank enclosure was completed, I moved the tank on it over a 1 inch thick styrofoam sheet for a wet test. I did check for level and the tank seemed level.

The lights would run on rails that I built out of furniture rails and aluminum tubing that I got from Lowes. The rails can carry 100lbs. In addition, I decided to use gas soring to hold the front canopy open. I bought 40lb rated Gas Springs from McMaster Carr and they worked out great.

Here are pics of the rails, lighting and springs in place:

215Build066.jpg


215Build067.jpg


215Build069.jpg


215Build071.jpg


215Build072.jpg


215Build073.jpg


The plumbing would be covered with the 5 inch DSP with only the nozzles sticking out of the sand

215Build077.jpg


215Build074.jpg


Once this was done, it was time for a wet test of the tank.

Here's a pic of the tank in place filling with the water

215Build057.jpg


I knew that the top of my stand was not perfectly level but when I checked the level of the tank filled with water, it seemed to be off by about 1/8 inch from one end to the other. This was unacceptable and the only way I could think of to correct the issue was to use self leveling cement or epoxy and to get rid of the styrofoam sheet. So out came the water off came the tank and I purchased about 2 1/2 gallons of MAS Low Viscosity Epoxy with the Medium Hardner (that hardens to about 7000 psi after 5 days of curing) from a marine store. I built a dam around the lip of the stand with aluminum duct tape and it worked out great. Perfectly level and after 4 days, hard as a rock.

Pics to follow.........

With the help of fellow NJ Reefers, Mike M, Malulu and Magic (thanks Guys) I moved the tank back onto the stand. I then filled it with 180 lbs of Sugar Fine CaribSea dry sand and 150 lbs of CaribSea Bimini Pink Sand. The Aquascaping would be created with 200 lbs of Marco Rock that I purchased from last year's frag swap (which was cooking for about 3 weeks, thankfully in my garage). I decided on drilling the bottom of the rocks and inserting 1/2 inch PVC pipe in the rocks along with epoxy to hold the pipe in place. I then spent about 8 hours aquascping until I got what I was looking for.

Pics to follow........

Once I had an Aquascape I liked outside the tank, I placed the rocks (with some help from Steve) inside the tank. This took another 3 hours. It was now water filling time and this took me about 3 days. While the water was filling, I plumbed the Hammerhead pump to the tank's closed loop through an Oceans Motions 4-way.

More to follow.........
 

Edwardw771

NJRC Member
looks great, Those skimmers are great that make 4 of us that have them That I know of

Where did you get the medal frame for the lights? I love the idea of the sliding hinges like that I may use that on my tank.
215Build066.jpg
 

Phyl

Officer Emeritus
Officer Emeritus
I can't wait to see the pics of the rockwork in the tank. Great job, Dan. Very nice.
 
Great info and tank build... It seems like all the tank built or help I always see MikeM name. Can't wait for the aquascaping.!
 

danthemanj

FRAG SWAP VENDOR
Edward771,

I built the metal frame for the lights out of 1" x 1" aluminum tubing and L brackets hat I bought from Lowes. The tubing/L bracket cost me $40 and the rails cost me $18 so the entire rail rack with nuts/bolts, etc. cost me less than $65.

Dan
 
Great job on the DIY lighting, those rails are great. Are you doing bare bottom, or were those PVC pipes to confuse me? Going to look great I am sure.
 

mikem

Officer Emeritus
Officer Emeritus
Great work Dan. Looks amazing in person. Can't wait to see it stocked.
 

danthemanj

FRAG SWAP VENDOR
As promised, here are additional pics:

I built a dam out of Aluminum Duct tape for the epoxy:

TankPics002.jpg


TankPics003.jpg


Here is the MAS Low Viscosity Epoxy:

TankPics008.jpg


and after is is poured. I made it in batches because it gets pretty hot once the reaction starts

TankPics009.jpg


TankPics017.jpg


TankPics023.jpg


Now this is what I call level:

TankPics027.jpg


Here's Marco rock after 4 days of curing in a 55 Gallon barrel

TankPics018.jpg


and after 2 weeks and a water change:

TankPics048.jpg


In case you are wondering what the family room looks like afetr I was done with it:

TankPics033.jpg


More to come......
 

danthemanj

FRAG SWAP VENDOR
Here's the NJ Reefers Gang helping me move the tank:

TankPics038.jpg


TankPics042.jpg


TankPics046.jpg


And now the aquascaping part. I first built an outline of the inside of the tank on my garage floor and covered it with plastic:

TankPics049.jpg


It was followed by a lot of stacking and re-stacking until I came up with this:

TankPics053.jpg


Then it was on to drilling the bottom of each rock with a 3/4 inch masonry nbit and inserting and epoxying 1/2 inch PVC pipe to it:

TankPics057.jpg


Here's the tank with sand in it:

TankPics062.jpg


And the first layer of rocks:

TankPics065.jpg


TankPics067.jpg


Finally the finished aquascape:

TankPics068.jpg


And with the lights on:

TankPics074.jpg


TankPics073.jpg


TankPics075.jpg


It was not time to fill the tank with water. This process took me 3 days because I built the salt water in batches in addition to using about 20 gallons of water from my sump that has been up and running with live styock for the last 3 months:

TankPics079.jpg


TankPics085.jpg


TankPics086.jpg


The water was cloudy for about 2 days but since cleared up.

This is the 2nd week after the tank was filled up. Im running the closed loop through the Hammerhead pump and I also have a Modified Maxijet with a 250 watt heater in the tank which keeps the tank at 79 degrees.

Here's a pic of the closed loop plumbing:

TankPics052.jpg
 
Dan, the tank is looking sweeeeeet! What did you say to your wife to get her to ok a tank of that size??? (I need some hits for my wife..lol)
 

danthemanj

FRAG SWAP VENDOR
My wife gave up on fighting me on my tanks years ago. Actually her only concern was to not lose the storage space (there used to be a closet where the tank is right now) she had in the closet that the tank has replaced. So I built her storage space under the tank in the stand (even though its half the space she had before)
 
Top