• Folks, if you've recently upgraded or renewed your annual club membership but it's still not active, please reach out to the BOD or a moderator. The PayPal system has a slight bug which it doesn't allow it to activate the account on it's own.

The SHELLY tank

Well its time to start a new tale of the tank. This tank will be my first saltwater aquarium that utilizes a sump, not hang on equipment.
I am starting with a 90 Gallon Aqueon reef ready aquarium.
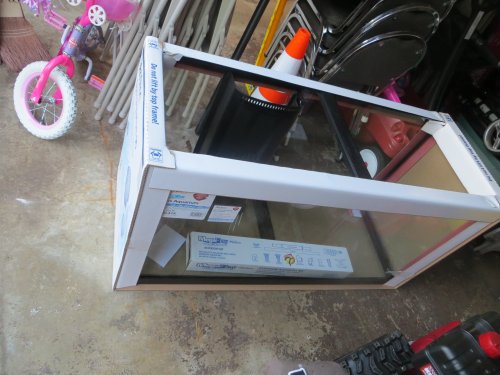
IMG_0118.JPG
How I arrived at this tank size is kind of funny. I have been eying the lover level slab in my house as a great place to keep a 6' or longer reef tank. But it has been apparent that this would not be possible in the near future (grandkids play there, and visitors sleep there). Last week I gave up on that idea and decided to go with a 3 or 4 foot wide tank in the space I had. A three foot aquarium would be a better fit, but I wanted a 4 foot tank for my yellow tang, which would mean removing a table and a book case.
I like the new waterbox aquariums than recently came out. But they really too expensive, but I was mulling over the possibility of a 3 or 4 foot one. I knew there would be one at Aquatic Experience and went to check it out. It was this 3'x2' reef ready with stand, sump, and plumbing, used for 3 days and for sale at a reasonable discount, although still expensive.
I took this picture of the tank and sent it to my wife by message to ask permission first.
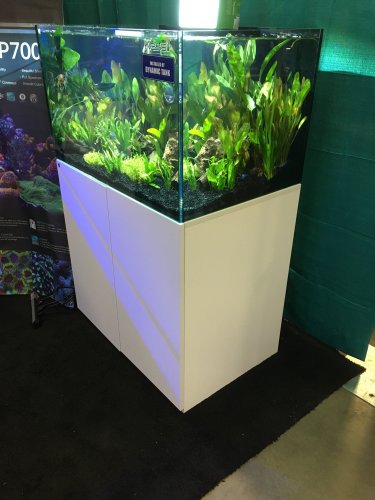
IMG_2134.JPG
It was sold by the time she got back to me. But it helped me decide I didn't want a tank with a center fame. I put that thought on hold as they raffled off a reef ready tank with a center frame and stand and canopy. I didn't win. (p.s. Call when you really want something!)
Now Trio was manning the NJRC booth, and found out at the last moment that he won a raffle for a 90 gallon reef ready fish tank. Long story short, I ended up taking it home, center brace and all.
 
Tank Location - Long post, but I thought it was a good idea to share where I decided to locate the tank as the location is important for large aquariums, especially deep tanks.

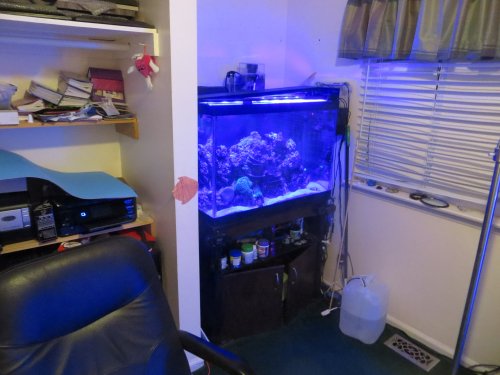
I wanted to put a large tank (180-250 gallons) in my downstairs play room, primarily because it would have been on a slab on grade. And it is a big room. But with that area not being available, I am going with an intermediate size, 90 gallons. There are 3 areas I am considering in my office that is a converted bedroom. Either the old tank location along an inside wall near an outside wall,
IMG_0152.JPG
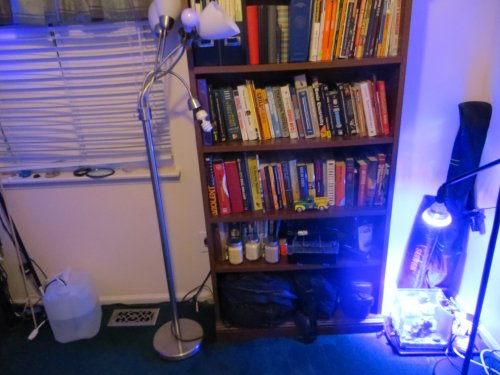
along the outside wall where the bookcase is,
IMG_0153.JPG
or along an inside wall nearby that I just cleared away
IMG_0154.JPG
A quick investigation reveals the floor joists run from the outside wall to a beam directly under the house ridgeline at 16” on centers and span 13’6”. From experience, I know these floor joists are Southern Pine 2x10s. For calculations, I am using 12 pounds/gallon to account for tank, water, rock, stand, sump and equipment weight.

The fist location will not work as a 4’ tank will not fit the space along this wall. My 36”x18” hang-on-back tank is along an inside wall starting about 6” from the outside wall. The inside wall does not support the floor. The tank appears to be about ¼ inch lower on the inner corner. When I walk next to my tank, my ATO starts, suggesting the floor is deflecting more due to my weight, so I know my floor is probably overloaded. It turns out the loaded floor deflection in my tank is calculated at 3/8” at the inside of the tank and is could be overstressed by about 10%. This is not enough to make it fail, but the joists will take on permanent deflection more quickly to a depth of about 15/16 at the worst location. A 40-gallon breeder would have been a better long-term tank for this location. The problem is that most of the tank weight is supported by one or 2 joists that span 13.5 feet. Just as bad is that you can't see into or get to the sides of the tank as it is in a cubbyhole.

The second location is better as it has 3 to 4 joists supporting the weight close to the supported joist ends. The front of the tank is expected to deflect 1/32 of an inch under max load. The worst deflection is about 1/16 near the beam center when the floor is fully loaded. This wall could take any length 18” deep tank. It could even take 24” deep tanks without overloading, although the center beam deflection would be about 3/16”. It would have been the location chosen for a 120 gallon tank. Hint, the best tank location on floor with floor joists is usually along the outside wall that is perpendicular to the joists or directly over a supporting wall. However, the right outside walls are important. An outside wall parallel to the joists and the floor will act like an inside walls.

The third location should be terrible. It should overstress the joists by 220%. And the floor would deflect about ¾ inch at the end of the tank. This could cause a floor failure if a wood knot was located at a highly stressed location in the joist. There is a wall underneath the inside wall. However, it does not align with the floor joists and will not support any load. Luckily, there is a wall perpendicular to the joists below that will shorten the span to 6 feet 6 inches (from 13.5 feet). The expected deflection then is 1/16” if the wall can support the load (a stud is located under/near the floor joists). The floor feels sturdy, but since I cannot verify this, without tearing out a garage fire wall, I have decided to place a column under the highest loaded joist directly below the tank, so it does not deflect. Therefore, I have decided to use location 3 since the overflow is the furthest from where I will normally view the tank and it is a location I can support from below.
 
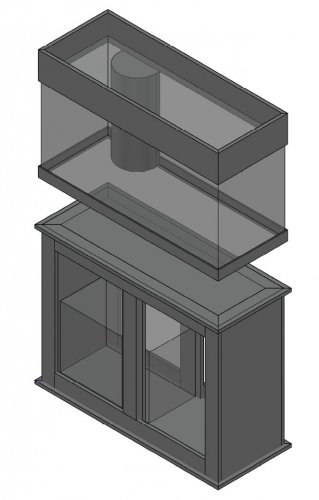
Here is the stand design I plan to make. There will be cabinet doors on the front, and I could always add them to the back for a peninsula orientation.The material came down to Black walnut, Cherry, or White Oak. I did not feet like a pressure treated pine 2x4 stand would work for me as with only 18" deep to work with, I would loose too much space. And then you still need to finish it. Maple and red oak would work, but they are not very rot/water resistant, and I plan to keep the sump and top off water below. Plus water had a tendency to run down the front of tanks. I plan for this stand to last. Walnut is too expensive and difficult to find in the sizes and quantity I needed, but I love making things out of walnut and it is excellent for water resistance. But I need to save money for a skimmer and good lights for this aquarium. White oak is waterproof, but very hard, plus I prefer closed grain wood. Cherry is only good for water resistance, but is easy to find and work with. I am going to make it out of cherry. I will use a tung oil finish to waterproof it and bring out its natural sheen.
Surprisingly, southern white pine is better in compression along the grain, but is limited by bearing perpendicular to the grain. The 1x4s will have equivalent strength, but the center stile will need additional support. Diagonal bracing will be the key here for a sturdy tank.
Stand Design.JPG
 

myrjon

Officer Emeritus
Officer Emeritus
mark you can always use a skin of Black walnut, Cherry, or White Oak glued onto 1x material.Instead of pine use poplar ,its stronger .
 
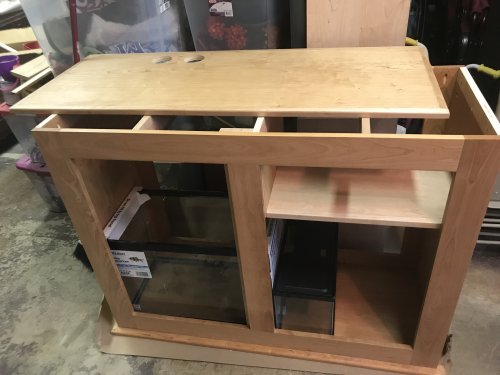
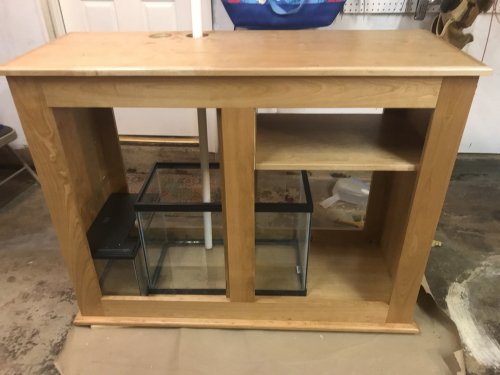
The tank stand frame is assembled. The finish has been applied. The doors will be assembled while the tank cycles and breaks in. I also plan to brace the back with 1/4" cherry plywood. After the finish dries, I will bring it up and place the tank on it and do the rough plumbing. The ATO will be from the 5.5 gallon tank on the left in the bottom picture. In this case, I am modifying the aqueon mega drain (Durso) into a Herbie style, with the durso standpipe as the control/emergency drain. The return line will come back behind the tank overflow, out of site.
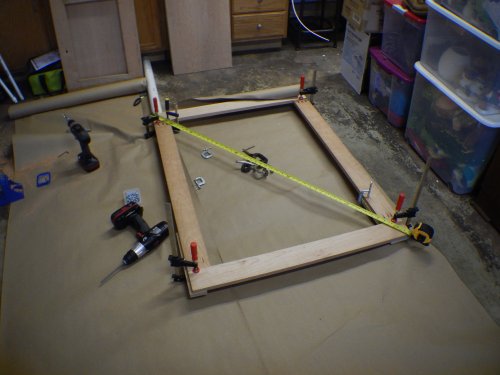
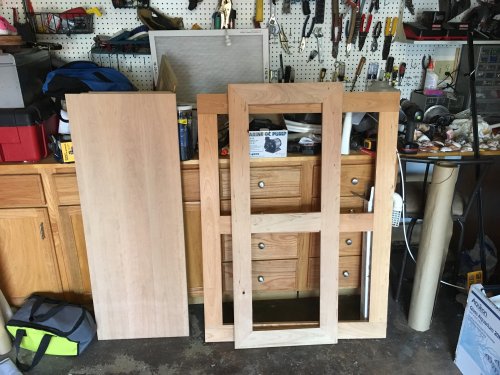
Here is a face frame, base frame, and a side panel before assembly.
IMG_2167.JPG
Here is the stand before finishing.
IMG_2233.JPG
Here it is with the hand rubbed Tung oil followed by polyurethane which is now drying.
stand 2.JPG
 
With the stand frame finished, I moved it into the room and placed the tank on it. I modified the plumbing from a single durso standpipe "mega flow" to using the Durso standpipe as the primary siphon drain controlled by a gait valve with an emergency backup through what was supposed to be the return bulkhead. (The Durso wouldn't fit as the emergency) The nice thing about not getting a premade sump is that I could run the drains straight down. Since the skimmer is essentially micro bubble free, I don't feel I need to separate the pump, although I might if testing shows the entire sump can't be pumped up to the display tank if both drains were to become clogged. I had planned on dividing the sump with stained glass, so I am a little disappointed that I might not have to.
p.s. The saying that you can never have enough plumbing fittings is true; I made several trips. (Thank you ACC for the emergency bulkhead.) I did manage to buy a new container of adhesive from Lowes that was completely dry. I also clamped the return pipe to the stand to keep if from being accidentally removed.
I will set the sump water level based on draining with the power off. Then I will make the final sump drain pipe cuts (syphon 1" below the water level). I plan to tune in the syphon such that the in-skimmer water level is just below the emergency drain. I wish I could have done a 3 drain system.
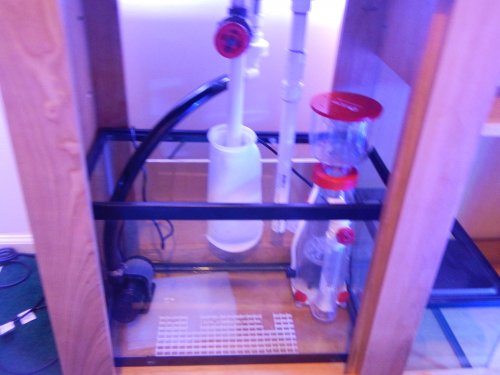
I will try a CPT hang-on-back refugium I got from Mark C. as an in sump refugium. The egg crate is used to get it to sit flat as it has a few screws on the bottom. I am thinking of using a shallow oolite sand bed in it with a few small pieces of live rock. I would really like to grow dragons breath in it, but we will see. Hopefully ACC still has some left when I get the tank going. I note that depending on the water level when the tank drains this may not be practical or I may need to raise the sump.
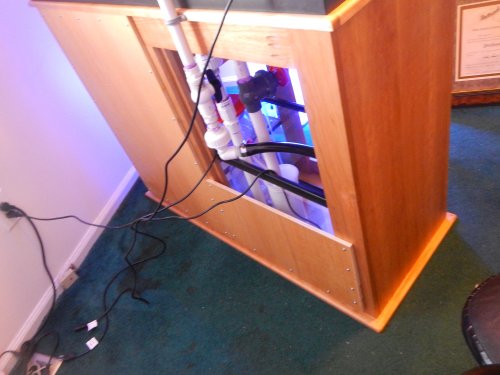
I installed a partial plywood panel along the back to give the stand lateral stability. I can now start filling the aquarium after I complete the leak and plumbing testing. I do want to secure the stand to the wall as well. Has anyone done this, and how? I was thinking of screws through web strapping.
I should note that I decided to place the tank along the outer wall as I liked the view better head on as I entered the room. I can still stick my head to the right of the tank to see it from that end.
One of the best things I did with the stand was place the framework and bottom panel on a 1x4 lumber rectangular skid, visible on the November 25th posting top photo. This easily allows me to slide the empty tank on the stand around the room to work on it.
The cabinet doors are a few weeks out (waiting for ordered cherry plywood), but they won't hold me up. I also hope to make a canopy in the future.
I need to work on the electric system next. I don't have a budget for an Apex, but I do plan to have everything individually switched and items mounted on a panel.
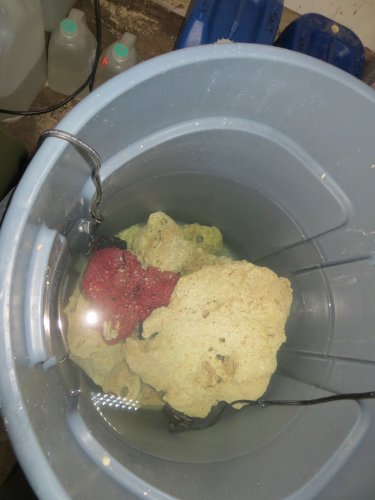
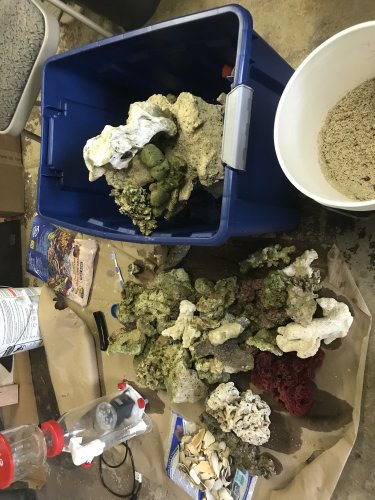
I have been working with live rock and cleaning some I got for Horseplay. I like it a little colored, so I will have to accept some phosphates in exchange for mostly unbleached coral. I hope to keep an open rockwork arrangement as my last tank was too much of a solid wall. I do plan to use some of the live rock from my existing tank and keep the coral alive, so that does limit me somewhat.
Here is some of the live rock and sand after cleaning. It is amazing how much fine material washed out of the new aragonite sand.
Live Rock.JPG
Here is the stand with the back panel installed. The skid base was handy here
BAck.JPG
Here is the stand sump before adding the CPR refugium
stand 4.JPG
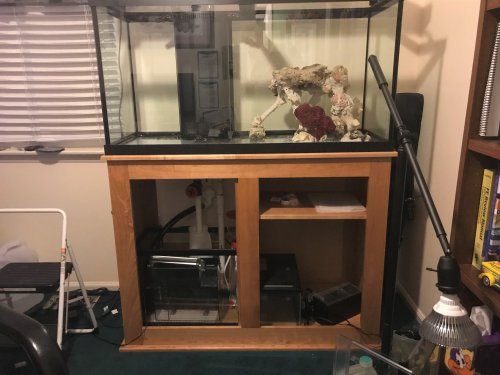
Here is the stand with tank and refugium as well as a little of the rockwork.
Stand 3.JPG
 
Top